How to do a Gel Plate Magazine Image Transfer
Monoprinting or using a gel plate to make art and image transfers is a medium of art that anyone can try. Gel plate art can allow you to create beautiful and interesting one of a kind art prints. It’s maker-friendly because it doesn’t require specific art skills, just understanding the process and technique. In fact, this is also a very kid-friendly project! One of the popular ways to create art with it is to create gel plate magazine image transfers…which can be both and amazing, fun and frustrating. They require a knowledge for the process and a little bit of patience as they don’t always turn out! Let’s start with the basics of gel plate printing.
What is a Gel Plate?
A gel plate is a synthetic plate made of mineral oil and polymer. It’s pliable and flexible and can be used to make one of a kind art prints. While homemade gel plates can be used, commercially made ones are much more durable (Some brands of commercial gel plates are Gelli plate and Speedball plate.).

Are There Any Rules with a Gel Plate?
While a wide range of mixed media materials can be used on a gel plate, one of the biggest no-no’s is making sure to not use anything sharp as it will damage the plate and while a hair dryer on low can be used, heat guns will ruin a plate. There are so many other things you can use including faux plants to create all kinds of art such as these faux gel plate sun prints.
What Are Materials Can be used on a Gel Plate for Monoprinting?
While medium or heavy body acrylic paint is the most common art medium, acrylic markers, pastels, and more can be used on a gel plate to create art. Items to create texture can include lace, bubble wrap, fabric, burlap, cardboard, stencils, stamps, magazine pages and more.
How to Create a Magazine Image Transfer onto a Gel Plate
Materials need to create an image transfer are:
– A fashion magazine or similar publication. They should be glossy pages with high contrast. A high contrast laser jet image can also be used.
-Medium/heavy body acrylic paint or fluid art acrylics. Craft paints don’t work. The paints need to have a long enough open working time and craft paint dries too quicky.
-Brayer or roller
-Sheets of thicker paper or matte cardstock at least 65 pound weight paper.
-Gel plate
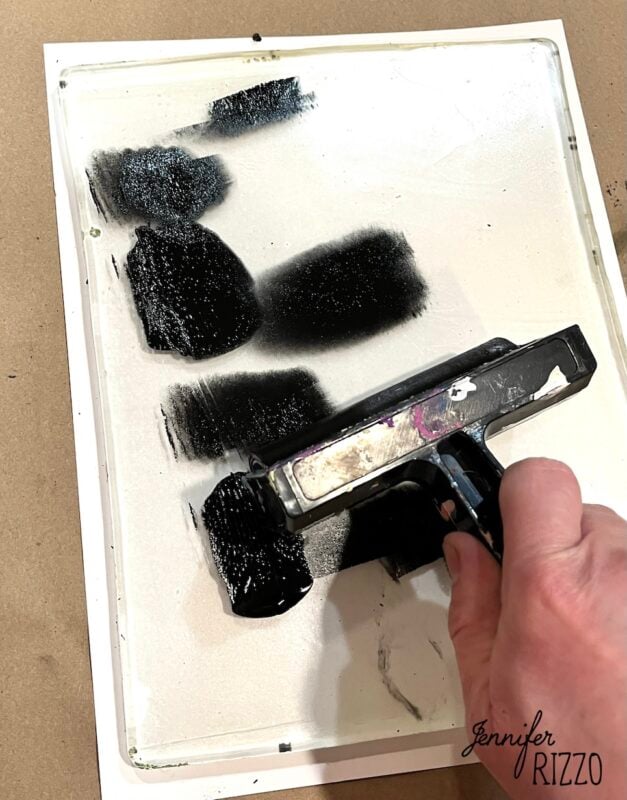
Use the Brayer to Spread the Paint onto the Gel Plate
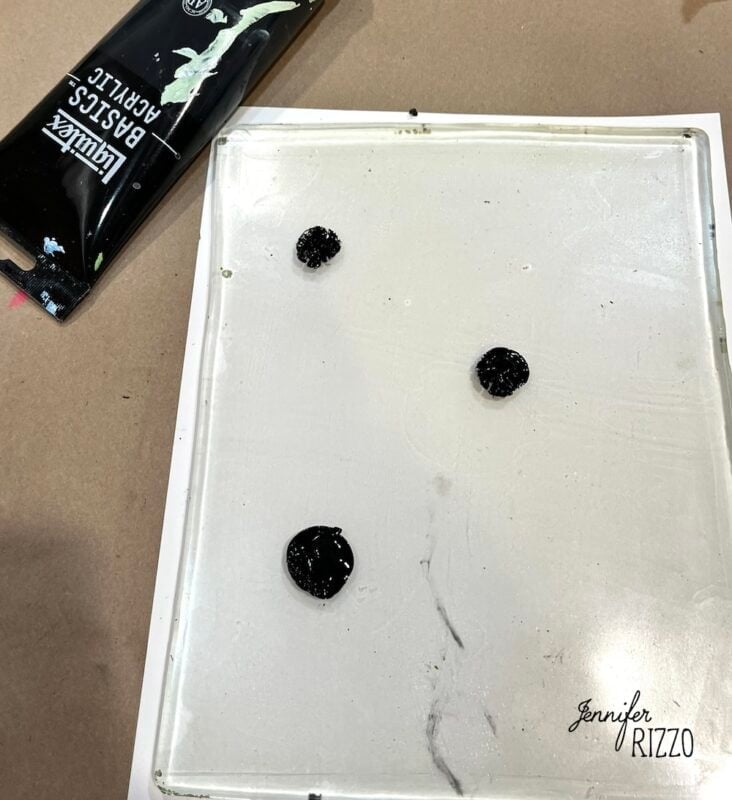
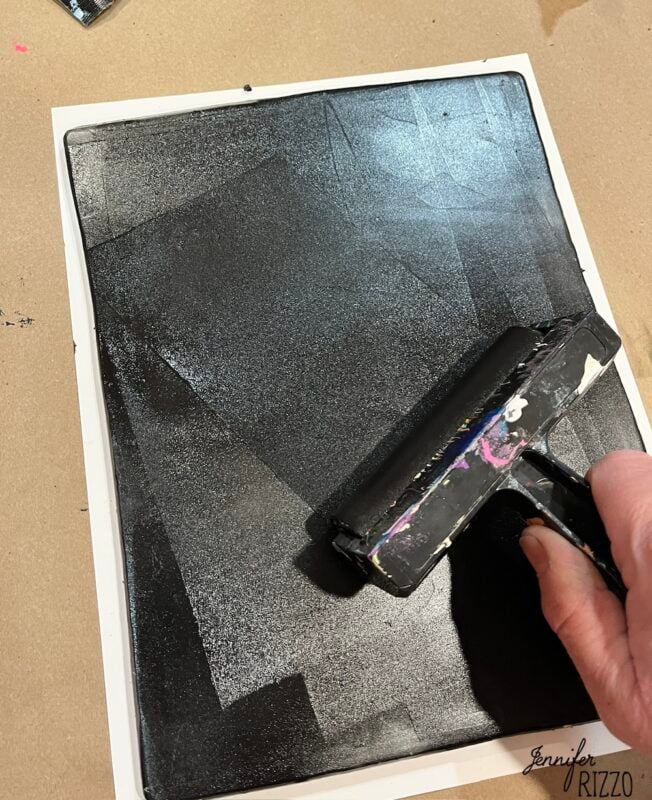
Add about 3 small drops the size of peas onto the 8 X 10 gel plate. The paint amount will change depending on the size of the plate. Use the brayer to roll the paint out onto the plate. Spread it until it just covers the plate and has a “crispy slightly matte look”. If the brayer slides around or the paint looks too wet, there is too much paint and it won’t be a good, detailed transfer.
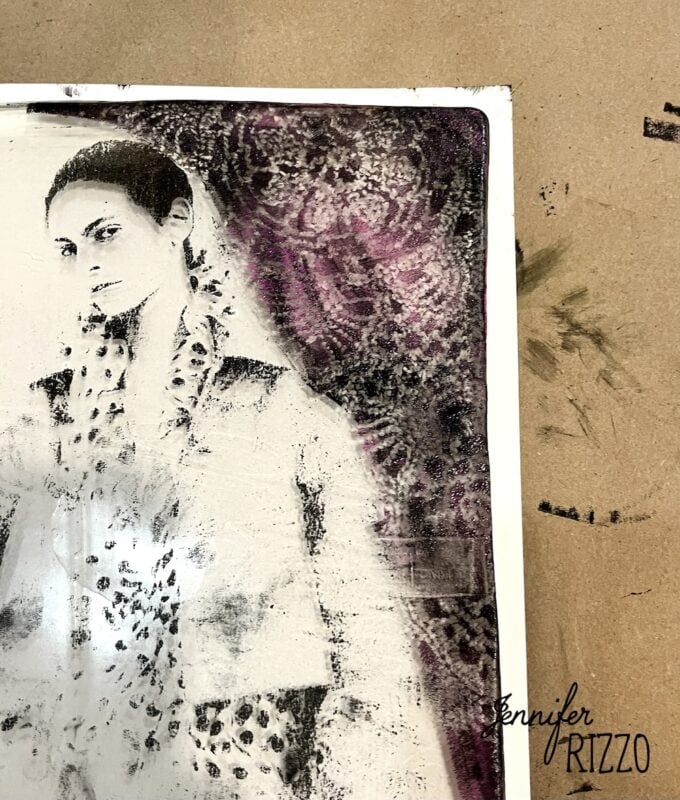
Apply the Magazine Page Face Down
Once the paint is ready, place the magazine page face down onto the page and rub over the back of the magazine with a medium pressure. Too much pressure will remove the detail and too light will not have enough contact.
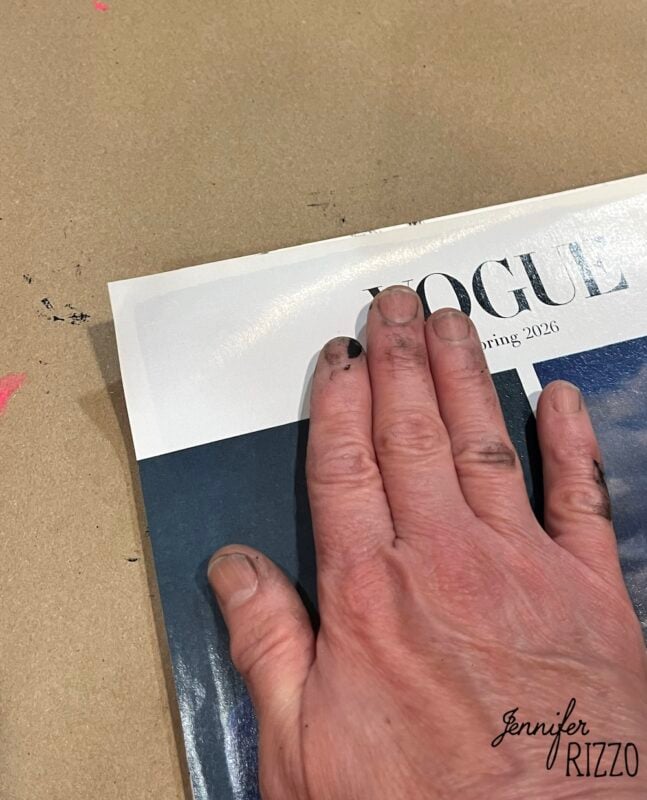
Rub over it for 10-15 seconds with your hand and then lift. Let the paint dry.
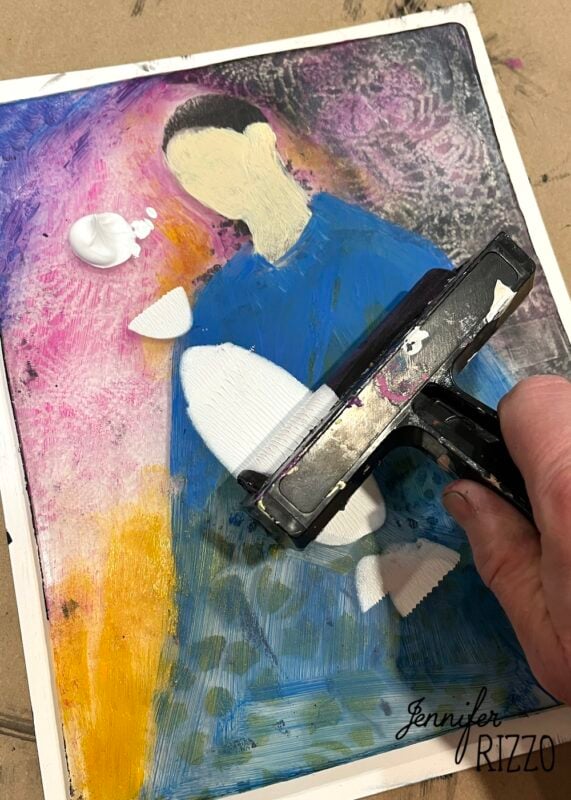
Add Painted Embellishments to Image Transfer
Once the image has dried, additional painting can be done over the top. Images and texture can be added with all kinds of things, or items can also be hand painted on.
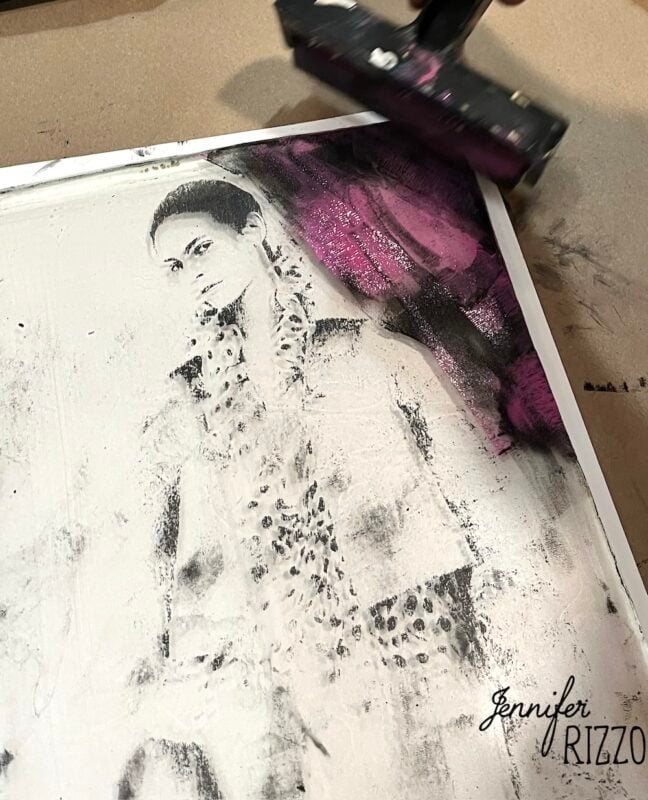
Let each layer dry. The biggest thing to remember is anything added is being painted in reverse, so only items to the front will be seen ao make sure details go down first. Let dry.
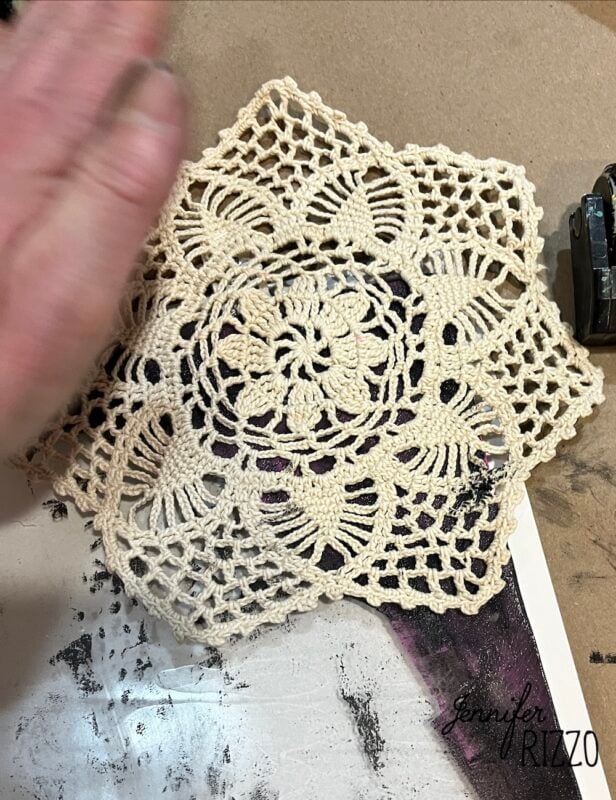
Try Other Ways to Add Texture Such as Stencils
Stencils and a foam brush and paint can be used to add texture over the entire piece or just in select areas. Let paint dry before adding a new layer.

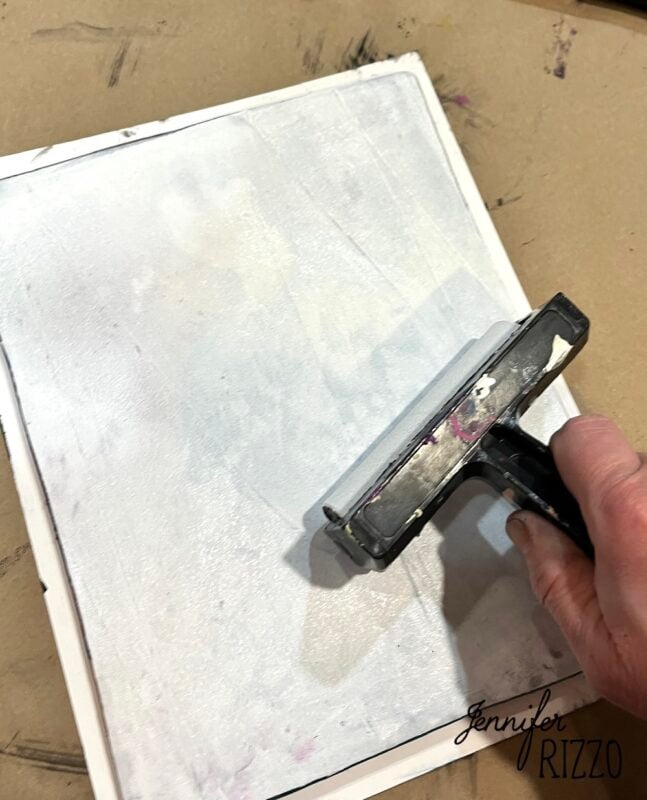
Lift the Image with Paint
Apply paint of choice to the back of the painted gel plate. Use the brayer to spread it evenly all over the back of the image until there is complete coverage.
While it’s still wet, apply a sheet of card stock over the top. Place another sheet of paper over the top of that sheet (a roller sheet). This will do two things. One it will protect the back of the paper from left over paint on the roller, and two, remove excess paint on the roller.
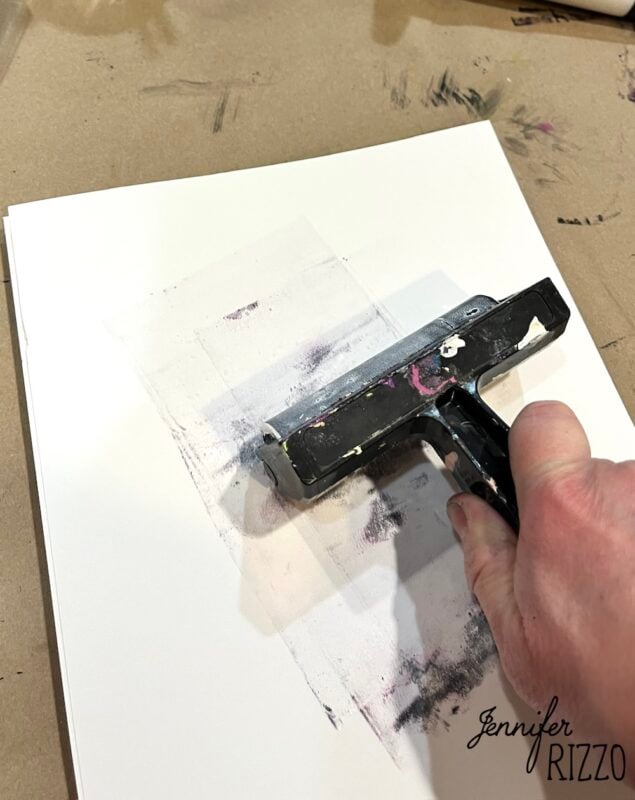
Roll the brayer firmly over the entire paper so contact is made between the card stock and paint on the gel plate. Let sit and dry at least 10 minutes. It will take longer for thicker paint and can take up to 24 hours with really thick paint.
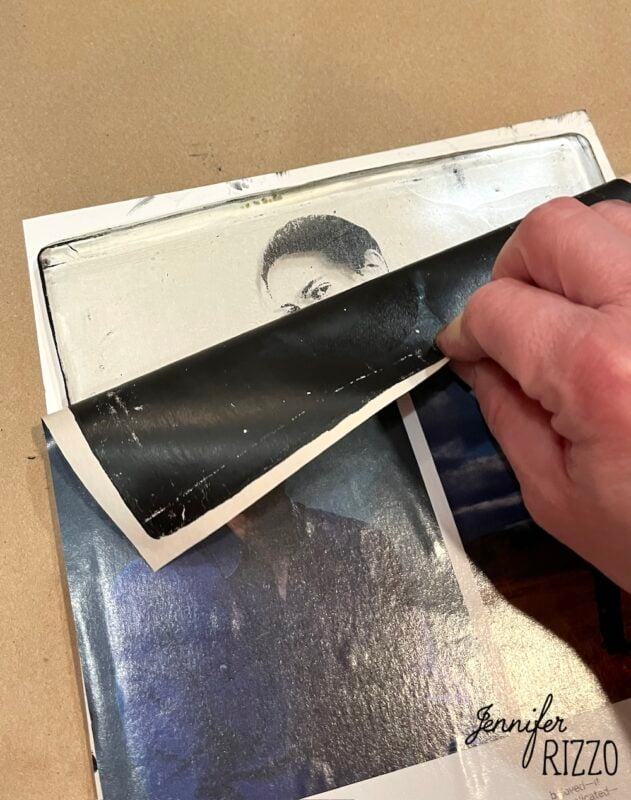
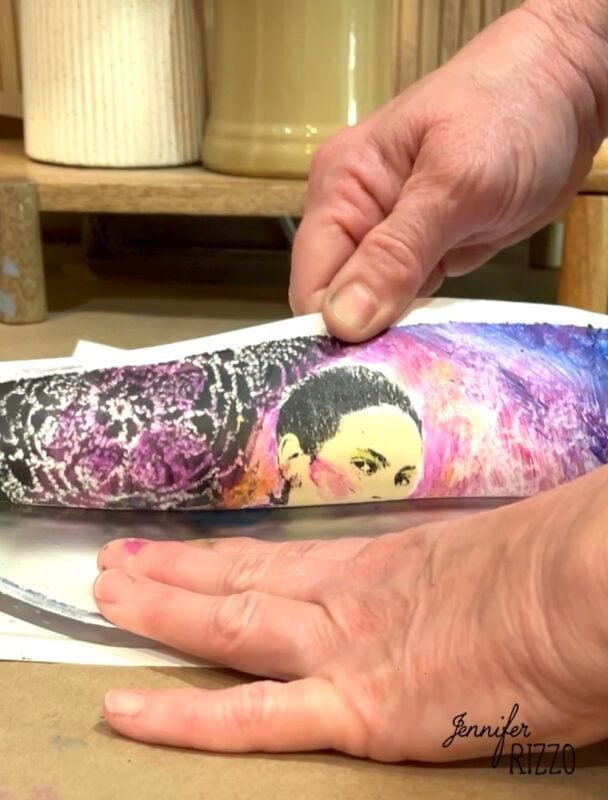
Pull the Paper Off of the Gel Plate
I prefer to remove the paper from the plate so it puts less stress on the plate. Gently lift and edge and make sure the paper is removing cleanly from the plate. If it is, pull it up and back until it’s a part. If it’s still wet, press it back down and wait a little longer.
Why Didn’t My Image Transfer Work?
No image just paint: Too much paint or too much pressure
Image not detailed: Not enough pressure.Try for medium firm pressure.
No Image left on plate: Paint dried and waited too long or not enough pressure, or image was not high enough contrast. Make sure to use a glossy print with toner.
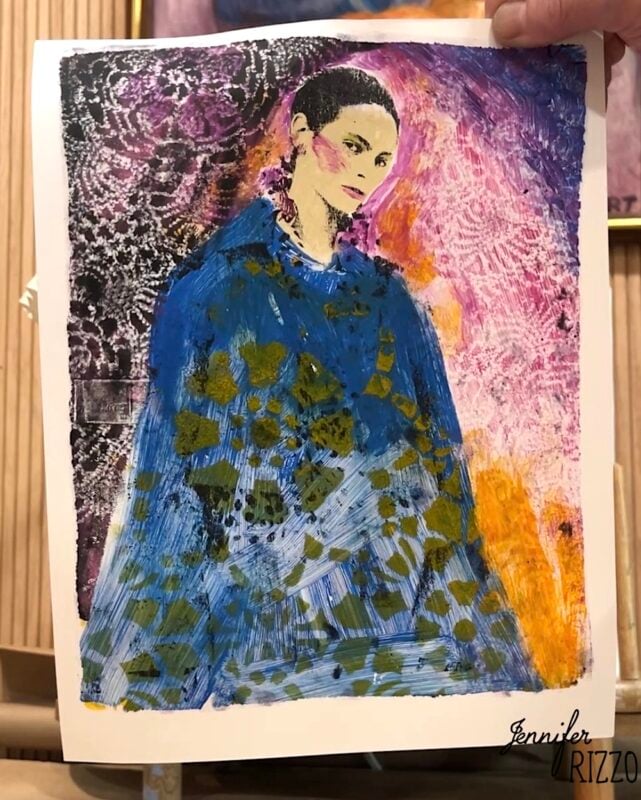
Frame Your Art!
At this point you have a unique, one of a kind gel plate monoprint to enjoy! You can make all kinds of art, and be really creative with layering, color and textures! Some people have multiple gel plates so they don’t need to wait for dry time!
