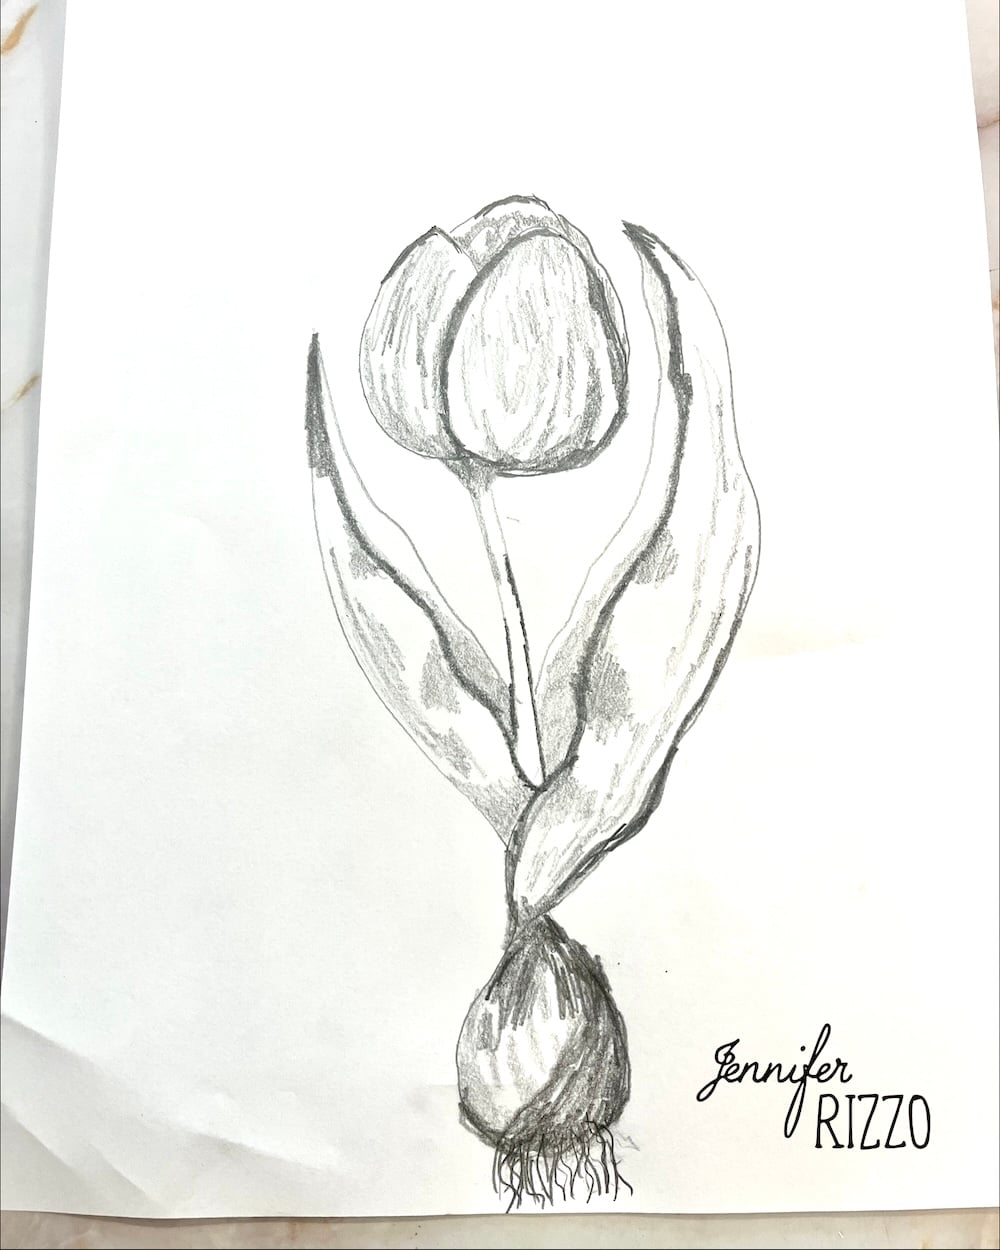
How to Draw a Tulip in Pencil
Tulips are pretty flowers to draw and can be sketched in a plain lead pencil, with colored pencils, or even in watercolor pencils for a pretty watercolor look. While there are many varieties of tulips such as those with a frilled petal, we’ll go step by step for drawing a basic tulip that can then be adapted to all other kinds of tulips with little changes. You can use this drawing guideline to modify the flower shape and variety.
Supplies for Drawing a Tulip
-Plain pencil, if using an art pencil, an HB hardness of pencil is recommended
-Eraser
-Drawing or mixed media paper
Draw the Flower Head First
I find it’s easier to start with drawing the main flower and then add the stem and leaves after. That way you can make the stems as long as needed. We’ll add a bulb bulb on the end, but you can also use this tutorial to add some tulips in a vase as well. If you love this tutorial, try painting a tulip in watercolor. This thing to know about tulip flower buds and head is that the petals overlap each other.
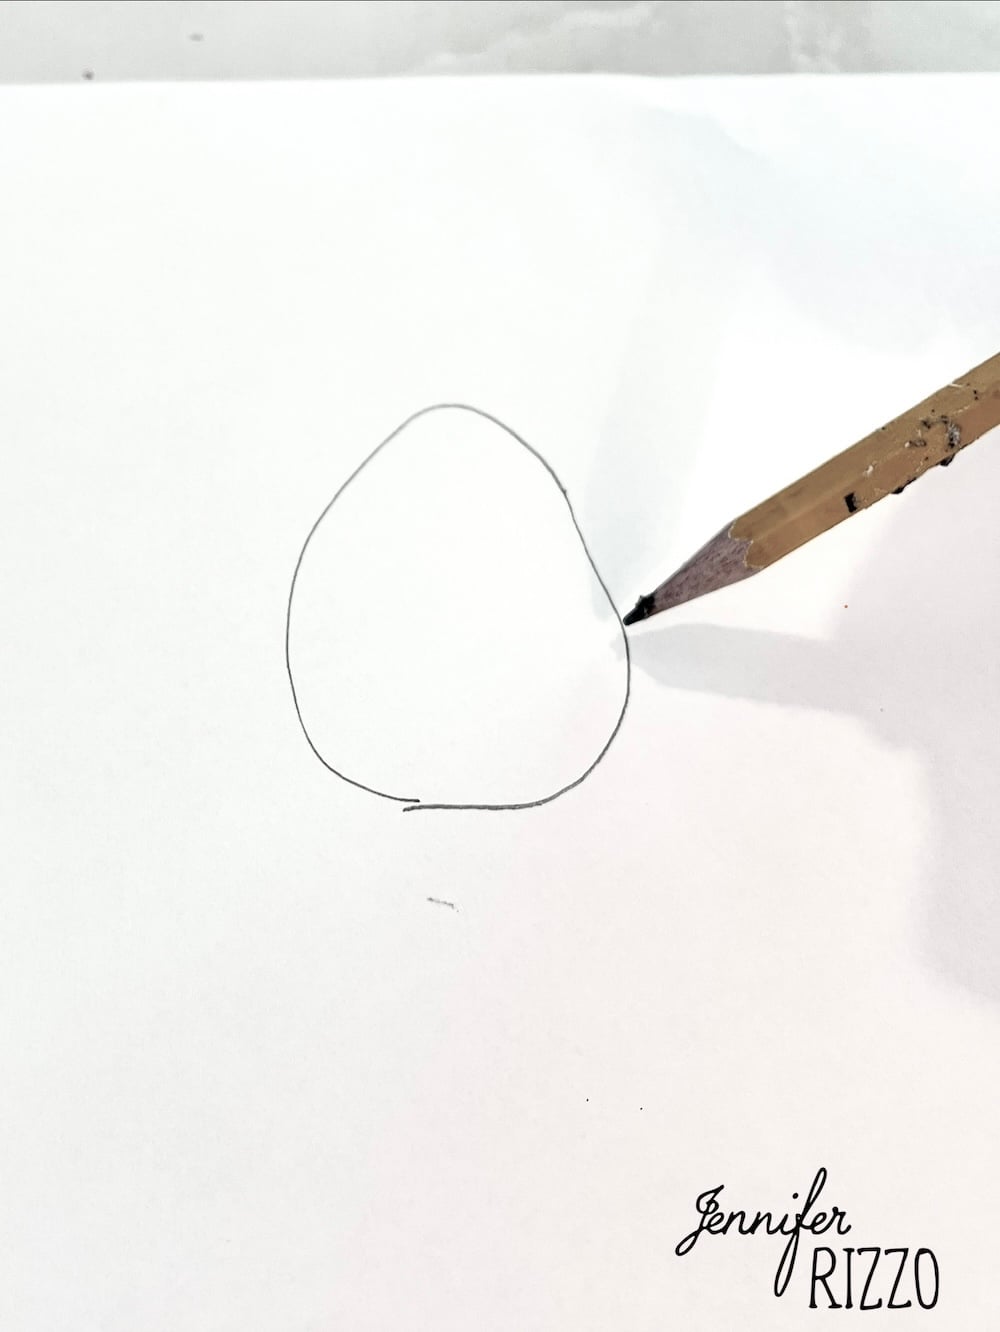
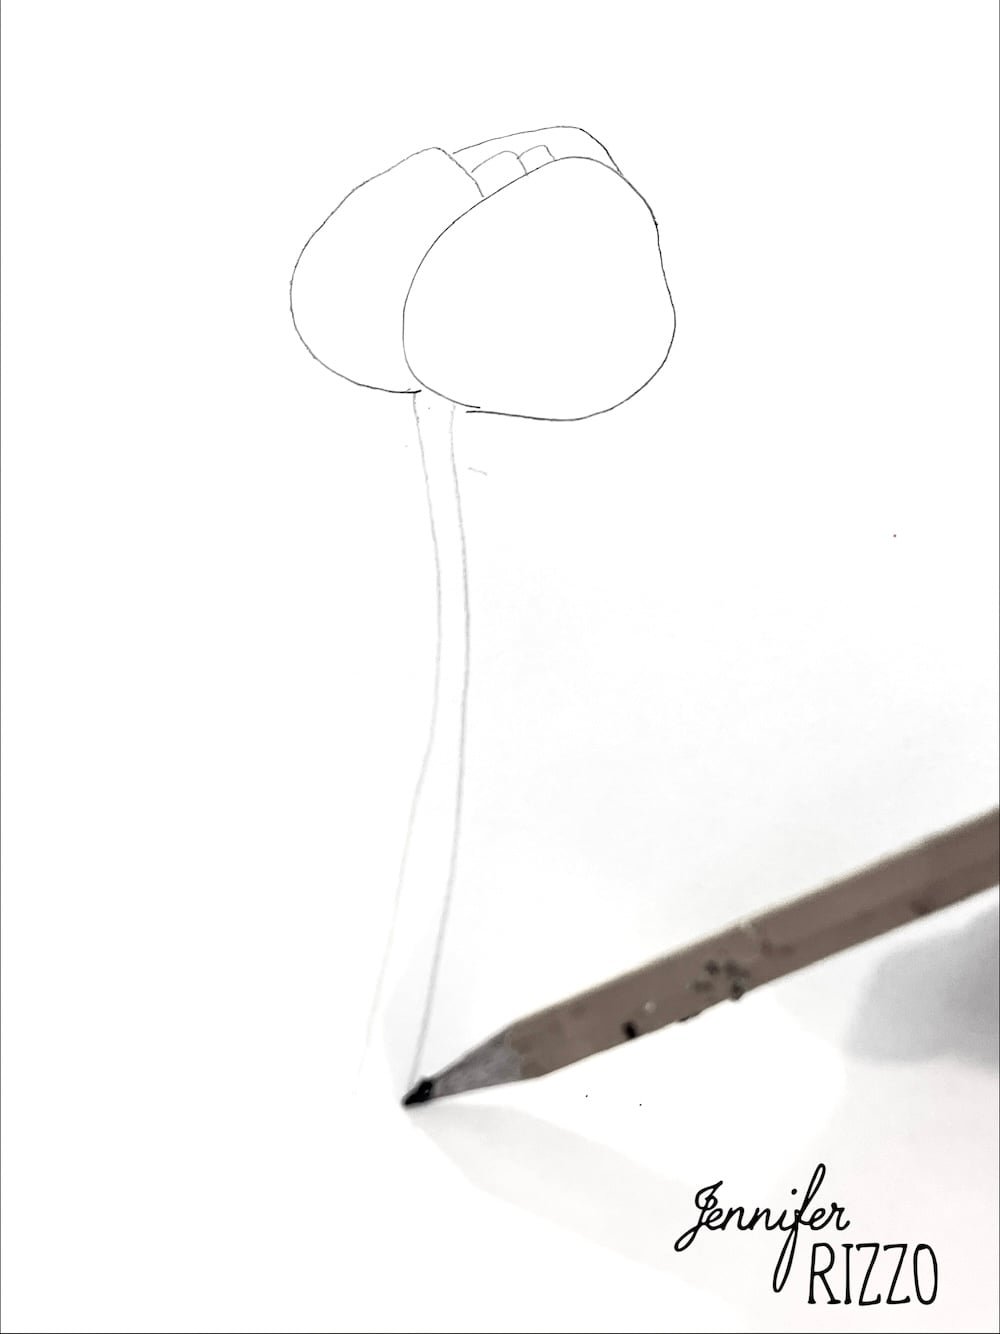
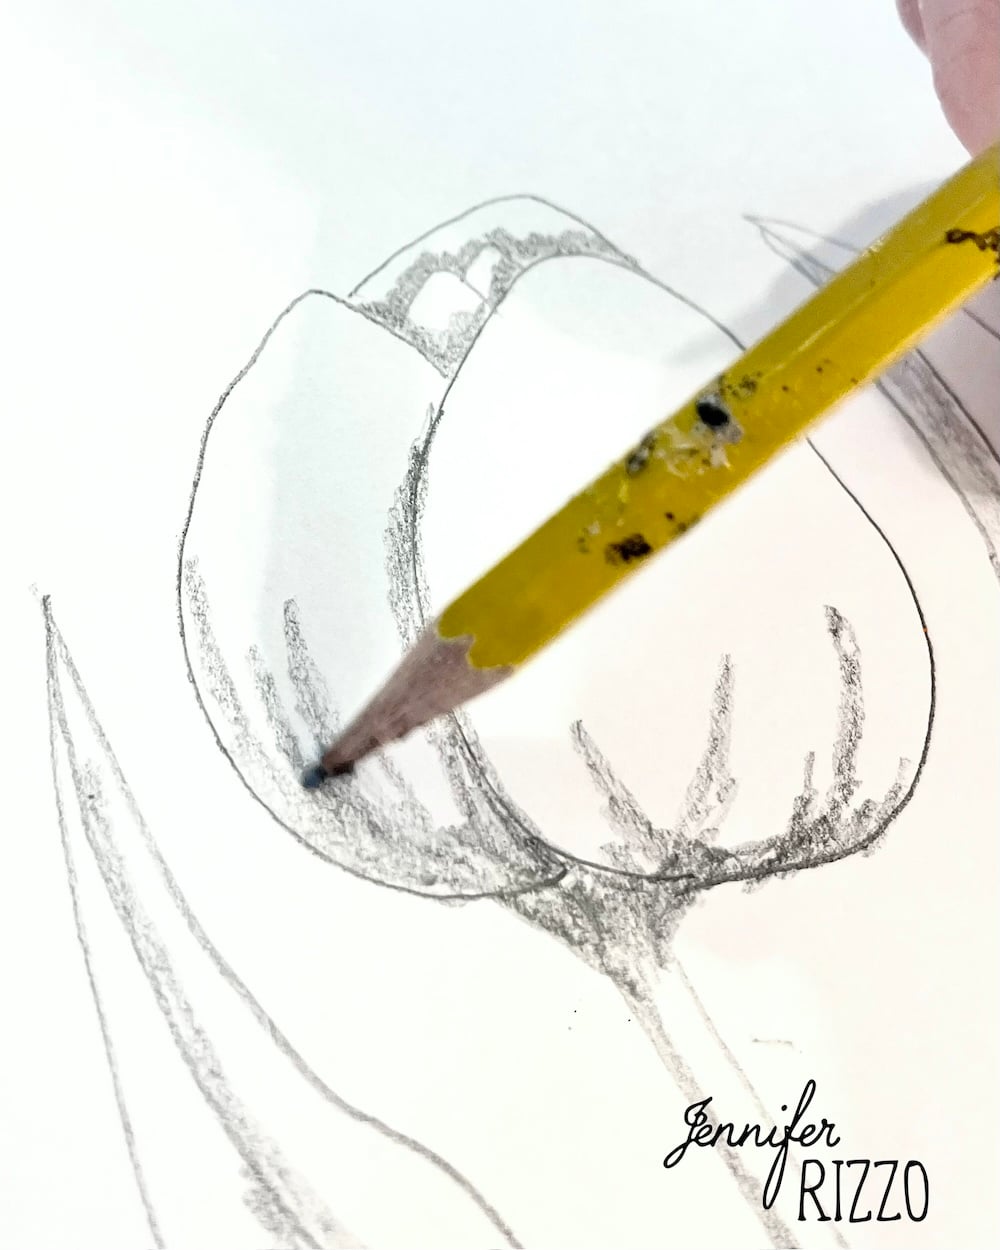
Start by drawing on large tear drop shape with the stop slightly rounded. This will be the front most petal.
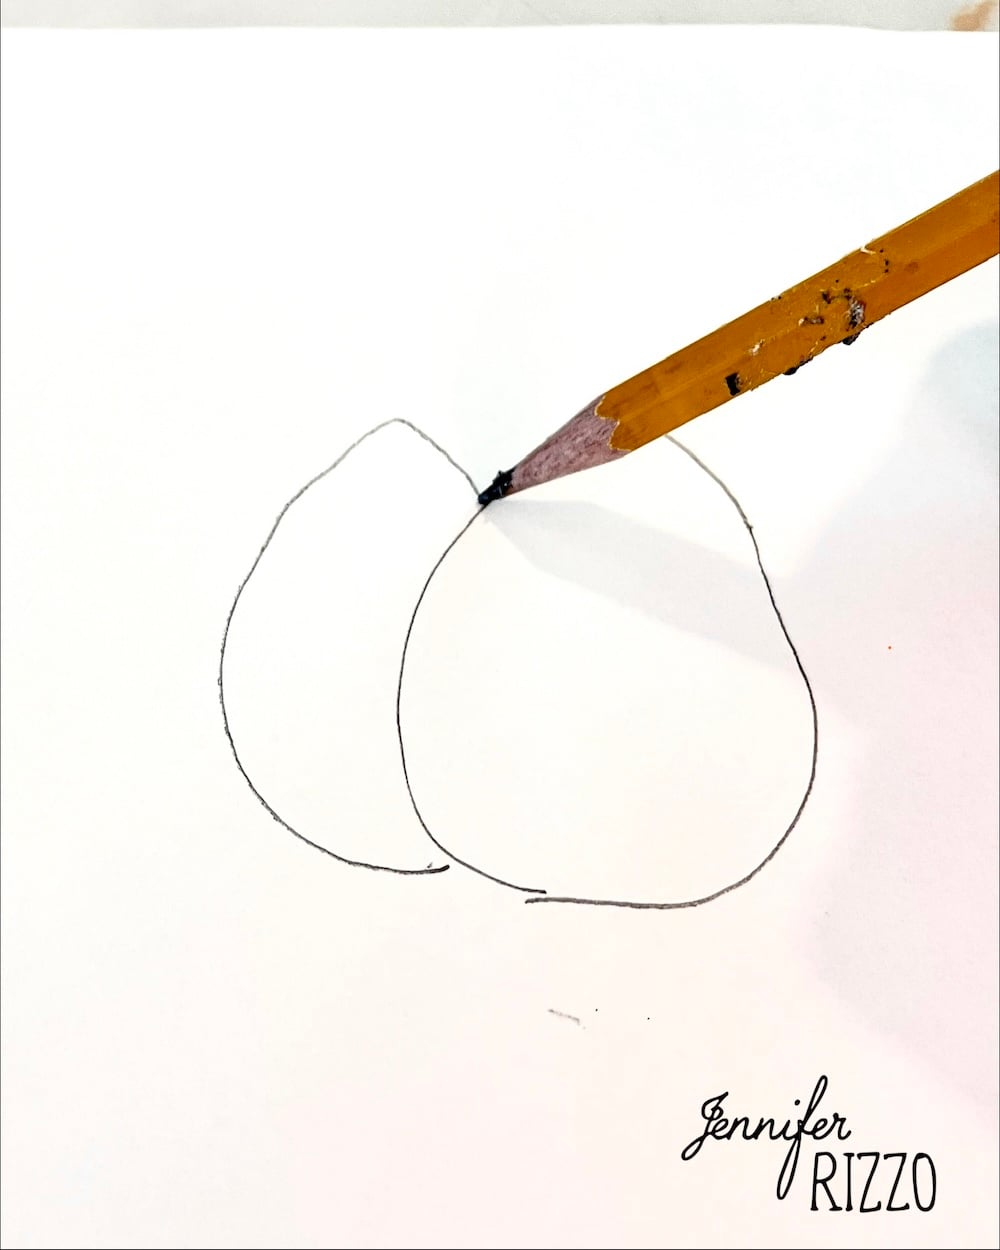
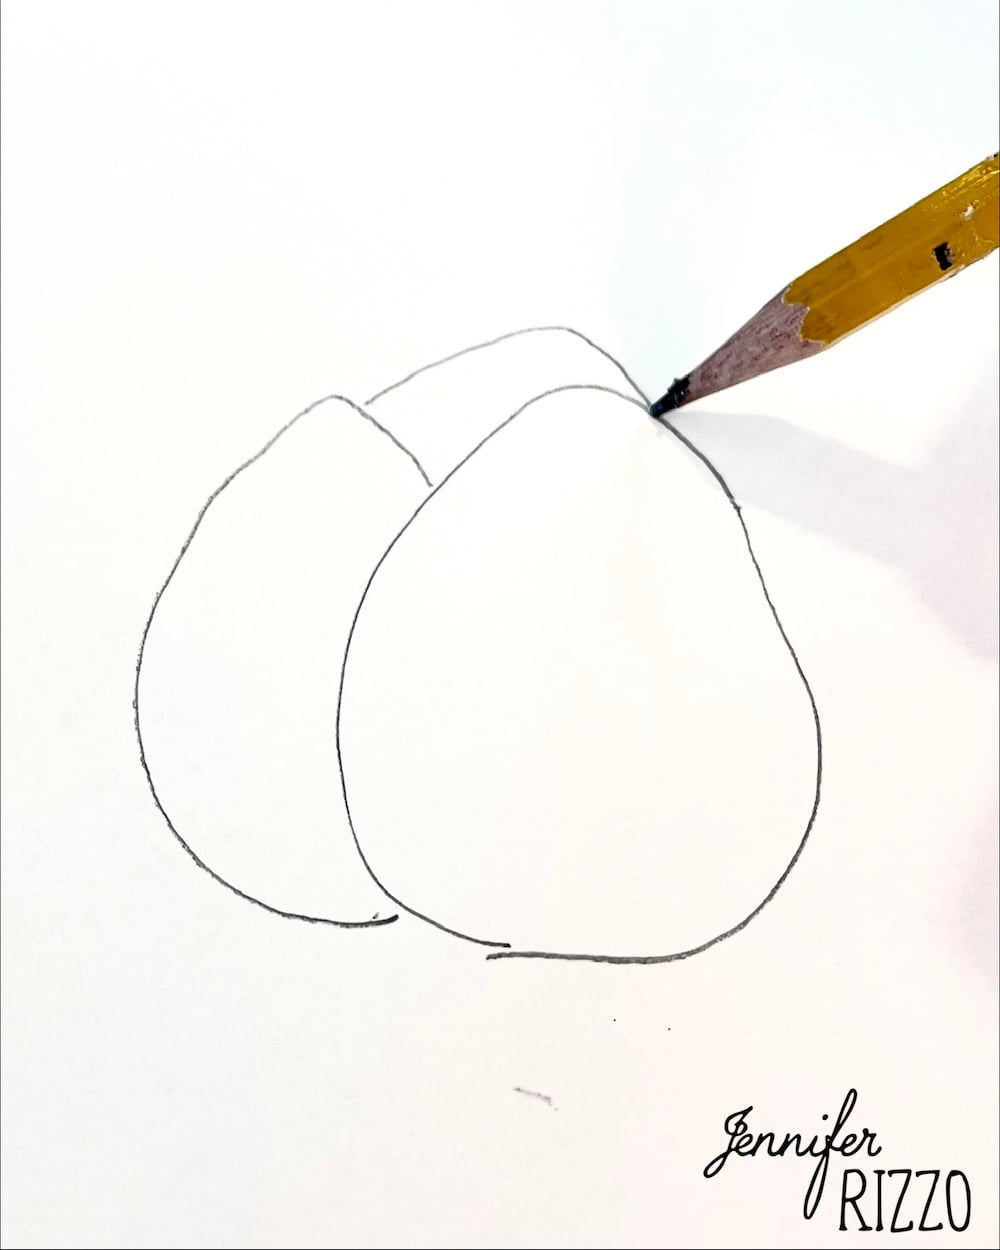
Add the second petal. This will be drawn from a side angle and is curved to the outer edge and goes slightly under the front petal. For the third petal, create an arch behind the other two petals and connect them.
Add some smaller arches on the inside of the tulip center. This will be the inside smaller petals.
Draw the Tulip Stem
From the base of the flower bud, draw two lines next to each other and curve them slightly until you reach where the base of the flower ends.
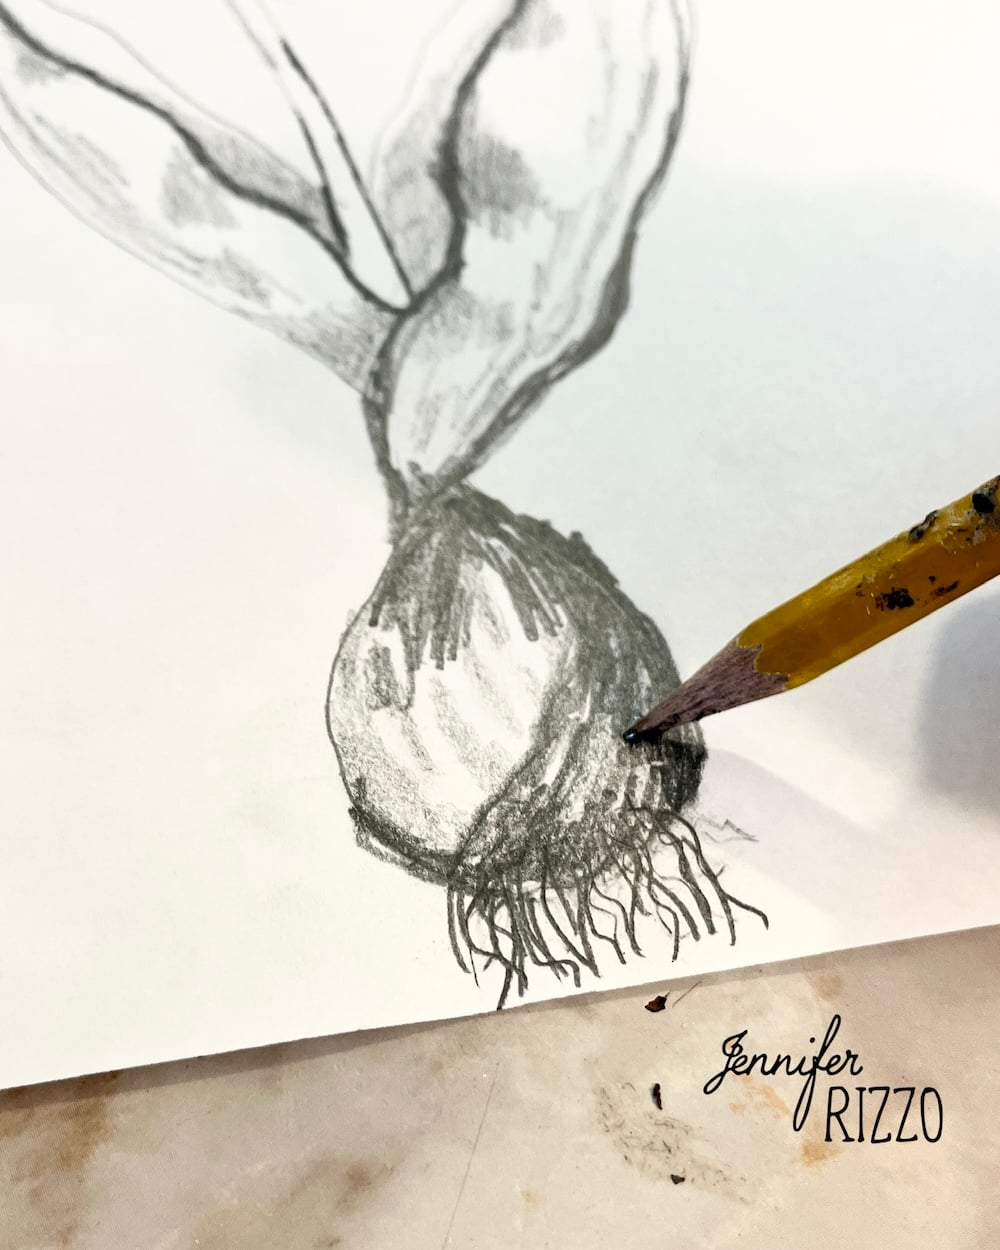
Draw the Bulb
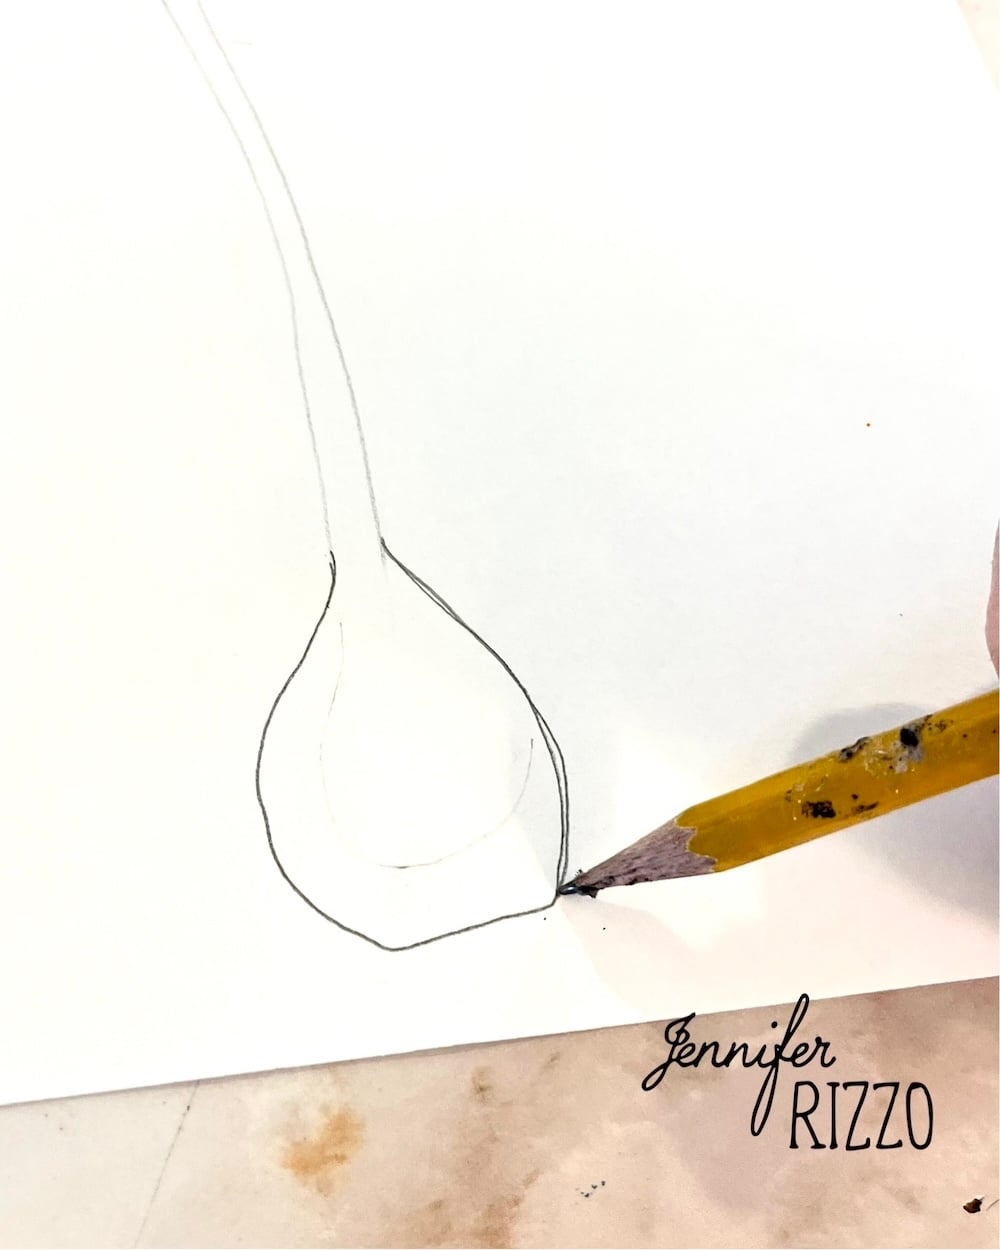
At the bottom of the stem add a larger tear drop with a fatter base. This will form the shape of the bulb. From the bottom of the bulb. When the tulip is done, use a very sharpened pencil tip to draw squiggly lines to mimic roots at the end and add shading.
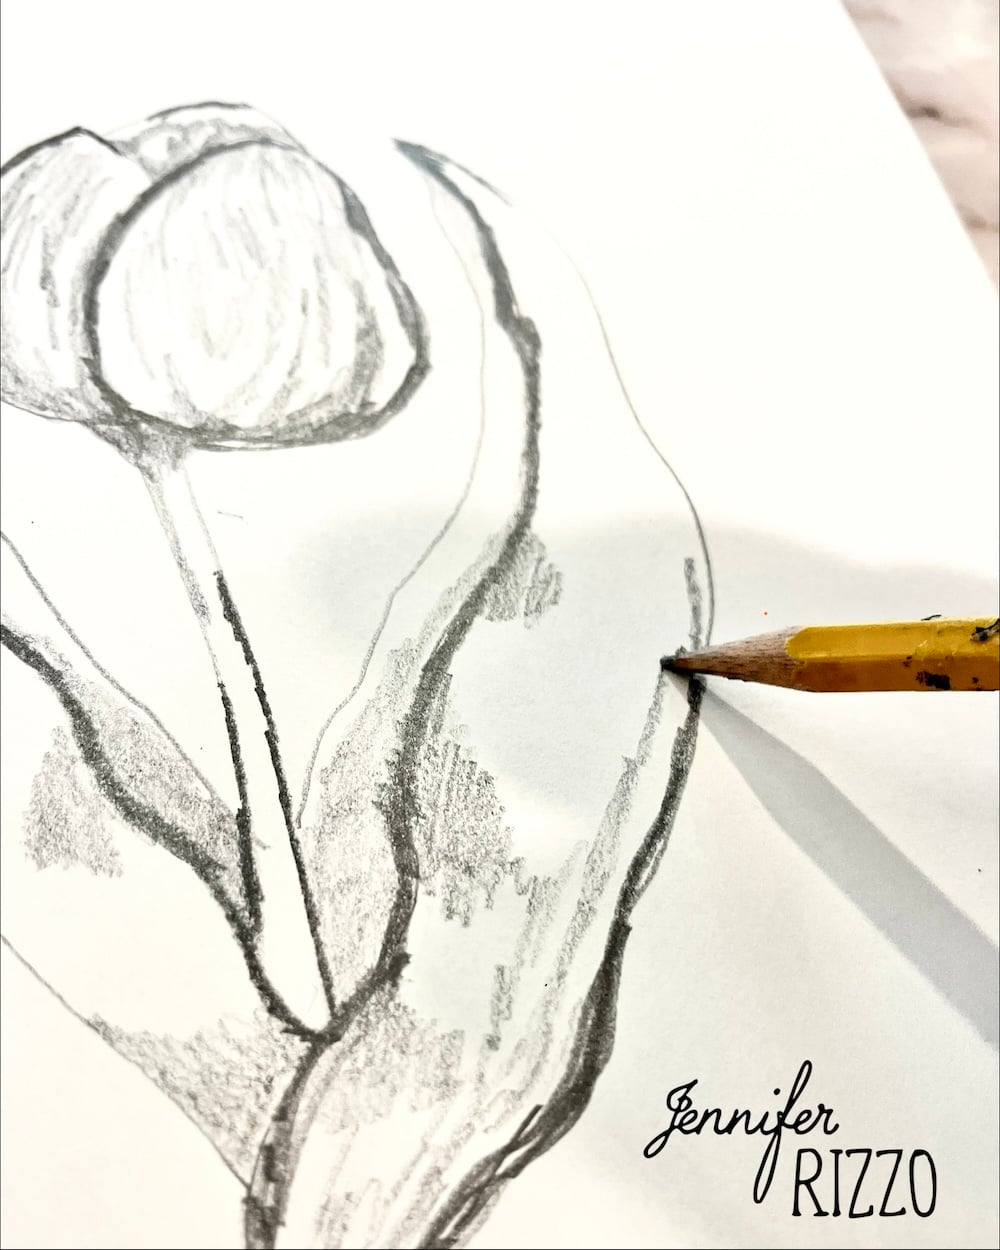
Draw the Tulip Leaves
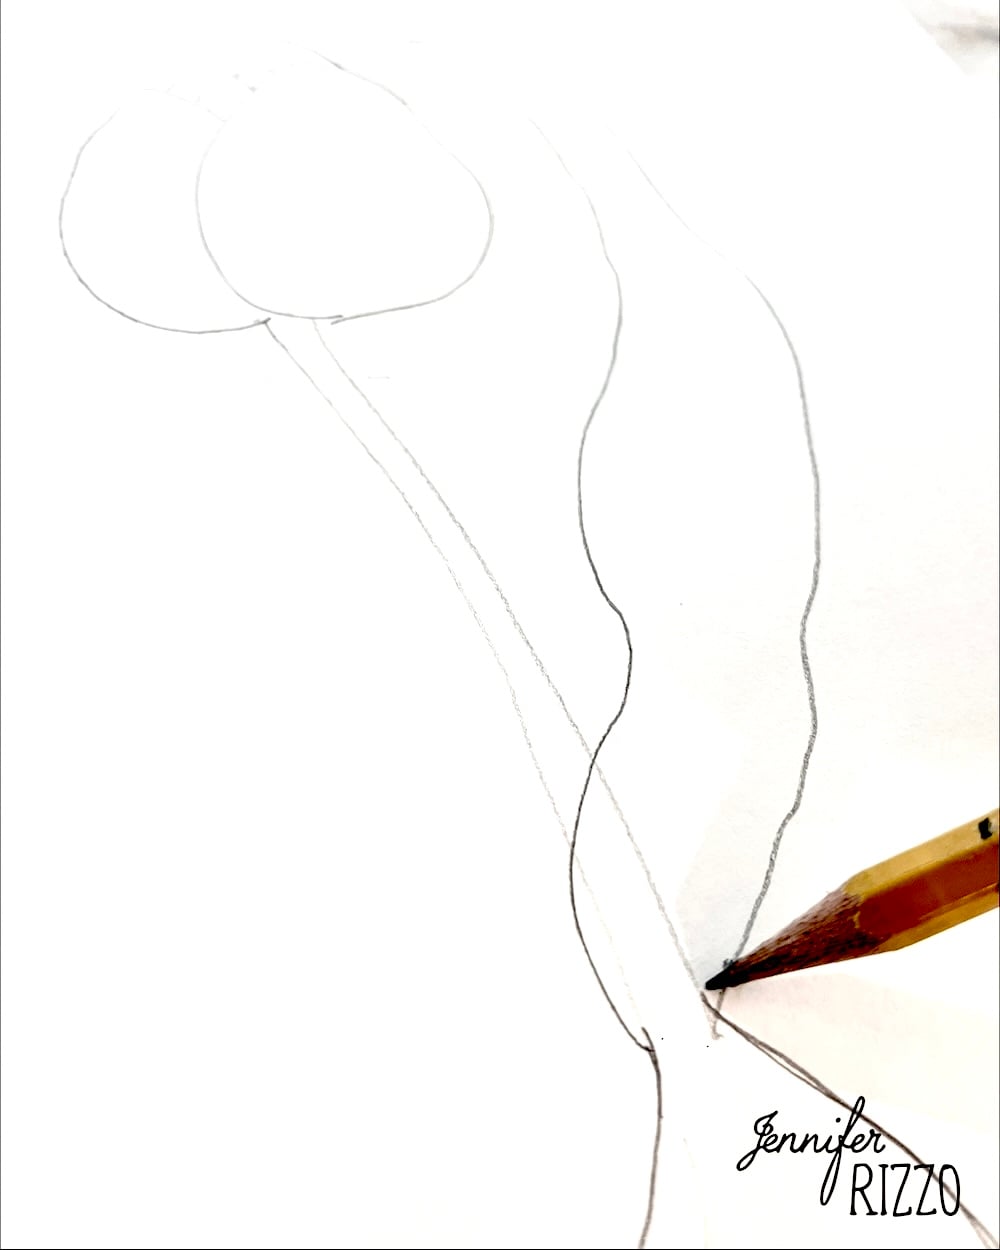
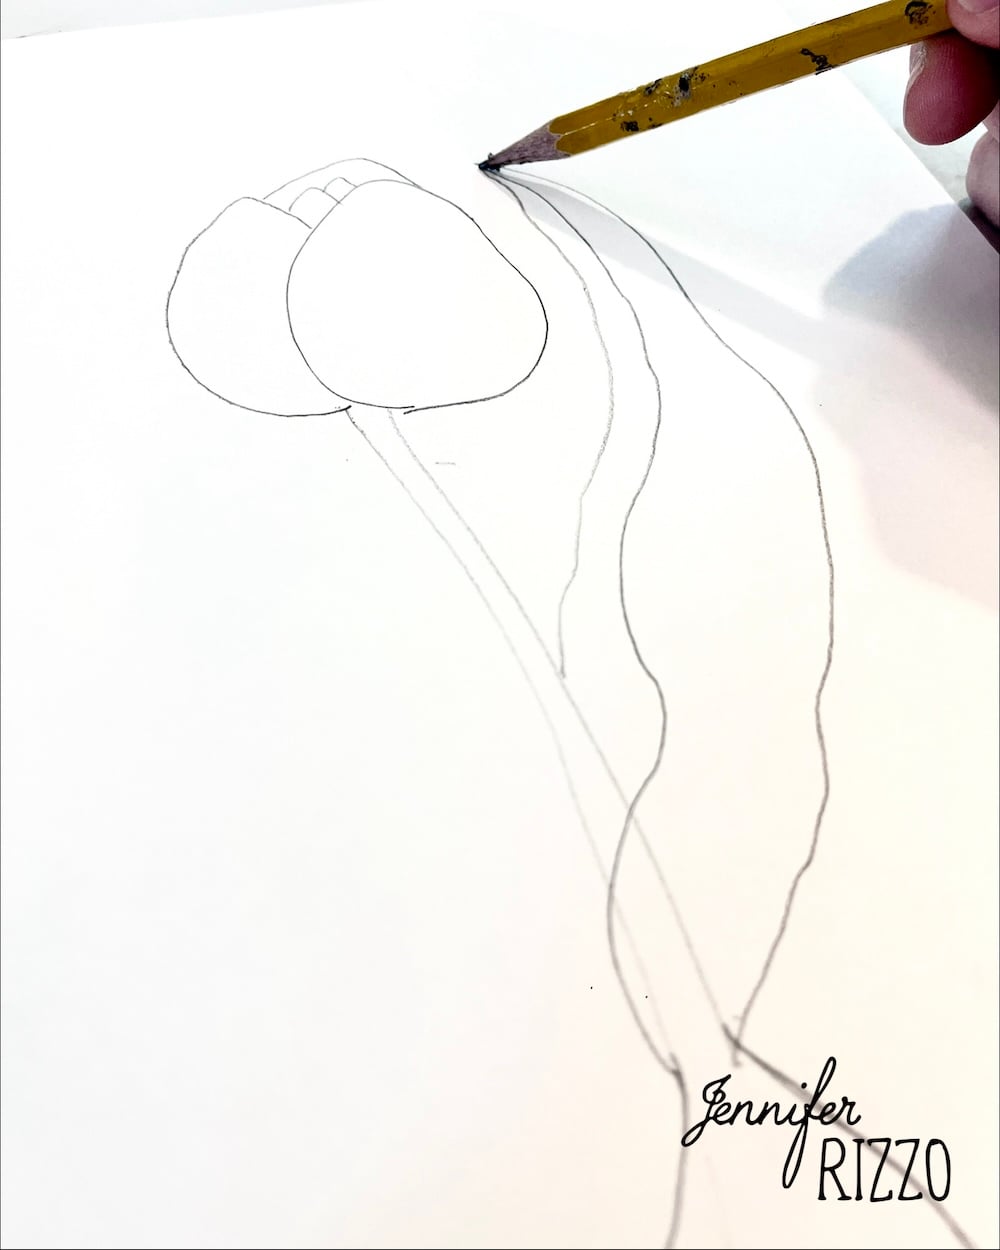
Tulip leaves are long leaves. They wrap around the base of the stem and start about half way up. Some leaves are thick and other varieties are thin. Draw them as a long triangle with a very pointy tip, the base of the leave covering the stem and coming up behind the stem. The less there are straight lines the better. Go in and erase any pencil lines on the stem from overlapping.
Add Shading to The Tulip Drawing
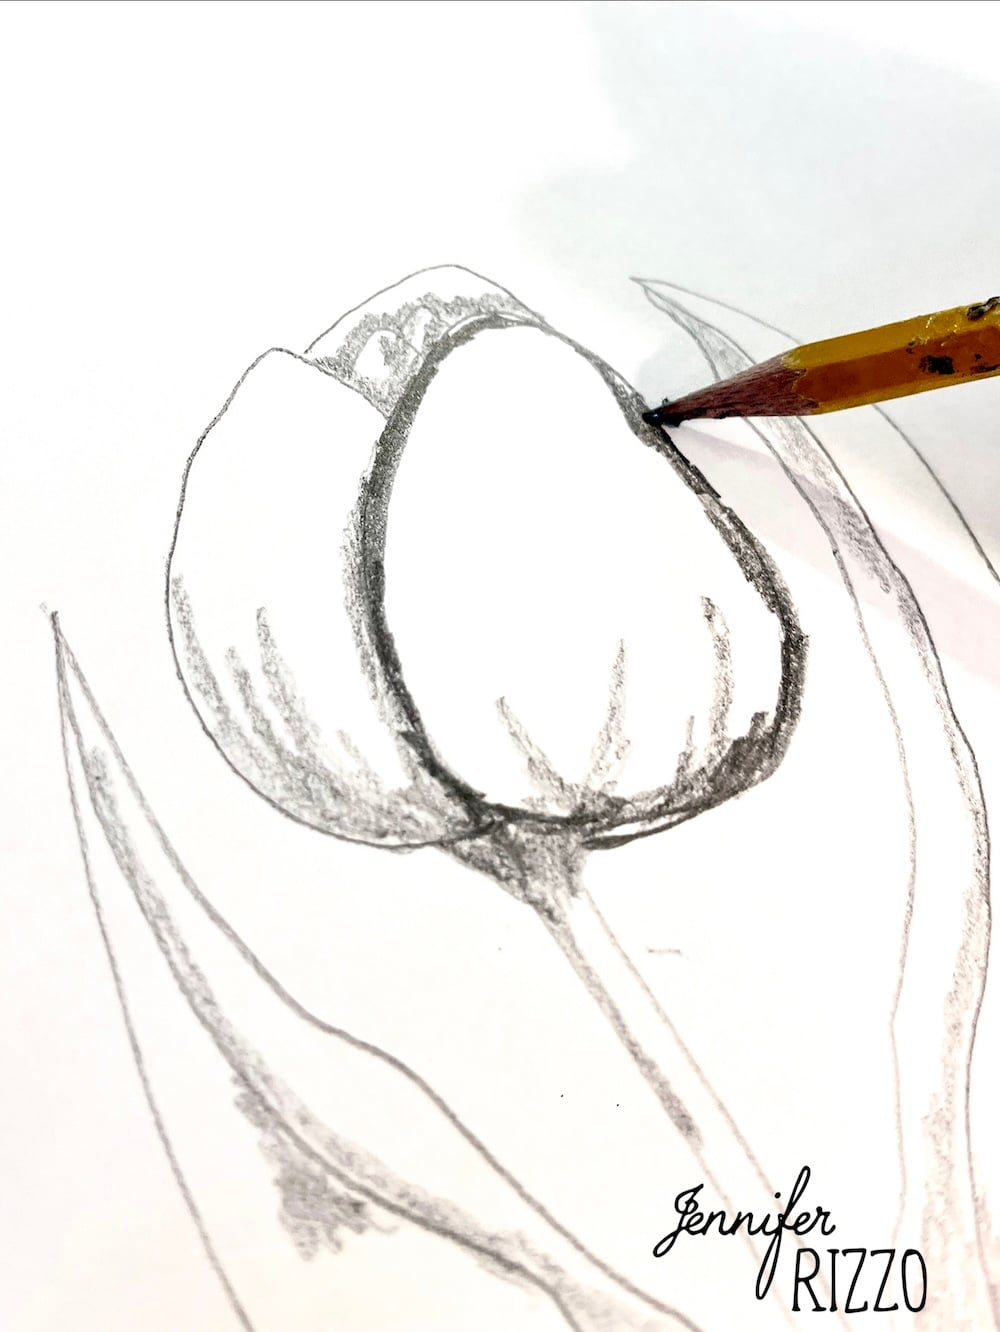
Shading with the pencil is where the tulip will gain some realism and dimension. If we consider the light is coming from the upper right hand corner. Along the main flower petal on the left edge where it meets the right edge of the other petal, use some light shading to create a shadow where they overlap.
Add shading with the pencil in the center where the mini petals over lap. Create a shadow where the bottom of the flower head meets the stem top. Add some light shading along the edges of the leaves and to the part of the leaves where they are behind the stem and any wavy areas that look like they might be in a shadow.

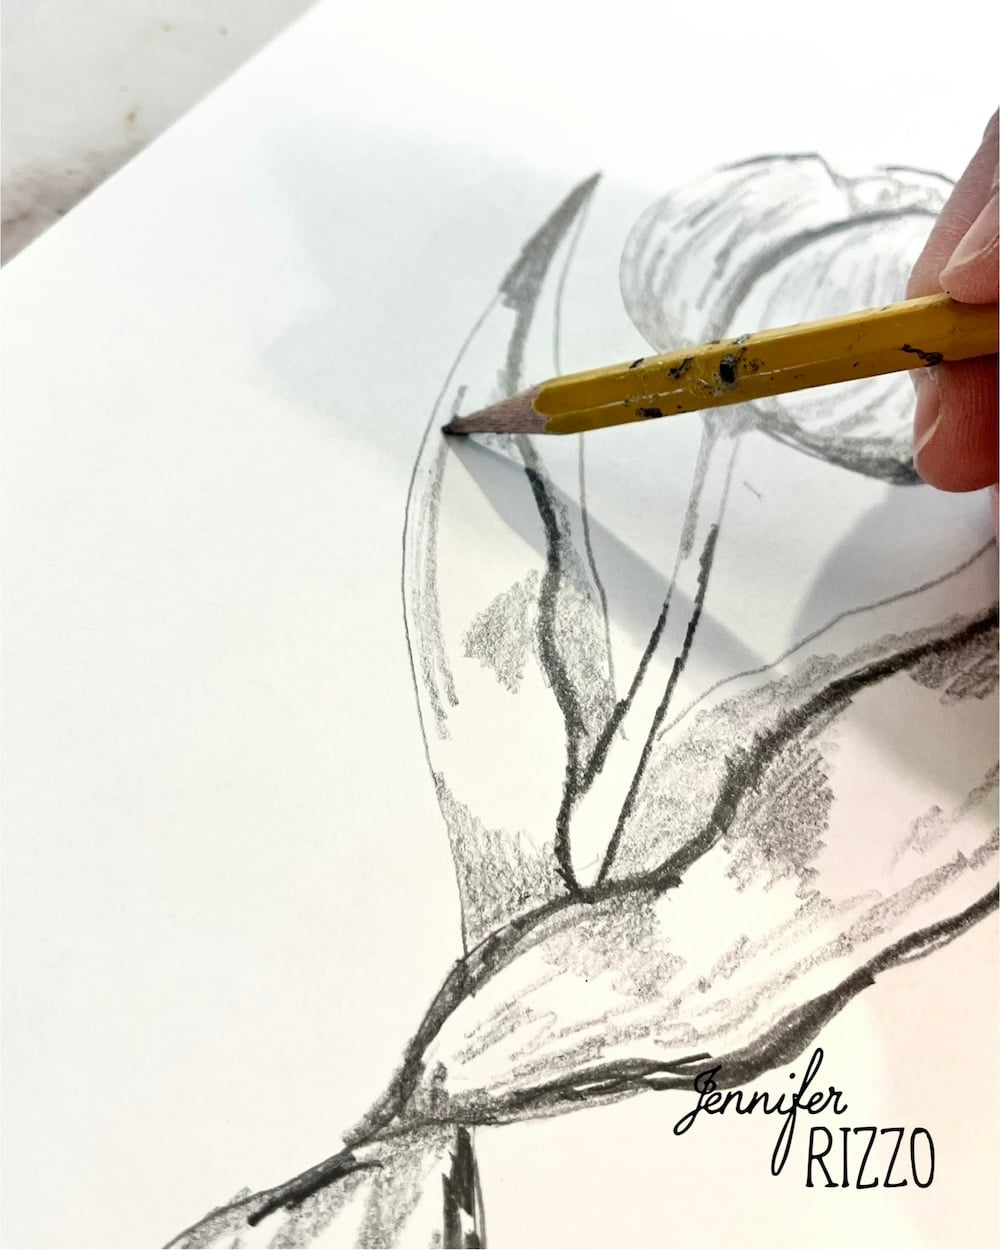
Darken Some of the Lines on the Edges of the Flower Petals and Leaves
Darkened lines can tell the eye what sits in front of something else. Use a softer , darker pencil, or slightly more pressure with the current pencil to add darker pencil lines.
Outline to the front petal, edge of the leaves that are closest to the front and the top edge of the bulb, as well as darkening a few roots to make them pop. All of this well add to give more dimension to the tulip drawing.
Add more shading as needed on the tulip.
Finish Adding Details
Add details such as additional shading and imperfections to make it look more realistic. Don’t forget it’s in pencil and can be erased if it doesn’t look quite right!
I hope this tulip drawing tutorial has helped you practice your drawing and create beautiful art!
This can also be drawn with watercolor pencil on watercolor or mixed media paper so a watercolor version can be painted. See how to paint the watercolor version here. The petal sizes and amounts can be changed to look different and the bulb can be left off as well. Feel free to print out this drawing below and use as a template!

Do you love making art? See how to paint a hydrangea here
