Fast and Easy Crown Molding and a Living Room Makeover
This post about Fast and Easy Crown Molding and a Living Room Makeover is sponsored by Crown Molding Solutions, opinions are entirely my own.
Crown molding has been a project on our “home bucket list” for years now. We’ve been hesitant to tackle it because of not only the cost and labor, but it was one of those projects that seemed a little intimidating (i.e. miter cuts.). I’m partnering with Crown Molding Solutions to bring you a way to do fast and easy crown molding and a living room makeover in an afternoon! There’s also a video at the end of those post if you want to see the project in action!

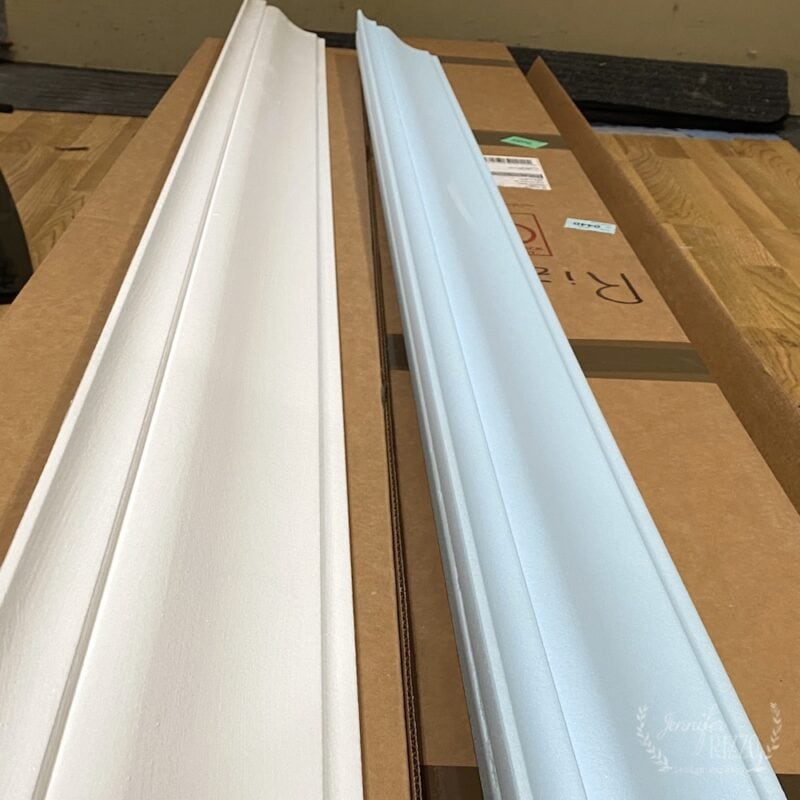
Crown Molding Solutions makes a high density foam crown molding that’s really easy to install and really affordable. For my living room makeover, I used their flat back crown molding. It arrived at my house in two giant boxes unharmed and ready to be painted! There are 6 styles of the flat back crown molding to choose from (link), and sizes (3 1/2 , 4 1/2 and 6 inches).

I picked style number 6 in flat back crown molding. Normally a room my size with 8-foot ceilings would call for 4 1/2 -inch crown molding, but I decided to take a design risk and go with really oversized 6 inch crown. I was a little worried at first, but I can’t tell you how glad I am that I did that because I love the impact it makes!

For supplies, you’ll need a water-based paint color of choice and brush, the foam crown molding pieces and corner pieces, silicone caulk and caulk gun, a miter saw kit, a caulk tool, spackle, paper towels, gloves and eye protection, and a ladder. Or, you can find installation kits and supplies here.
When measuring the room consider the inner and outer corners as well. Our living room is not huge, it’s only about 17 x 12 so we ended up ordering about 10- 8 foot pieces, plus the corner pieces. We had plenty for extra cuts and possibly mistakes. The one thing I underestimated was the water-based paint plus primer. I only bought a quart and was scraping the can at the end. I would recommend at least two quarts, if not a full gallon of paint for your project.
Installing the foam crown molding was so easy! First, I painted them with two coats of white paint to match the other trim through our house. Once they were dry, we were ready to tackle the installation.
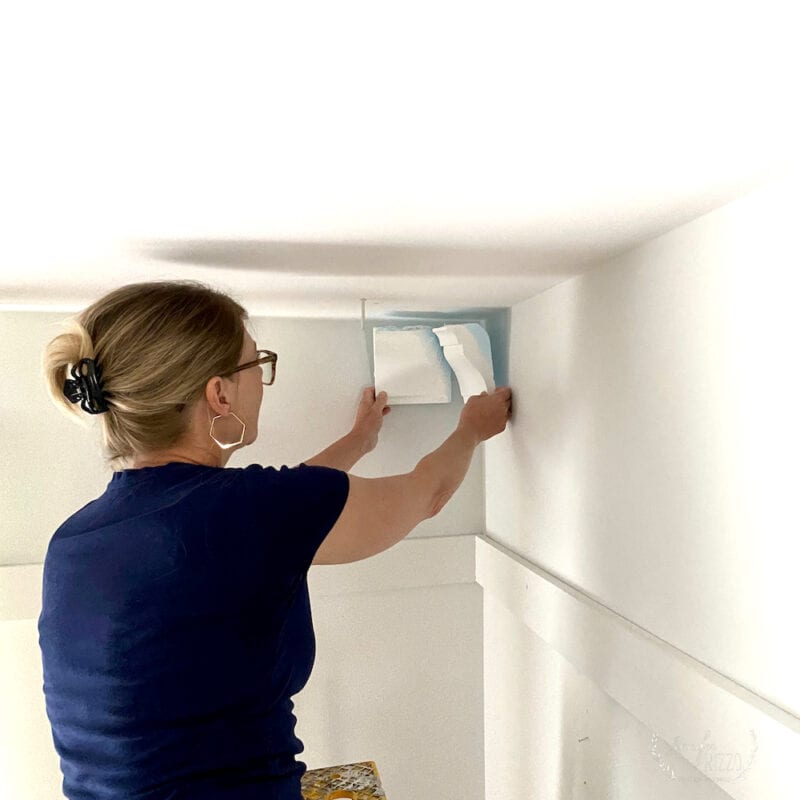
With eye protection (and if needed gloves) on, first install all of the corner pieces around the room. The best part is, they are already mitered! After applying silicone the caulk to the back of the crown (no nails or screws needed!), you just hold them in place for about 30 seconds. The long pieces go next to the corner pieces and fit right against them. I was thrilled with how easy it was! I was worried at first that caulk wasn’t really going to be enough hold them up, but they are so light weight it did!
Once all of the long crown molding pieces are up, we then made all of the smaller cuts using the miter saw, and installed those pieces. One thing we did find with the 6” crown was that it didn’t fit in our miter box, so we had to make sure to really measure the cuts of those pieces at top and the bottom to ensure a straight cut.

The foam crown molding cuts super easy. We had one piece that was a hair too long, and we just sanded it slightly to knock the edge back and it fit perfectly!

Once all of the living room crown molding was up, we patched the seams with color changing spackle and the caulk tool. The patching compound is pink when wet, and then turns white when it dried. I love it because I can go do other things, and then see when it’s dry by just glancing up (There is some shrinkage with spackle, so it may need two applications.)!

When the seams dried, I gave them a light sanding and then touched them up with the left over paint.

The final step was caulking the top of the crown at the ceiling, and bottom of the crown at the wall using the same caulk that was used to adhere it to the wall. That went fairly fast by doing the top and bottom in sections as I went around the room and using the caulking tool to smooth the caulk at the seams.

The entire installation of the foam crown molding took us about 3 hours start to finish and that included dry time. I thought installing the crown molding in the living room was so easy and fast! I love how it looks.

It changed the entire appearance of the room and gave it a great makeover in just an afternoon! I wish we had done it years ago! Here is the before and after of the entry way area too.


To find out more information about Crown Molding Solutions, make sure to stop by their website , you can also follow them on Instagram and Facebook.
If you liked this post, you might also like Fall Living Room Decorating, and using wood flooring as an accent on a wall. You can also see the crown molding project video:


Nice job! The crown molding is a great improvement and you made it look easy and uncomplicated. Congrats on a nice look!
Thank you Debra! We really love it!