Air Dry Clay Faux Insect Taxidermy
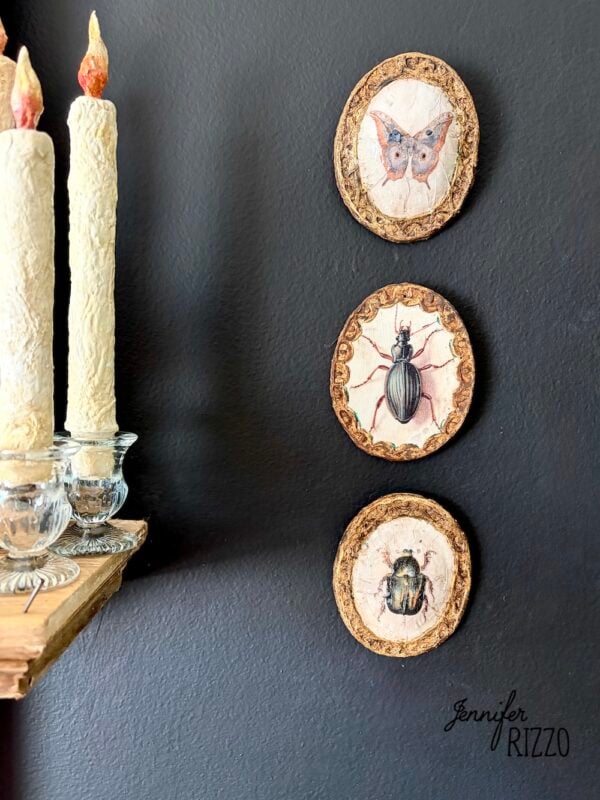
There is something hauntingly beautiful about Victorian taxidermy. The way they create entire flat dioramas under convex glass. We wanted to replicate the look of these with curved glass dioramas and without harming any real bugs. Plus, real antique gold frames and convex glass are so precious and delicate. This project mimics the look of dark academia and Victorian taxidermy frames with air dry clay, paper and paint. They are a little eerie at Halloween, but can even be left up all year. If insects aren’t your thing, try replacing the insect images with antique portraits or even landscapes. These are also the perfect size for one of those skinny walls where you need just a touch of art. We decided to make a set of three art pieces with two raised and curved taxidermy pieces on the top and bottom, and the one in the middle flat for interest.
Supplies to Create Air Dry Clay Faux Taxidermy
-Air dry clay
-Cardboard ovals
-Paper insect prints
-Decoupage medium
-Scissors
-Gold and brown paint
-Brushes
-Gold leaf adhesive and gold leaf (optional)
-Triple thick glaze
-Hangers
Cut Cardboard Ovals and add Clay
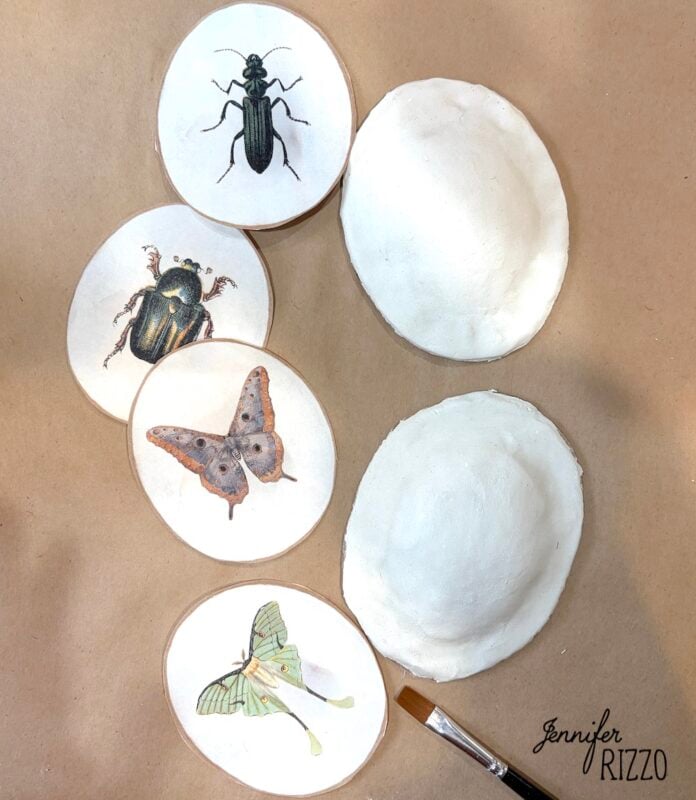
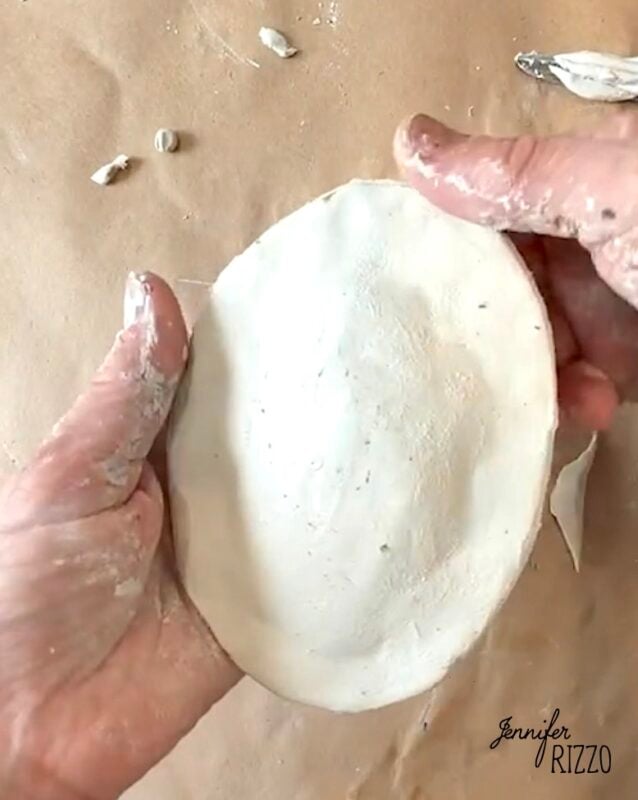
Cut cardboard ovals approximately 3 inches by 5 inches. Roll a ping pong ball size of clay and roll the edges so it tapers, press flat. Add a small amount of water to the cardboard and press the clay to the cardboard. Leave the center rounded and shape the edges flat around the outside of the cardboard. It might look a little like an oval ravioli. And it’s ok if it’s not perfect! Let the clay dry over night.
Cut the Edges of the Paper Insect Ovals
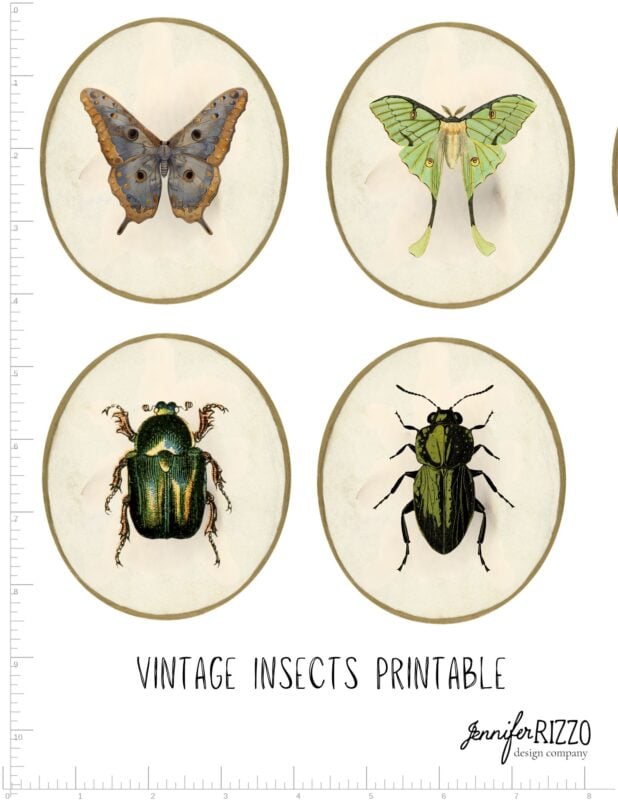
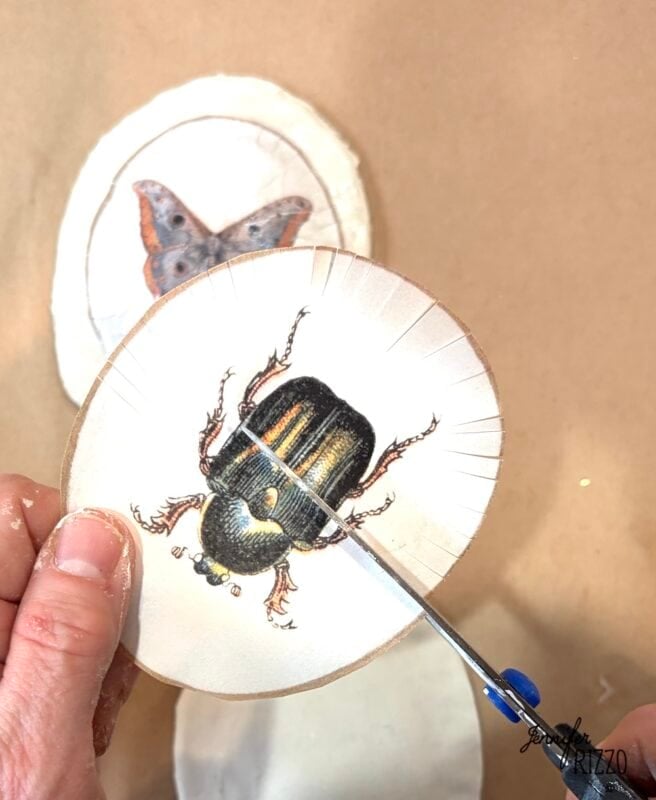
Print the sheet of insects out (printable at the end of the post) and cut them out. Use a pair of scissors to snip about 1/4 of an inch in all of the way around. This will help the paper bend around the raised curve of the mound.
Decoupage the Insect Cut Out
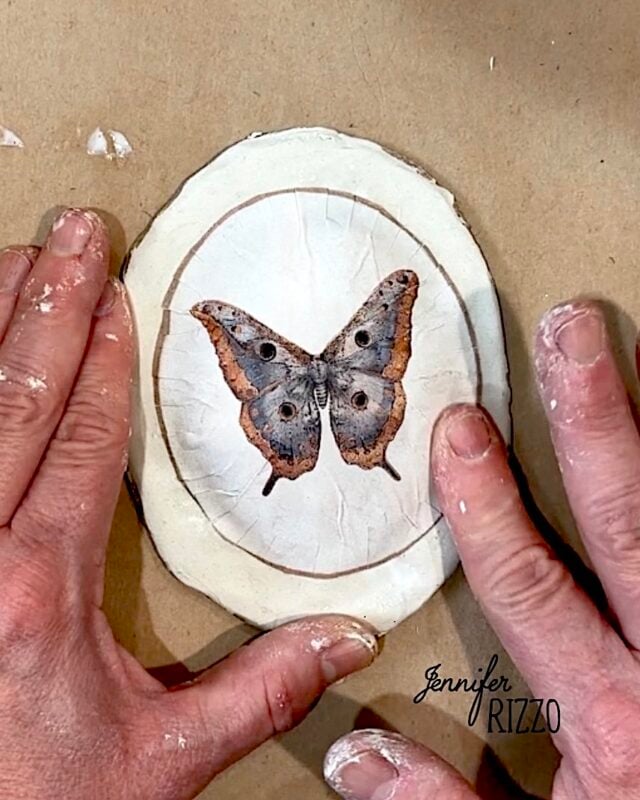
Once the edges are snipped, add decoupage medium to the clay and then onto the back of the insect print. Press them together and smooth out any wrinkles as best as possible. Add another layer of decoupage medium over the top.
Create the Faux Frame
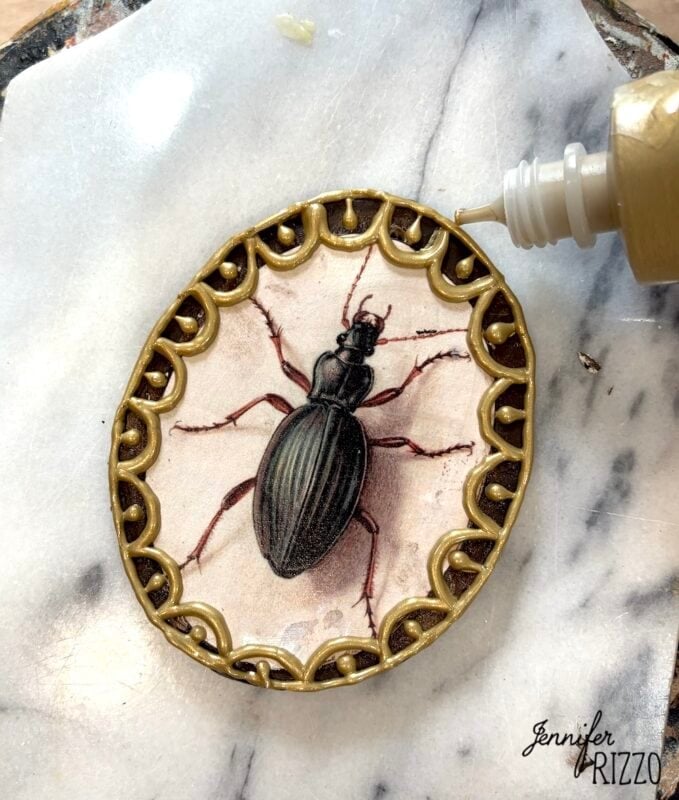
Use the dimensional 3D paint to draw a frame. We created mini arches around the edges and the added small dots of embellishment around the edge. The we outlined the inside and outside of the design and let it dry completely.
Paint the Edges with Gold Paint
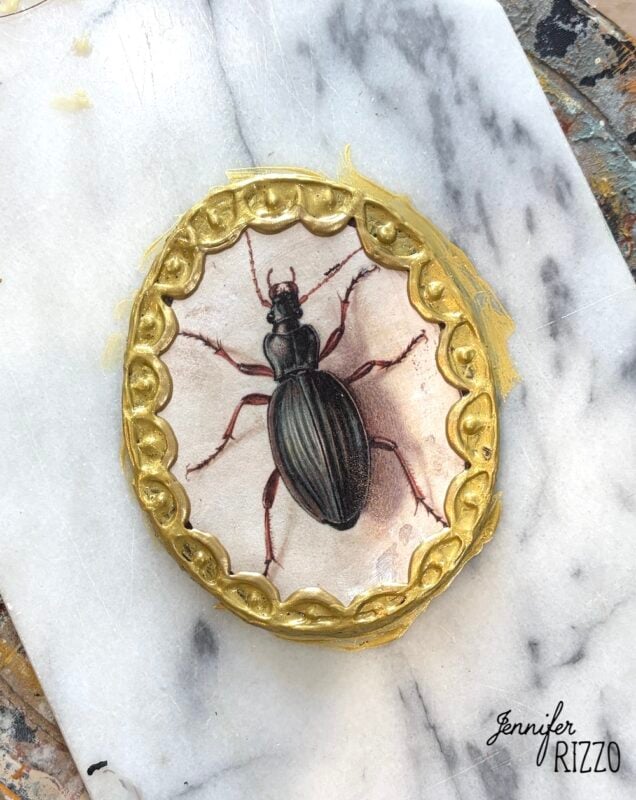
once the 3D paint is dry, paint over it with gold paint. This will cover any areas missed by the gold leaf. The gold leafing is also an option step. If you don’t want to do it you can skip to adding the aging with brown paint. The gold leaf is just to add an extra bit of shine and glitter.
Steps for Gold Leafing
To gold leaf the edges, paint a light coat of gold leaf adhesive onto the edges and let cure until it’s tacky.
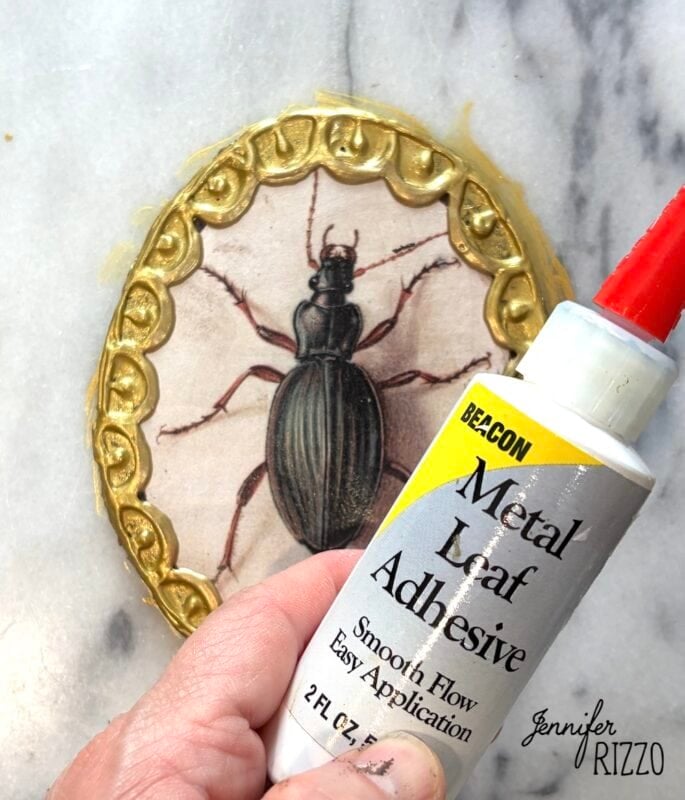
Add the gold leaf to the edge and use a soft brush to remove the excess.
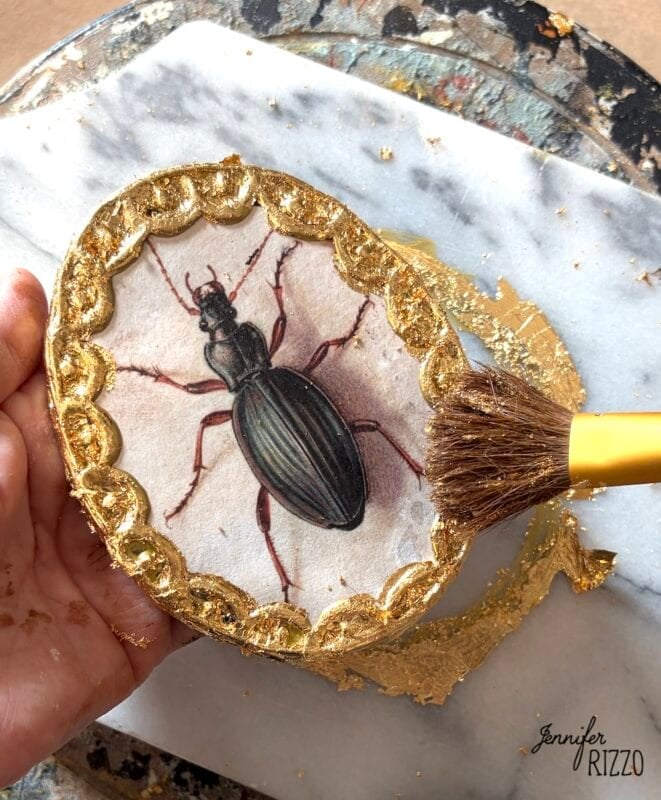
Add Brown Paint to Age the Faux Frame
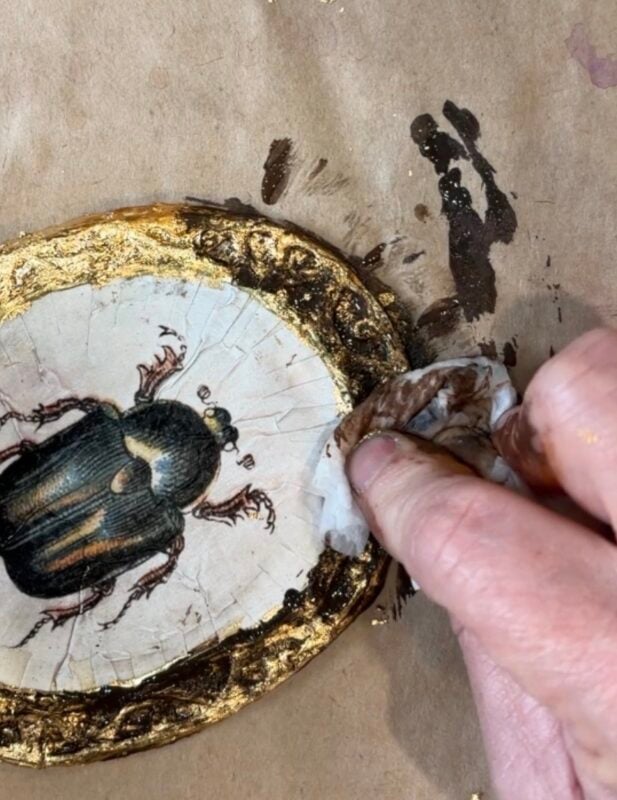
Paint the edge with brown paint and remove with a damp paper towel. This will leave the brown paint in the crevices and lift the paint on the raised part to make it look old. Let dry.
Add the Glaze
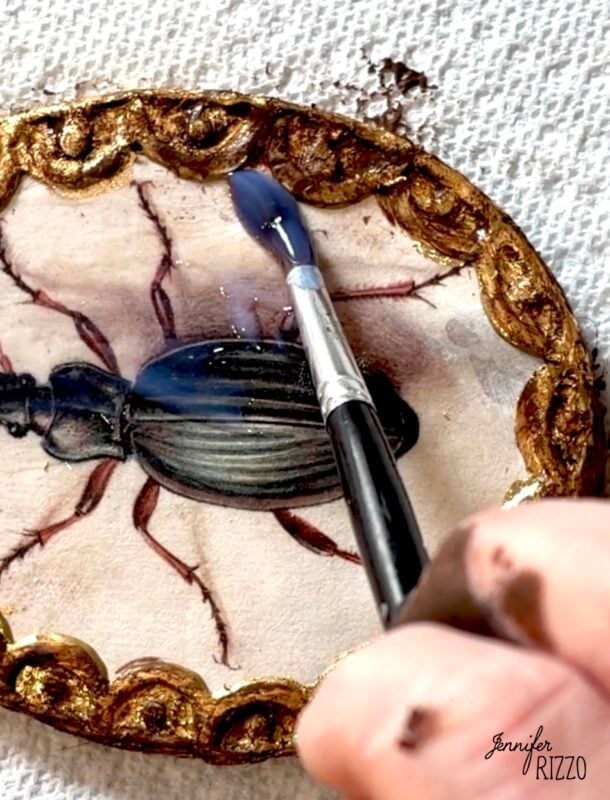
Use the triple thick to add several coats the surface of the insect image. let dry between each layer to build up to a shiny glaze and glass-like effect.
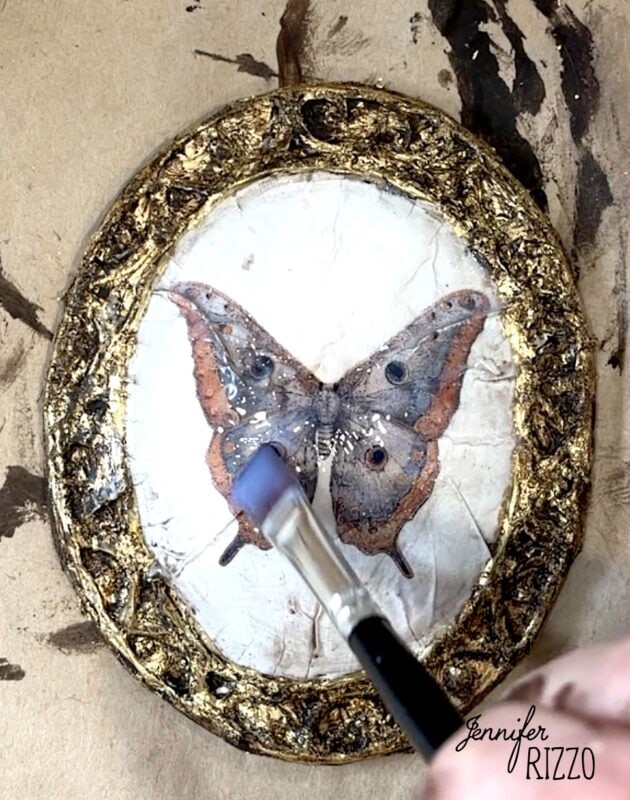
Add Hanger to the Back
Once the glaze is dry, flip the picture over the glue a hanger onto the back to display. They aren’t heavy so we used hot glue and a saw tooth hanger.
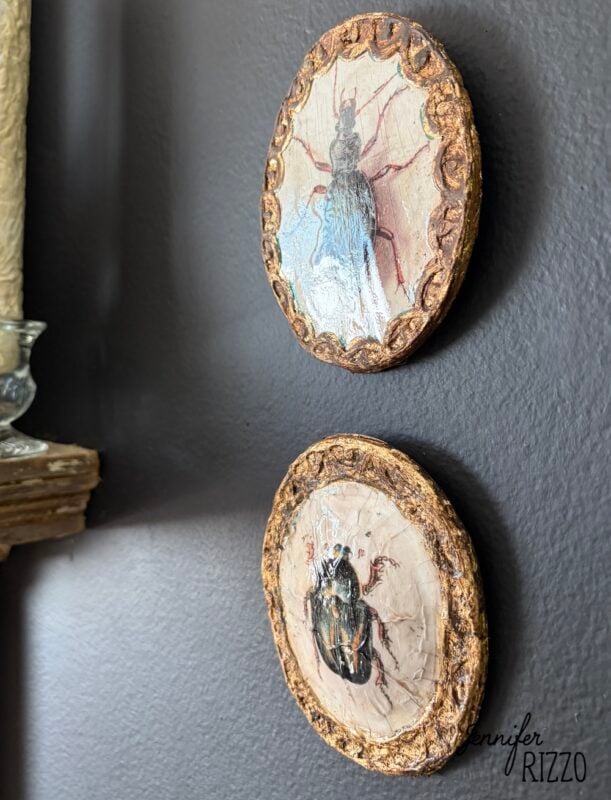
These faux insect taxidermy pictures are so pretty and interesting! Who doesn’t love a frame and art all in one!
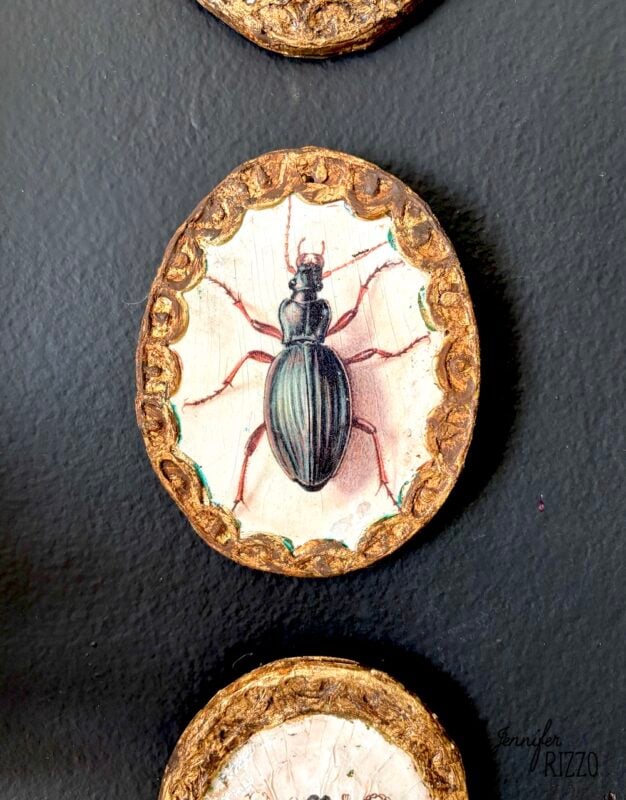
They give a very cabinet of curiosity feel! These can be made in larger sizes as well.
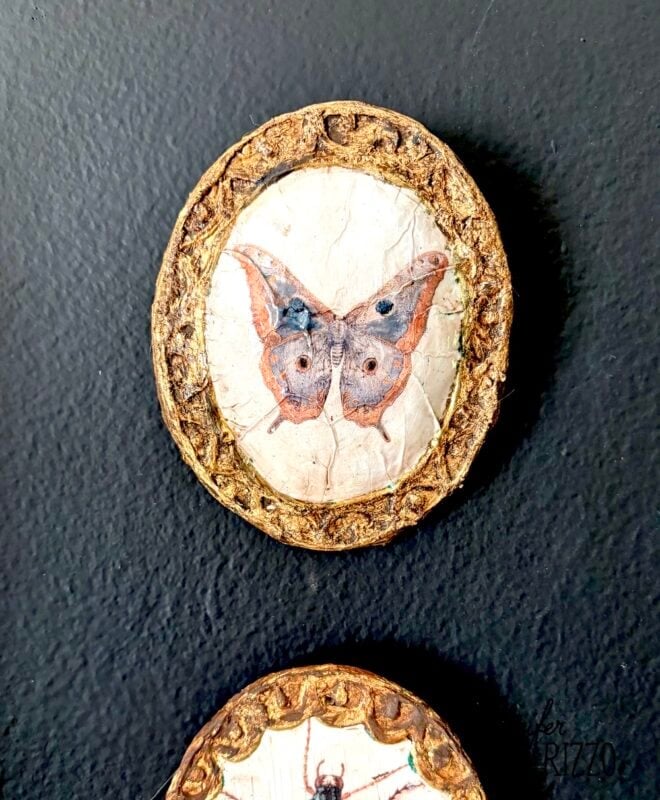
If making a larger size make sure to allow more drying time between each step.
Grab the printable here to make your own, or use them for other projects!