
No Carve Faux Pumpkin Vintage Cat and Happy Pumpkin Pals
One cute way to decorate faux pumpkins is to create pumpkin pals. They are so adorable and are a fun addition to Halloween decor with a vintage twist! Their main bodies are faux pumpkins with sculpted styrofoam ball heads. Embellished with felt cut outs, these can be personalized and dressed up and customized in all kinds of ways. This is also a great way to do a no carve pumpkin! You could make the heads on a longer dowel and put them on real pumpkins. Then just pull them off once the season ends and store them away for next year!
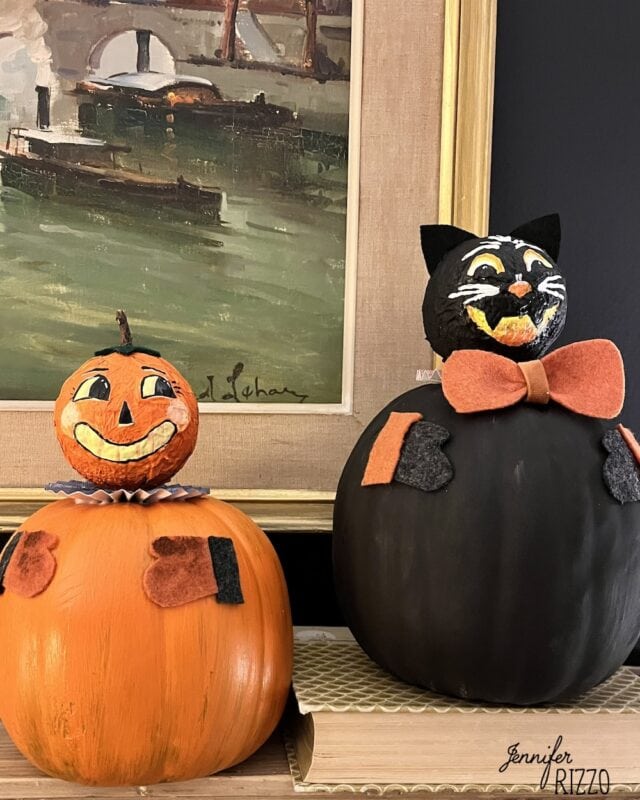
Supplies to Create Your Faux Pumpkin Pals:
-Faux Pumpkins with the stem removed (we found ours just pulled off and left a nice hole)
-2″ long by 1/4 round dowel rod
-4″ styrofoam ball
-Acrylic paint in a variety of colors inlcuding black, white, yellow, orange, pink
-3 dimensional paint in yellow, black and orange
-Toilet paper
-Thin brushes
-White glue or decoupage medium
-Felt/paper pieces and other accessories
-Scissors
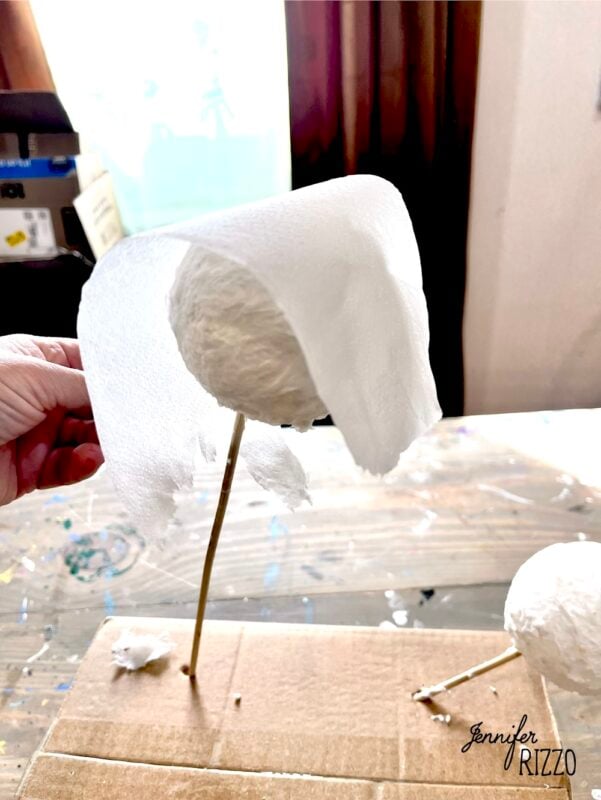
Prepare the Head
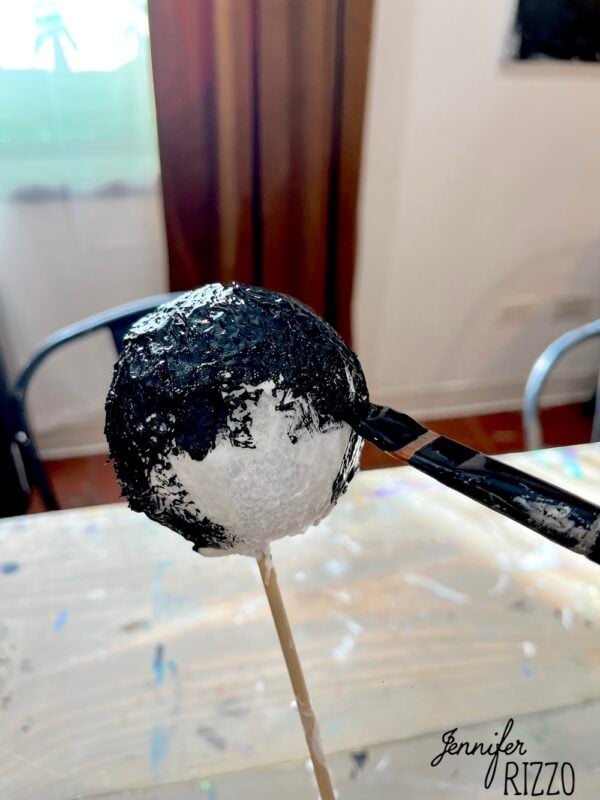
To prepare the head, place it on a dowel rod and glue it in place, apply a coating of white glue or decoupage medium over the top of the foam ball, layer toilet paper on top and then brush another layer on top of that. Let dry. This will be your base for the head.
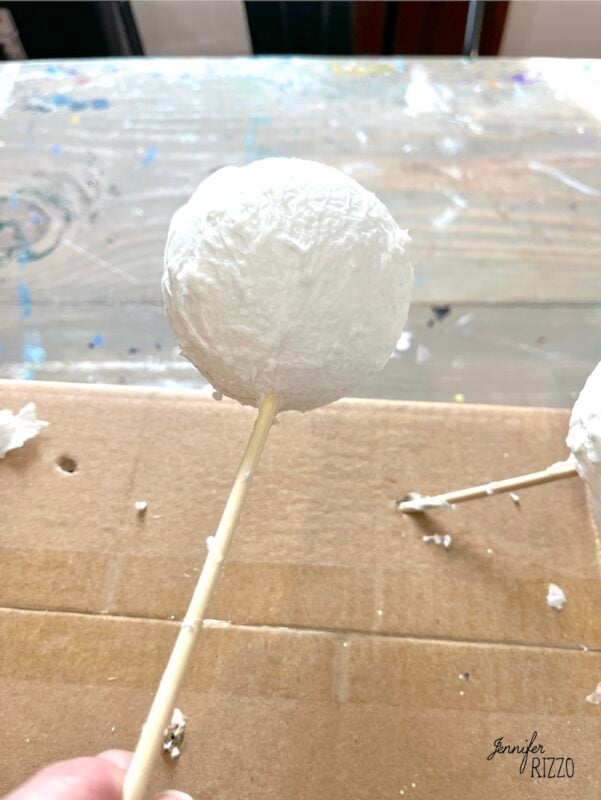
Apply a Base Coat of Paint
Apply the base coat layer of paint on the foam ball. Black for the cat and orange for the pumpkin. At the same time the stems can be removed on the pumpkins, and a base coat can be applied to the pumpkins.
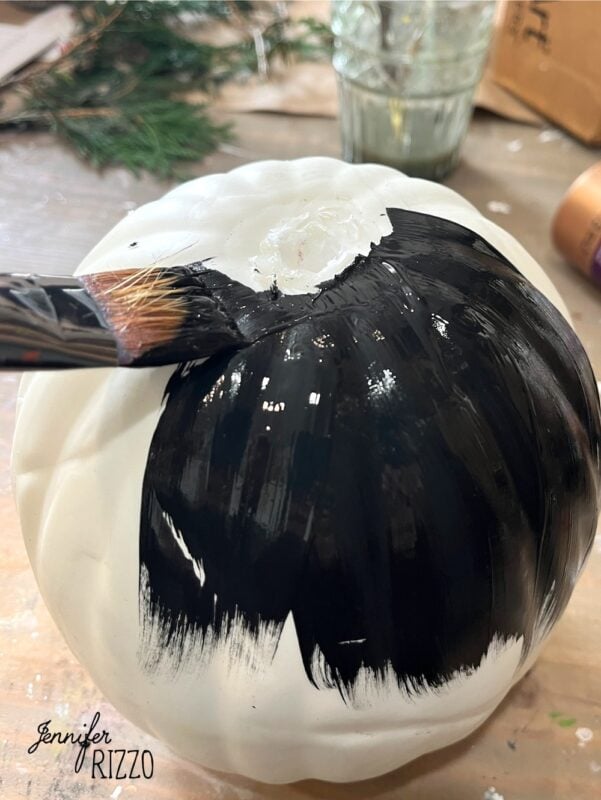
They may need several coats of paint for full coverage. Set aside and let dry.
Outline the Features with Dimensional Paint
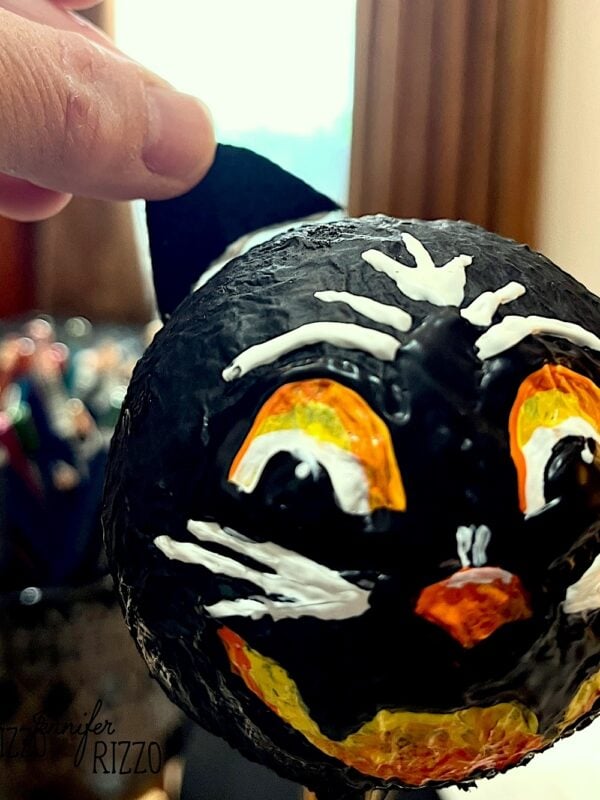
Outline the features using the dimensional paint. We used the dimensional paint from the Love Color line by DeooArt. This will give it a raised and 3D effect when painted over later. by painting in half circle eyes, a triangle nose and a mouth. You can copy ours or try painting your own. Let the outlines dry. They may look a little terrifying at this point. Lol.
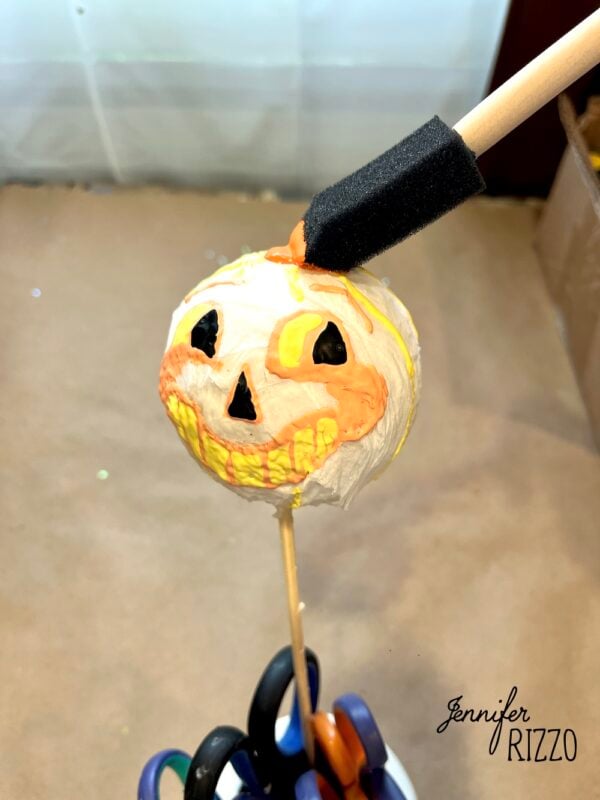
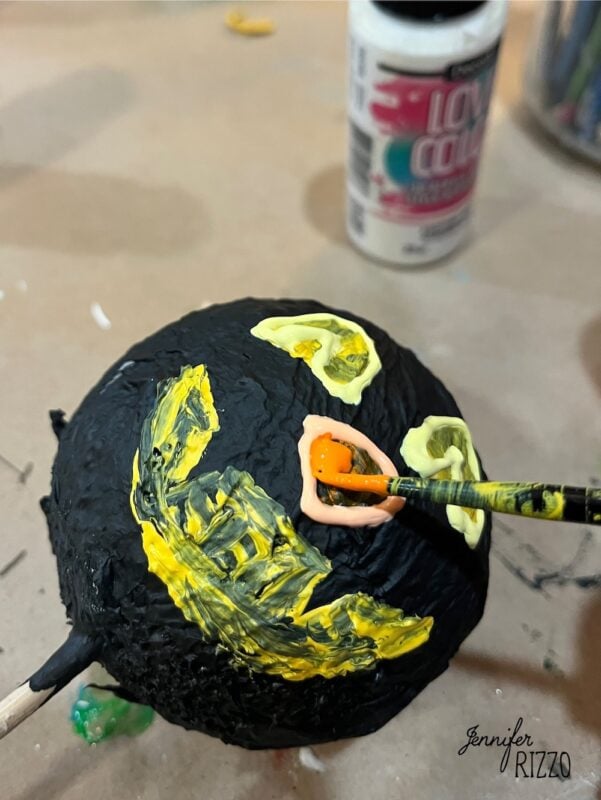
Paint in the Features
Paint the features by the inside of the eyes, mouth etc. several coats of paint may be needed for complete coverage.
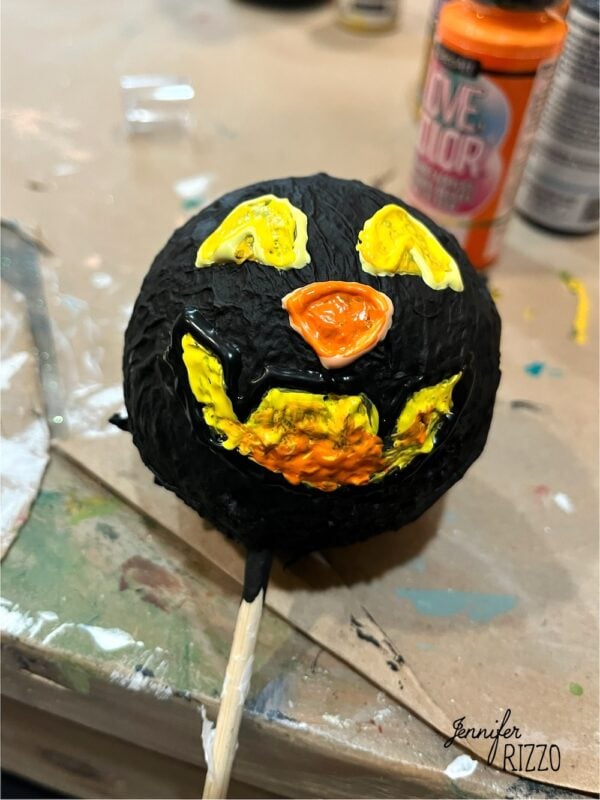
It’s also a good rime to clean up around any features with the base color of paint.
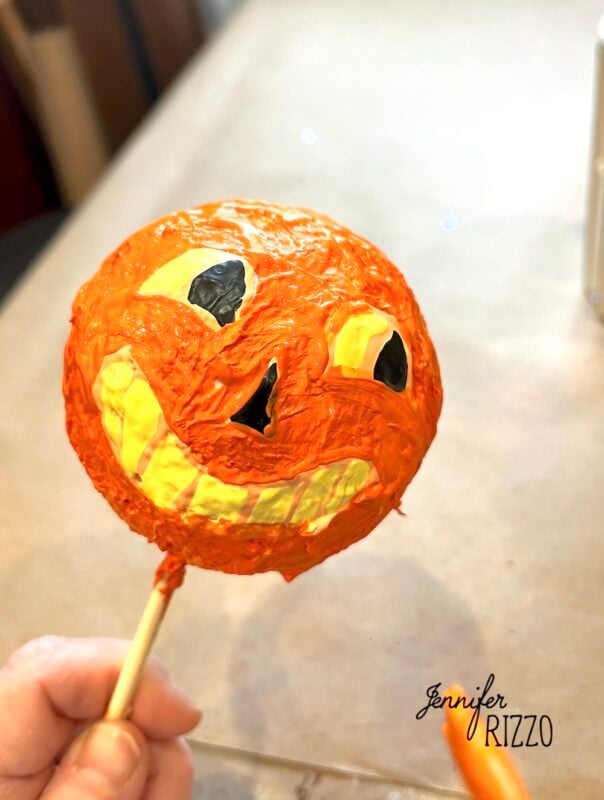
Add Facial Details
At this point, you can paint in the finer details such as outlining the eyes, and adding additional detail such as teeth,
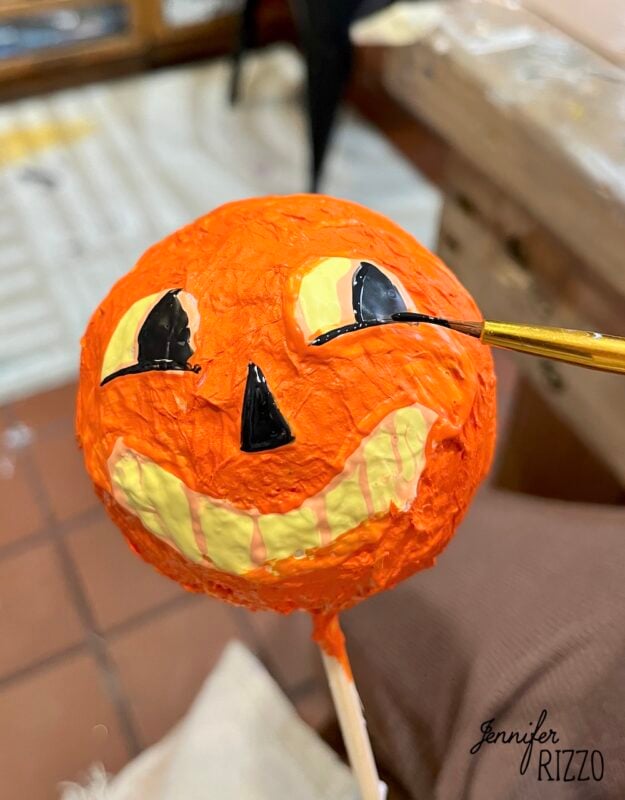
Or whiskers of the cat or eyebrows.
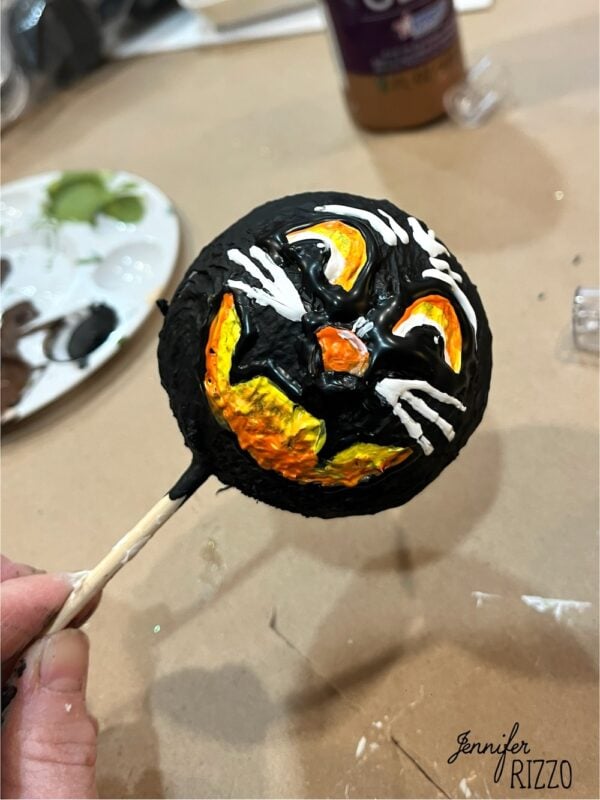
Make the Physical Details
While the faces dried, we cut out felt bow ties and mittens, We also created a paper, ruffled collar for the cat (that went on the dowel before gluing the head on). You can have all kind of fun with the creative details. See this post on how we made the paper collar from a rosette.
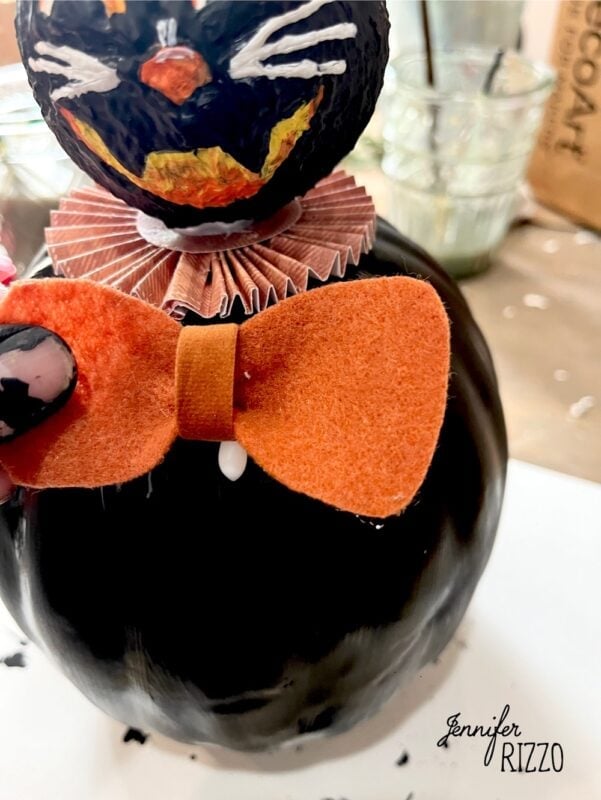
Attach the Head
Use what craft glue to attache the head to the pumpkin body. Removing our stem left a nice hole in the top so we just added glue and the dowel there.
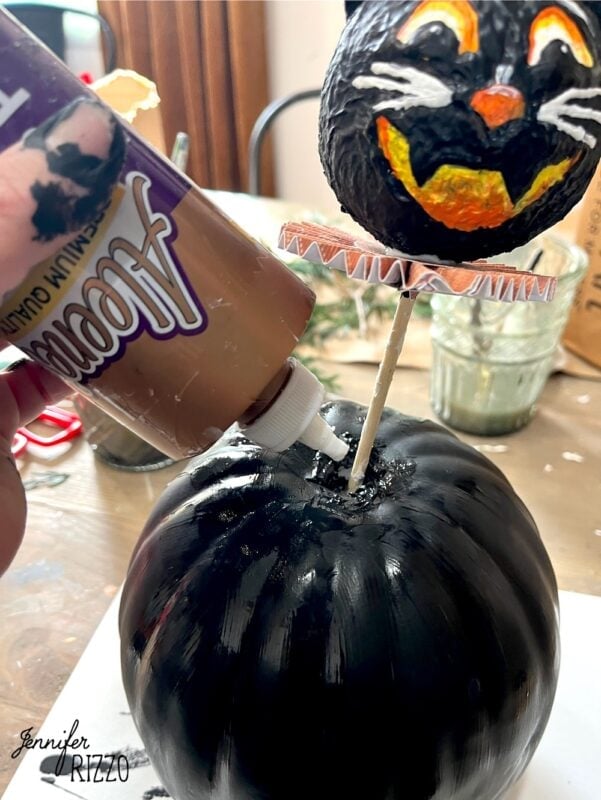
Glue on the Embellishments
Once the heads are dry and then felt embellishments are created, the fun part comes! Start gluing them on. We also added a cute little stick with a felt hat on top of the pumpkin head. You can get really creative with these and make them so adorable!
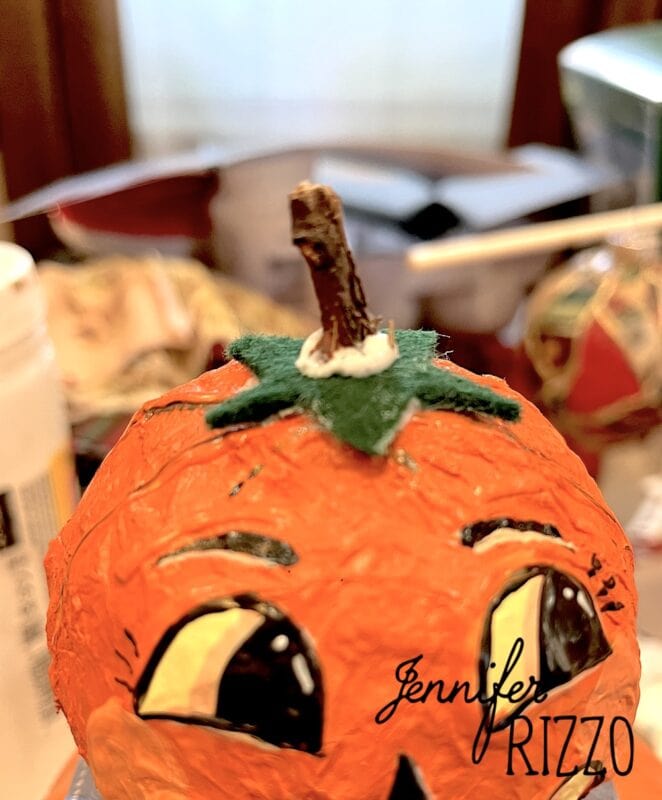
We also gave the cat a set of felt ears.
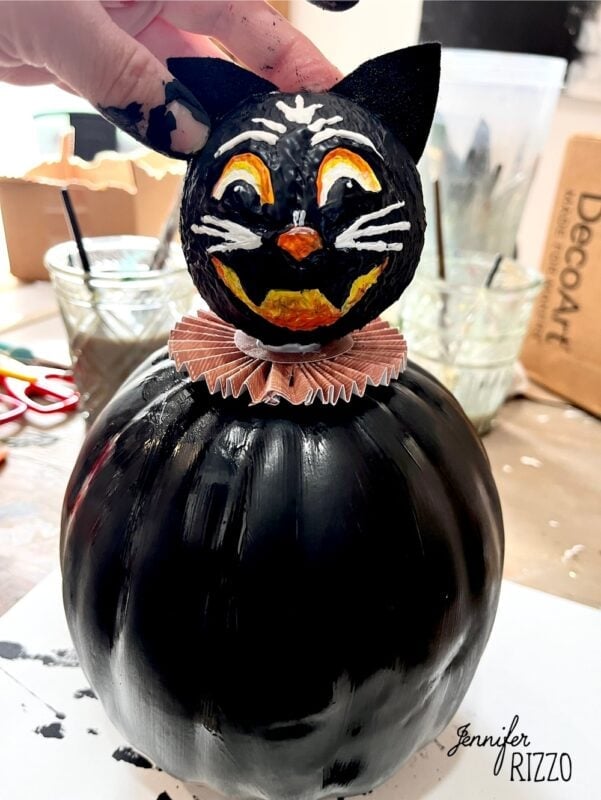
Have fun being really creative and explore other Halloween characters such as witches, ghosts and even Frankenstein.
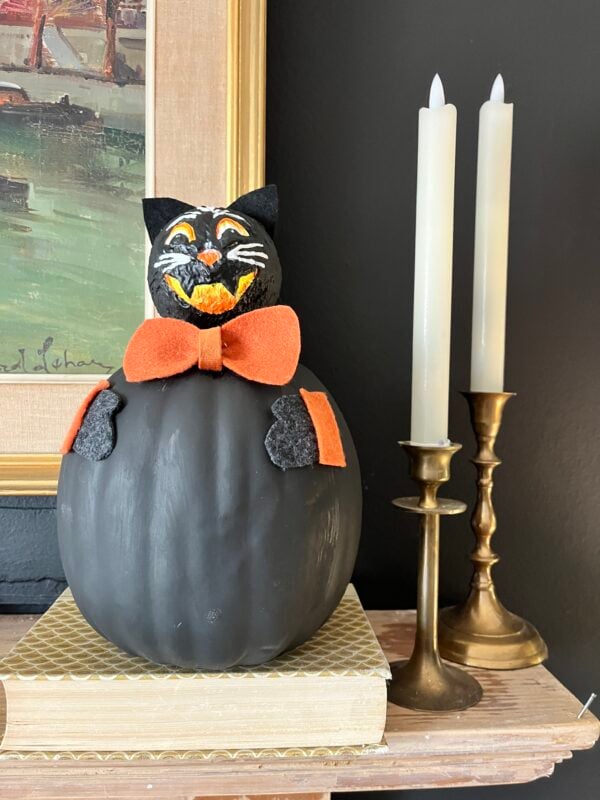
They two No Carve Faux Pumpkin Vintage Cat and Happy Pumpkin Pals are certainly the best of friends!
