
Make the Cutest Recycled Cardboard A-Frame Rustic Cabin Ornament
Do you dream of one day running off into the woods and living among the trees in a cute a-frame rustic cabin house? Sometimes I do. I can imagine myself wrapped up in a flannel blanket, sitting on a balcony sipping hot cocoa watching the deer walk by. Doesn’t that just sounds amazing? I think so. While I’m patiently waiting, I thought it would be fun to put a twist on a Christmas cottages by making the cutest, rustic a-frame cabin ornament out of recycled cardboard. This is so cute with some battery operated fairy lights inside!

This post contains affiliate links. See our sponsor and affiliate disclosure here.
The best part about this project is that it uses all of those boxes arriving on your doorstep daily!
Supplies to Make Your Own Super-Cute A-Frame Cardboard Cabin Ornament:
-Reccyled Cardboard boxes
-Scissors
-Glue (hot glue or tacky glue)
-Twine
-Craft knife or scissors
-Green paint
-Snow-tex
-Glitter (Optional)
-Fairy lights and accessories to decorate with
You can also find those items for the a-frame cabin ornament here on my Amazon supply list.
Cut the Cardboard into Triangles
At the end of the post is the pattern for grown ups. If you print this out on a regular sheet of 8.5 x 11.5 printer paper, these templates will make the same size a-frame cardboard house ornaments as pictured. Use the template below as a guide to cut out the pieces to your a-frame cabin ornament. Once you have all of the pieces cut, you are ready to assemble. Start by cutting out the triangles for the front of the A-Frame cabin. Always use caution when using a craft or utility knife. This project is for adults.
If you love recycled cardboard crafts, try making these hand-drawn star ornaments.

If you love making recycled cardboard crafts and decor, you can see how to make these awesome upcycled hand-drawn Christmas star ornaments
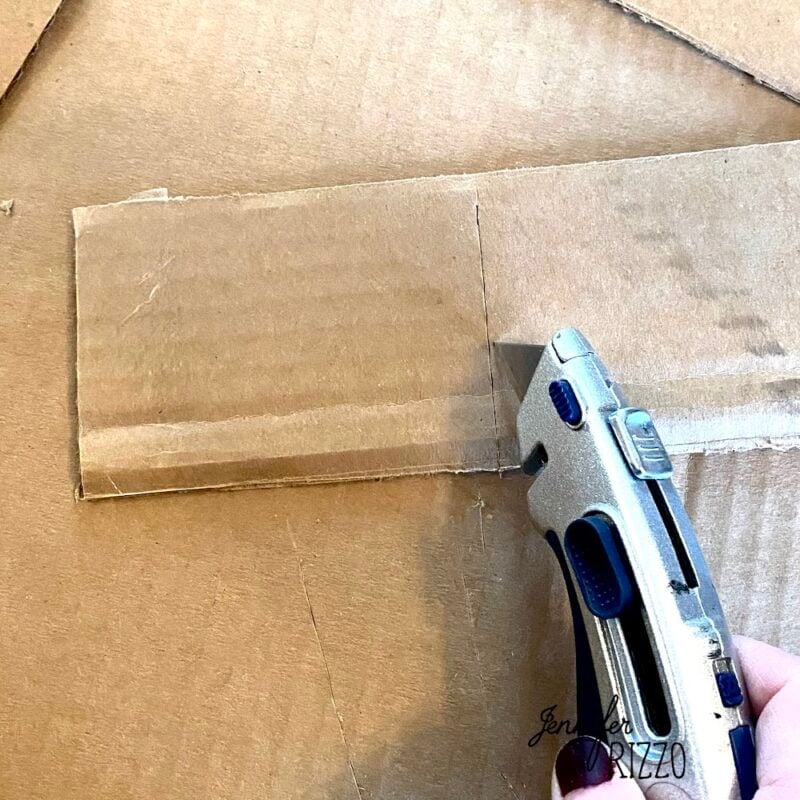
Cut the Roof of the Cabin and Score it
One tip for the roof…Score the center, but don’t cut all of the way through so when it bends, it creates the perfect roof-line. It’s also one less piece to deal with.

Pre-Paint the Cardboard Pieces Once Cut
Pre-painting the cardboard also can make for a neater end result, but I am not that good of a planner. I did paint my main cabin brown first, but I painted my green roof last when I wish I had painted it ahead of time, so learn from my mistake and pre-paint and let the cardboard dry before assembling.

Add a Window with Recycled Plastic Packaging if Desired
This isn’t a necessary step by any means, but I wanted my cardboard a-frame cabin ornament to be able to glow from the inside with either a battery operated tea light or fairy lights, so I made a little window by cutting a triangle section out of the front cabin triangle and gluing in a piece of plastic from packaging I was going to recycle anyway. I also cut a little flap in the triangle that goes in the back of the cabin so I had a way to sneak my battery operated lights in.

Assemble with Cardboard with Glue
While I used hot glue to assemble my a-frame cabin, but you could also use white tacky glue. Don’t use ordinary craft glue because it’s just not sticky enough. It’s like trying to put together a gingerbread house with the wrong kind of frosting.

The key to adding the front of the cabin is setting it back slightly so it looks like it has that classic roof overhang an a-frame cabin has. After you add the roof, you can also glue the floor on. You’ll notice the one on the template is slightly bigger than the one I have in the picture. After I made mine I wished I had made a little more room for the tree to sit on, so I increased the size on the template. If you want it smaller, just trim it down until it’s the same width as the roof.
Paint the Roof If It Wasn’t Already painted
The roof got a fun vintage green color (Like I said, make sure to do this before gluing.).

Decorate the A-Frame Rustic Cabin
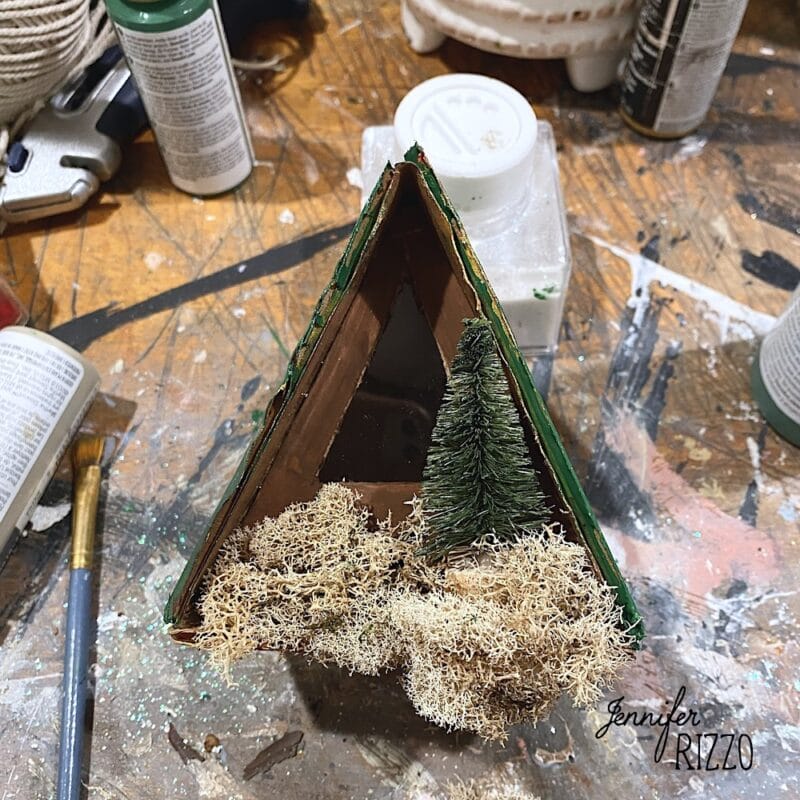
After it’s glued, you can start embellishing it, which is the fun part! I added a tiny bottlebrush tree to the front of my a-frame cabin recycled cardboard ornament.

The addition of some reindeer moss which really made it feel like a cabin.
Add a Piece of Twine to Hang the Ornament
So it would hang, a length of twine was glued into the roof ridge. To cover it, I used a dimensional paint. and let it drip a little I really wanted to use Snow-Tex which is one of my favorite winter time craft supplies, but I had just run out, so I substituted with thick dimensional paint and white glitter.


Decorate with Snowtex
The roof paint was still a little wet which worked out perfectly! Some of the glitter stuck which made for a glisteny, snowy roof. It was certainly a happy accident!
And it is just the cutest little A-frame cabin there ever was! I love the glow of the fairy lights, but I may need to pull a few out, because it looks like a full-on house fire. But, it’s super sweet on our tree, and I have an idea to make a larger one…(She says as she rubs her hands together and manically laughs.). Okay, so that was probably totally an overkill reaction for a Christmas craft, but in my head it was hilarious. Grab the template below by saving it to your computer and have fun creating!
A-Frame Rustic Cabin Template

