
Painting a Watercolor Paint a Pumpkin- Easy
Fall brings all kinds of wonderful things, including pumpkin season! Pumpkins are a really fun subject to paint, especially for beginning watercolor painters. Painting a watercolor pumpkin in paint is fairly simple, and can be customized in all kinds of ways! This tutorial will lead you through step by step and there is also a video that will play after an ad in the video player. Even the kids can paint these! For a full video tutorial, we’ll have the Youtube video linked at the end that you can paint along with.
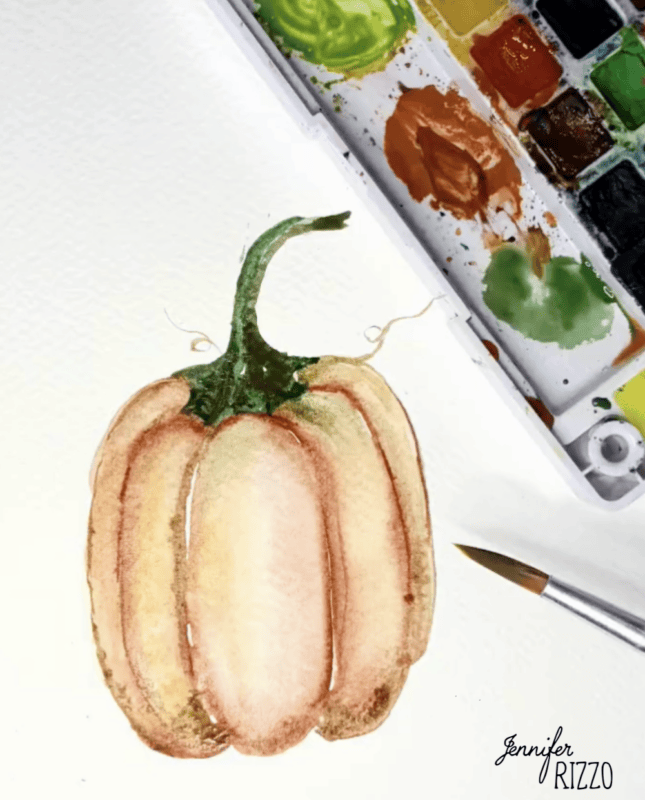
Supplies for Painting a Watercolor Pumpkin
-Watercolor paper
-Watercolor paint in cadmium orange, terra cotta, burnt umber, sap green,Yellow ochre
-No. 6 round brush
-Water
-Paper towel
Some Watercolor Terms to Know:
A (Milk) Wash– A 50/50 mix of water and paint where the paint is more watery, almost like the appearance of milk, but still has a translucent quality
Wet on wet– Painting a wet medium such as watercolor onto a paper surface that is already wet wither with water or wet (not dried ) watercolor paint
Blooming/Bleeding-Both occur when wet paint or water touches an alredy wet are and the paint move into each other. Paint on paint tens to be referred to more as bleeding and water and paint tends to be more referred to as blooming, but many times they are used interchangeably.
Feathering/lifting the edge- When a painted.wet edge has a hard line that needs to be softened. To soften the edge, a barely damp(not wet) brush is brushed a long the edge to dilute extra pigment and also pick it up. This is repeated until the edge has been feathered enough to a desired point. This has to be done while the paint is still wet.
Create an Orange (Milk) Wash
Create a wash of 50/50 mixture of cadmium orange and water. After creating the orange wash, we’ll start painting the pumpkin shape
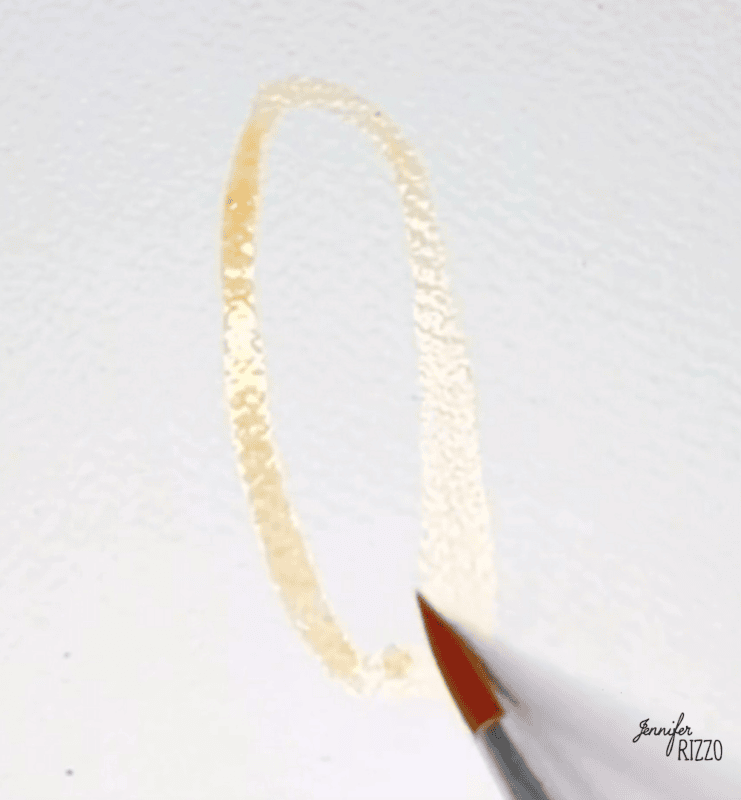
Paint a Long Oval Shape
On the middle of the paper, paint a long oval. Don’t worry about it being perfect. In fact, it’s better if it’s a little uneven and the sides of the oval stick out a little. While the oval is still wet use a slightly damp brush to feather in the edges so they are softened. Keep the middle front open on the oval to create a highlight.
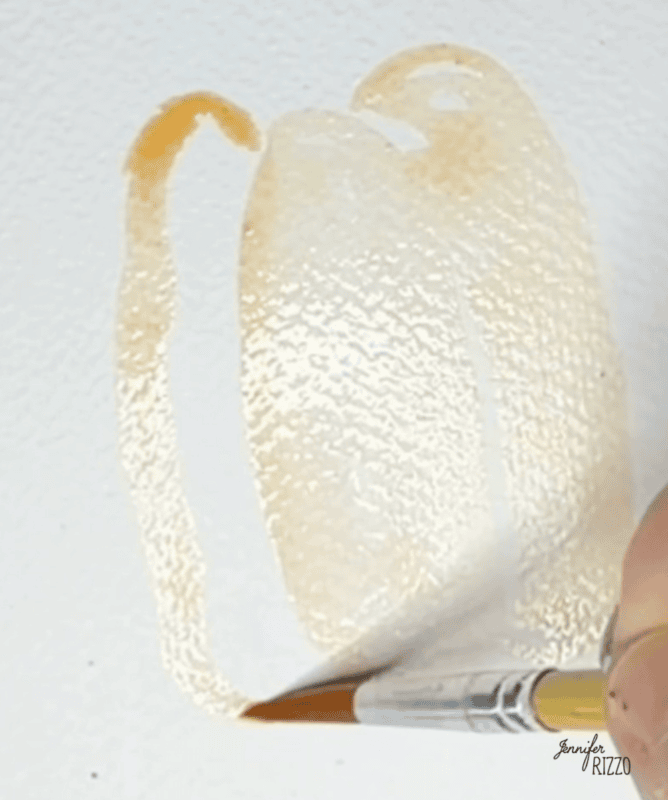
Add Sides to the Watercolor Pumpkin
One each side of the oval, paint two long “C” shapes. One “C” will be backward and the other forward. Feather the edges to the inside, Continue painting “C” shapes, making them smaller as you move to the outer edges of the pumpkin. Continue to feather and lift on any hard edges.
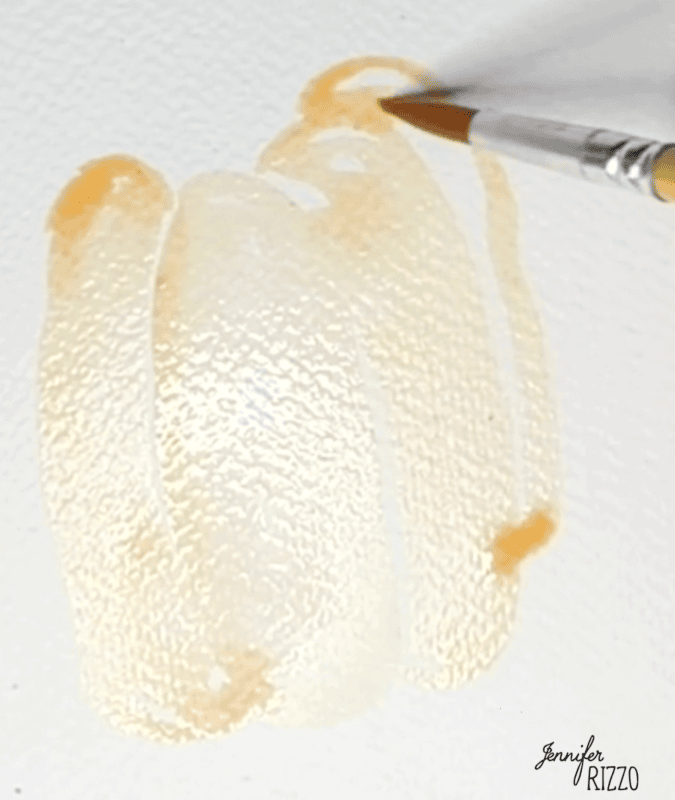
Add A Darker Orange Watercolor Paint
Use terra cotta paint to paint around the edges of the pumpkin while the orange wash is still wet. Feather as you go and let the paint bleed slightly. Blot up any obvious runs or undesired bleed with paper towel.
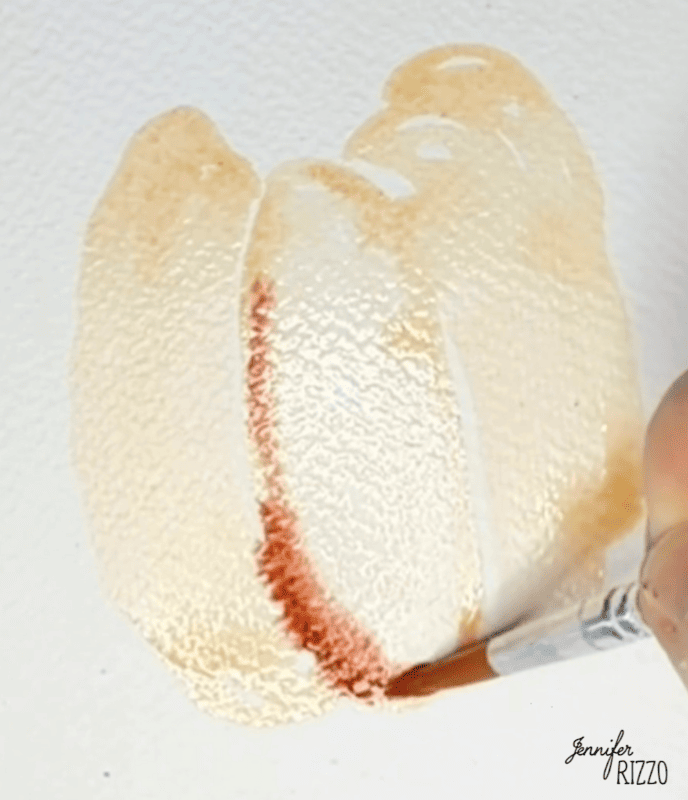
Sometimes it helps to flip the paper the pumpkin is on over when painting.
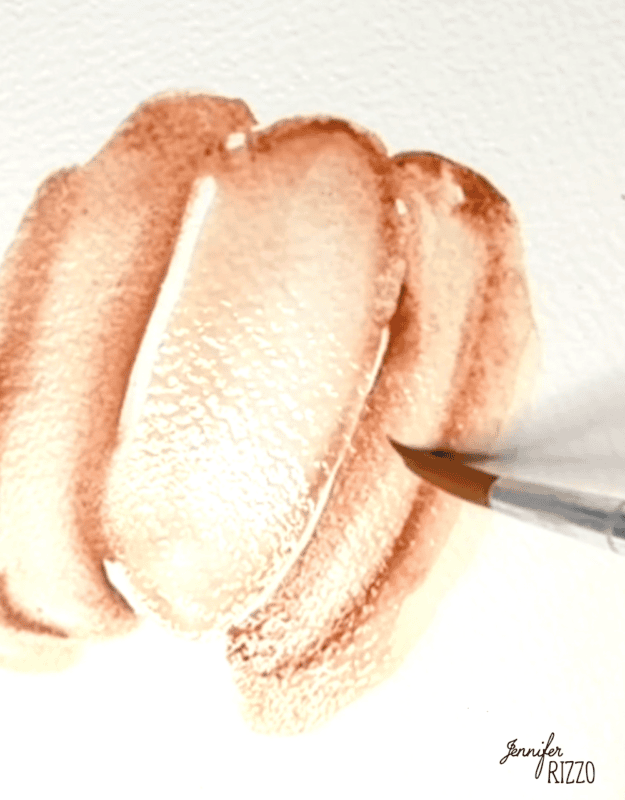
Add Yellow Ochre
Paint a slightly diluted Yellow Ochre by dotting it onto the pumpkin and let the colors bleed slightly. Blot up any excess.
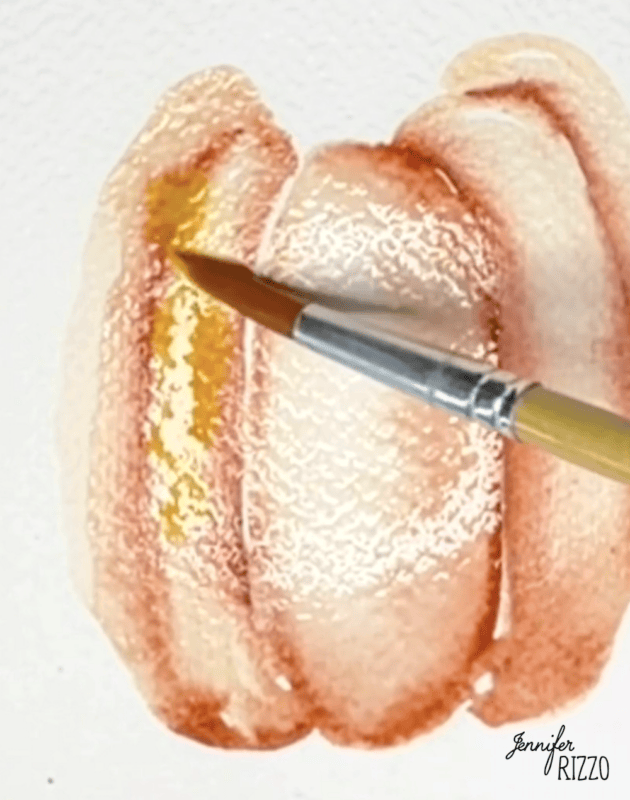
Paint the Pumpkin Stem
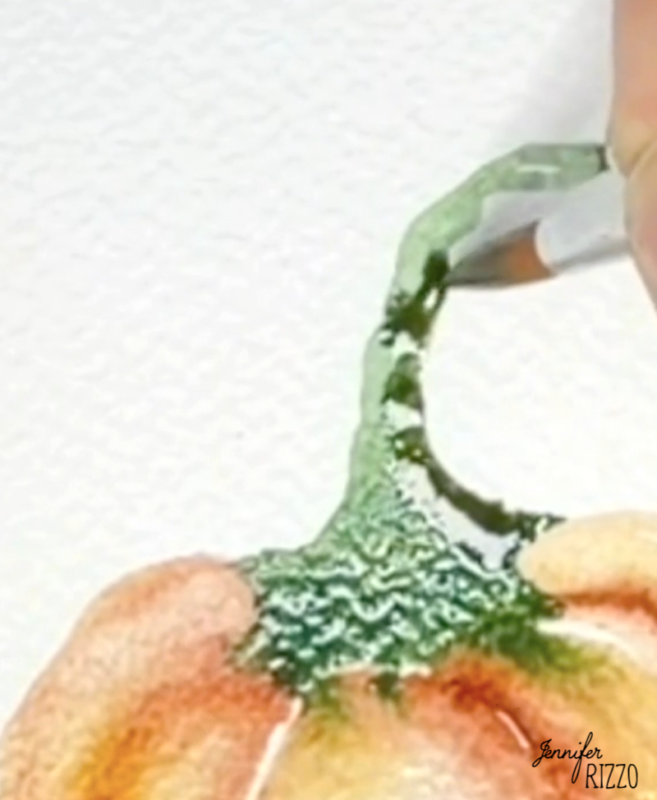
Use sap green to paint in the stem shape. To make the stem shape, paint a wider base and a skinnier top.
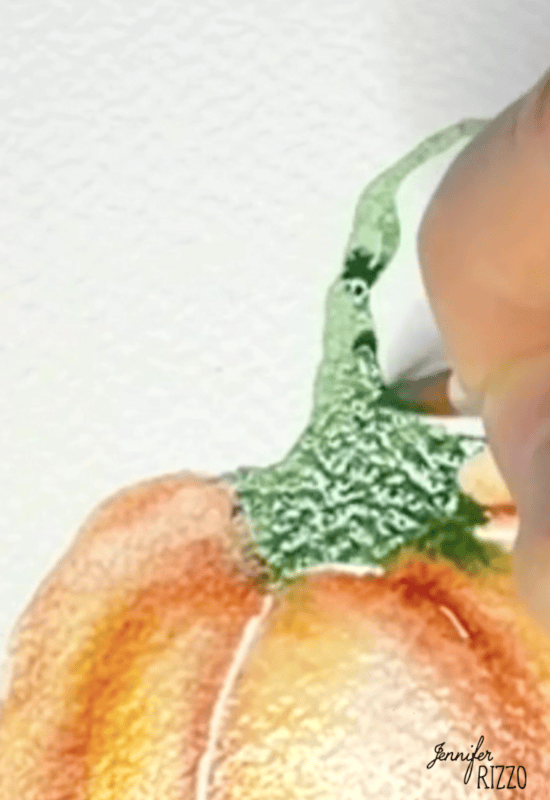
While the sap green is still wet, paint burnt umber watercolor paint to the underside and on the base of the stem.
Add Shading to The Pumpkin
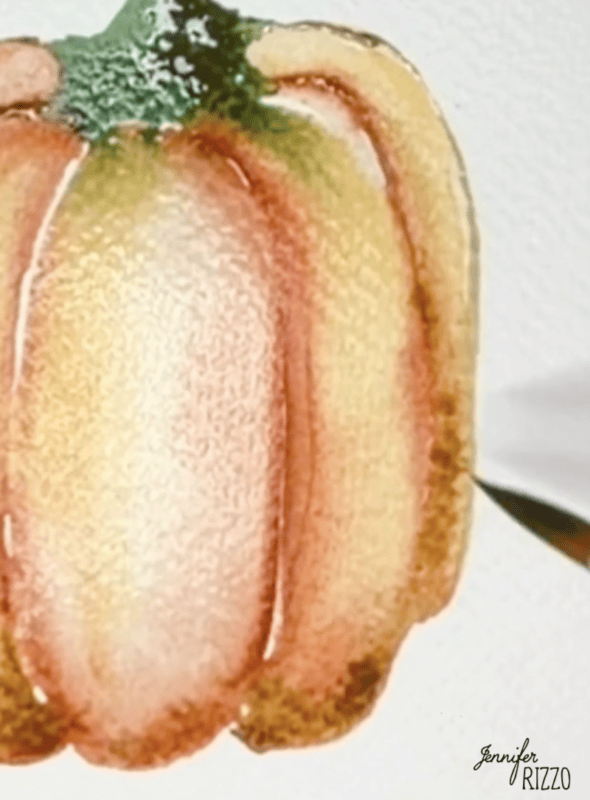
Use the burnt umber to add shading to the inside ribs of the pumpkin and to the underside.
Add Any Extra Touch Up
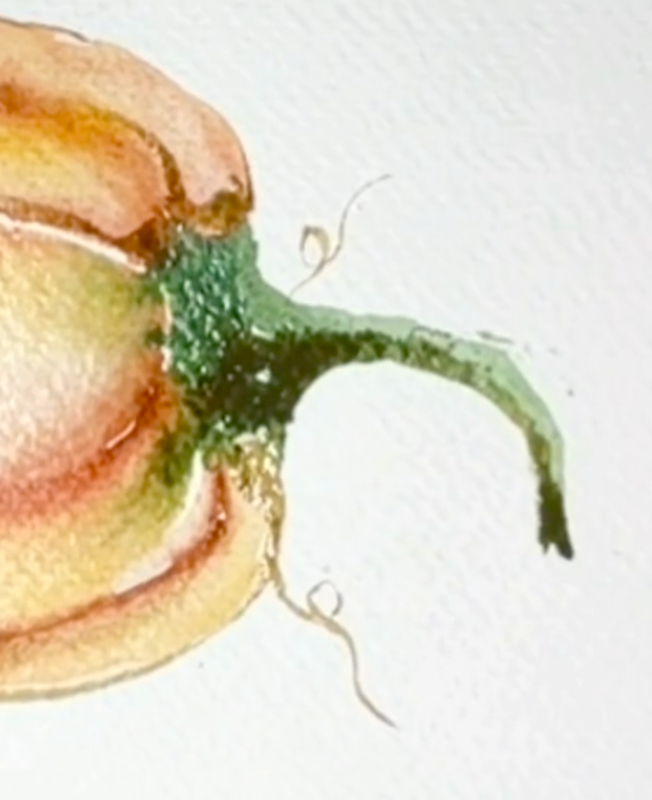
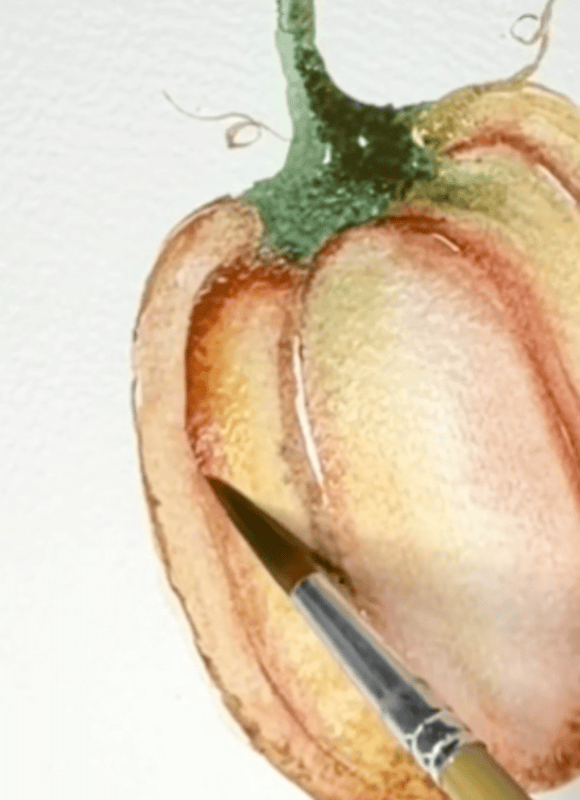
While the pumpkin watercolor paint is still wet, add any extra shadows or remove some paint to create highlights. For a touch of cuteness, add some curly cue tendrils on each side of the stem.
Let the Painting Dry
Before framing or using in a project, let the paint dry completely as it will continue to change slightly as the paint moves and water evaporates. If you liked painting this project, try painting a rustic pumpkin in acrylic paint on canvas!
See the full watercolor pumpkin painting step by step tutorial on our YouTube channel here.
