
Air Dry Clay Mushroom Vase-No Kiln Needed!
Air dry clay is such a great way to create custom and one of a kind home decor. This fun vase for dried flowers uses a really great mold from Iron Orchid Design, craft paint, a thrift store vase and air dry clay. What I love about air dry clay is no kiln is needed to create decorative items with clay. For this project you can use different paint colors to make the vase fell more fall-ish or brighter colors for springy feel. It’s also a great way to upcycle an old vase! The mushroom mold can also be used for so many other projects too! There is a video of the project, it plays after an ad.
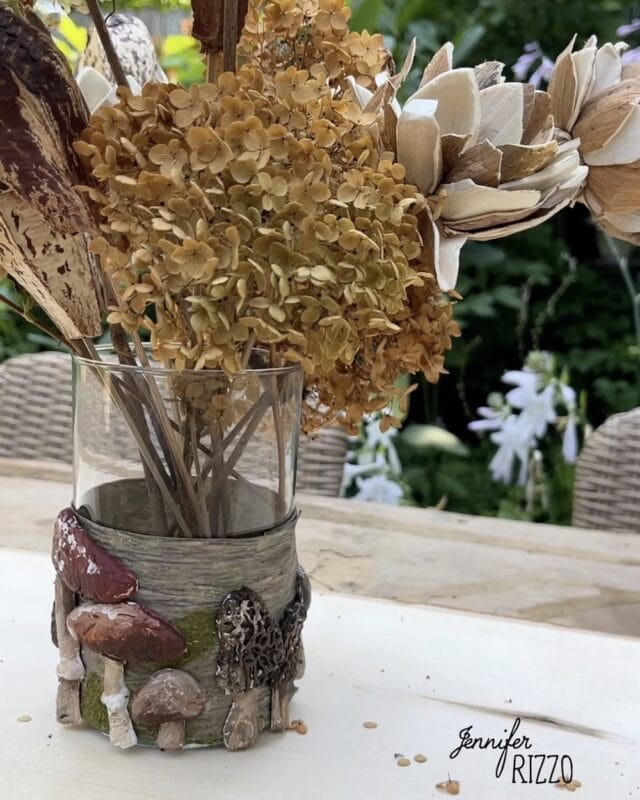
Supplies to Make a Mushroom Vase
-Thrift store vase, plastic container or recycled jar
-Air dry clay
-Ribbon or bark wrap
-Glue
-Acrylic craft paint
-Scissors
-White craft glue
Hey! Did you know we have a Youtube channel where you can see all kinds of creative projects? Follow us on Youtube here.
Mold the Air Dry Clay Mushrooms
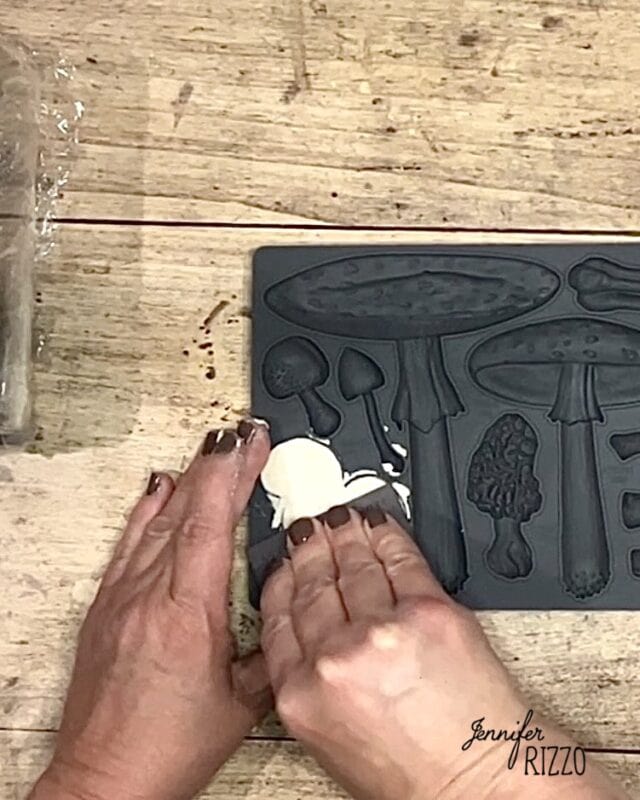
Use air dry clay and a mushroom mold to create air dry clay mushrooms. With this mold we found pushing the clay into the mold and removing the access over the top to flatten it. Immediately remove the clay from the mold gently, and lay it flat to dry. Let it dry on one side and then flip over to let the back dry. Not a required step, but for larger mushrooms, letting them initially dry on a curved surface helps to glue it on later. We covered the vase we are using with plastic wrap to make it easy to follow the curve. Once the top is dry, the clay mushroom can be removed and turned upside down to let the backside dry.
Paint the Air Dry Clay Mushrooms
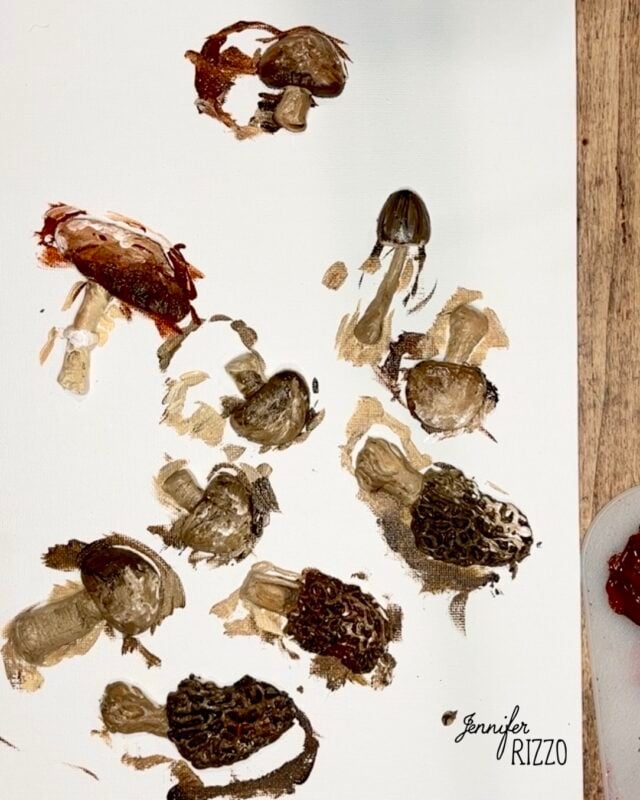
Once the mushrooms are dry, paint them with acrylic craft paint. Let them dry and seal if desired. to deepen the colors and give the acrylic craft paint a little protection.
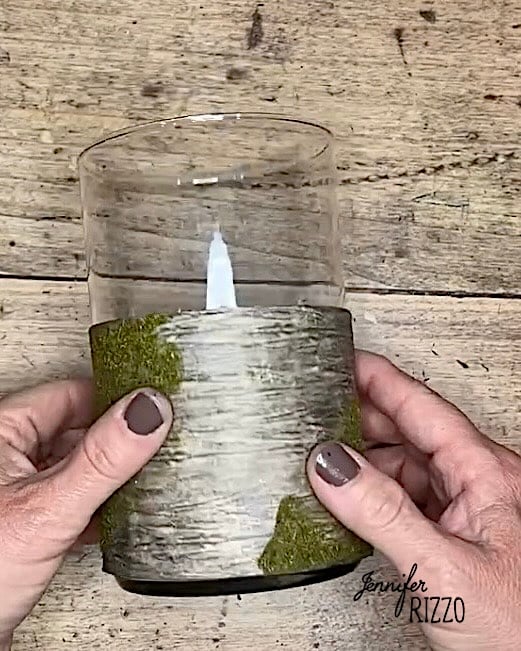
Glue the Ribbon
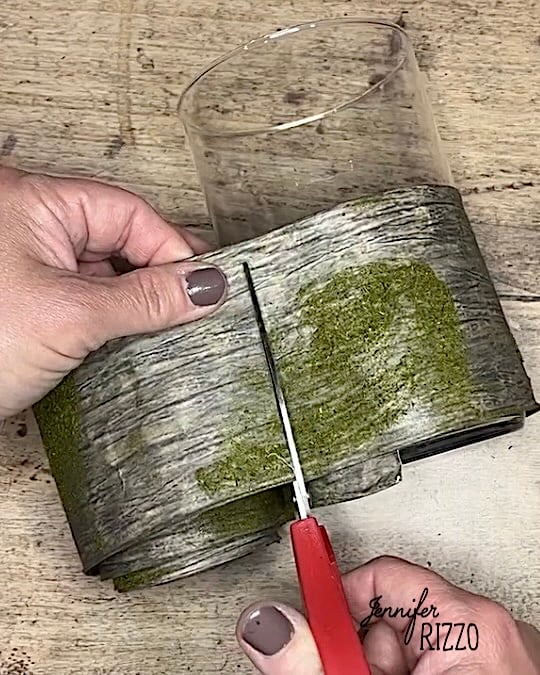
Glue the ribbon around the outside of the vase attaching it to itself. That way it can be reused and changed out if desired. I used an old thrift store vase, but any kind of vase can be used, or even a recycled jar, cardboard box or plastic container.
Glue the Mushrooms onto the Vase
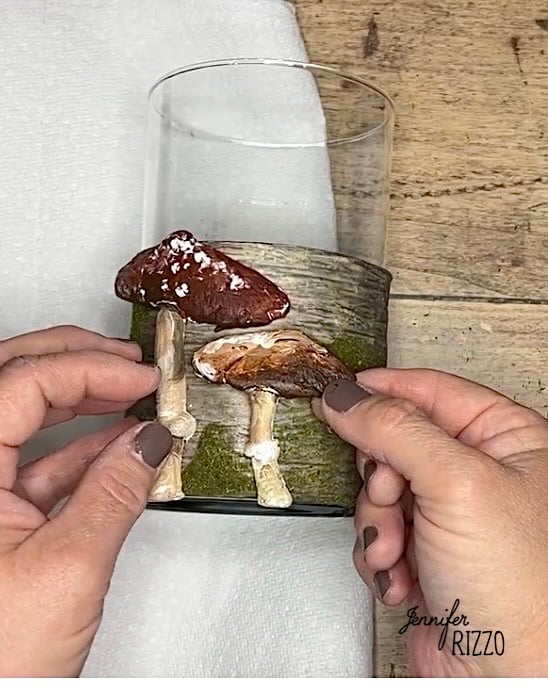
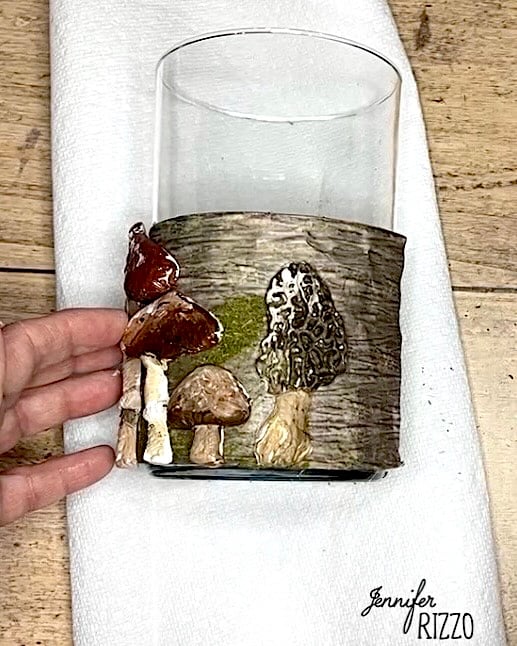
Lay the vase on it’s back onto the towel to keep it in place and to stop it from rolling, especially off the work surface! Arrange and glue the mushrooms to the outside of the vase onto the ribbon with white craft glue. It helps to pre-arrange them before gluing onto the surface. Work one side at a time, turning the vase as the mushrooms dry. Let the glue dry completely.
Tips for working with air dry clay:
-Keep the clay moist when working with it to keep the elasticity and moldabilty
-Is the clay cracks, use wet clay and fingers to smooth over the cracks
-Seal the clay with a decoupage medium or acrylic sealer
-Let the air dry clay dry completely before painting and gluing.
Style and Arrange the Dried Flowers
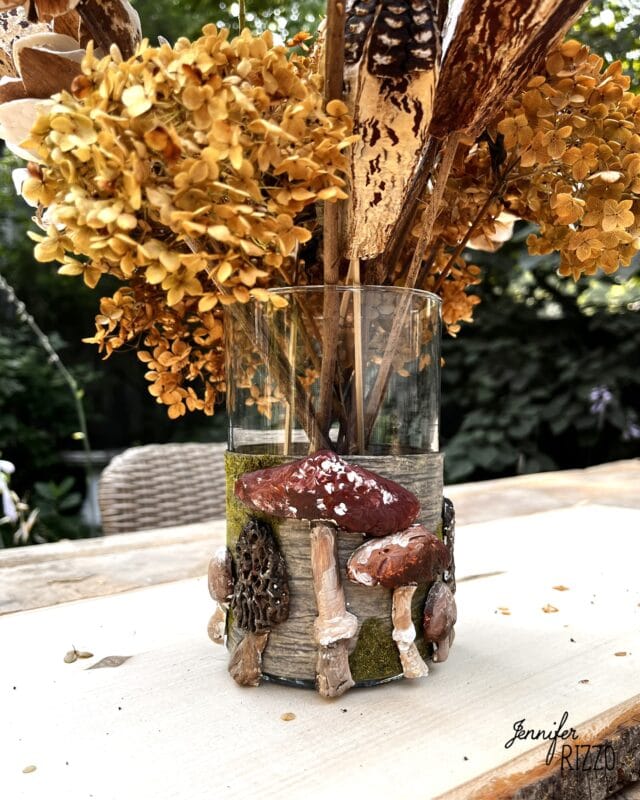
Now it’s time to add some gorgeous dried flower to the vase and use for Fall decor! Since the clay is not water-proof, this project is better suited for dry flowers. This would also be cute with fairy lights inside!
