
Patchwork Pumpkin No Carve Faux Pumpkin Idea
Patchwork is a hodge podge of fabric put together to create a kind of geometric pattern. I loved sharing the earlier patchwork ghost with you and wanted to share how I created a patchwork pumpkin as a no carve faux pumpkin decorating idea. This is really easy to do and is a great way to use up all of those scrap fabric pieces from all of the different sewing and crafting projects. In fact, the more colorful the fabric is the more fun the pumpkin looks! For the kids, use white craft glue instead of decoupage medium.
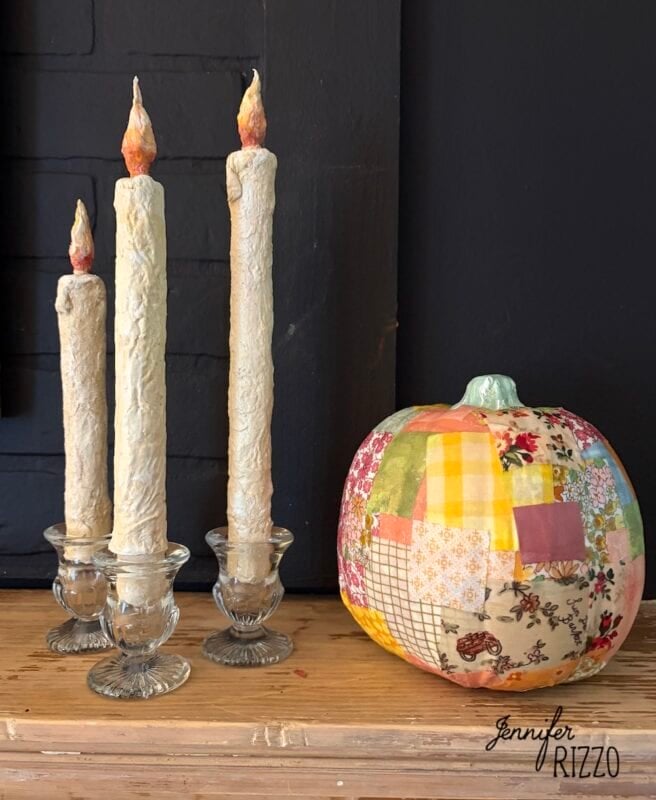
Supplies for Creating a Patchwork Pumpkin
-Scrap fabric
-Decoupage medium or white craft glue
-Brush
-Faux pumpkin
-Scissors
-Craft paint (optional)
Pick the Correct Decoupage Medium
This project is intended for indoors. To make a patchwork pumpkin for outside, use Mod Podge Outdoor according to the directions on the bottle. If using white craft glue instead, it needs to stay indoors unless it’s sealing with an outdoor sealer.
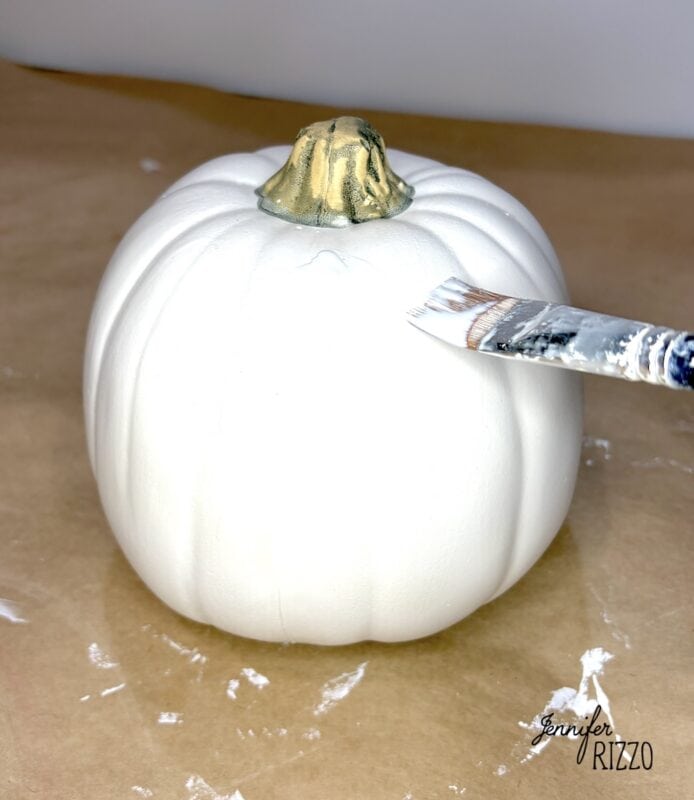
Figure out Fabric Pattern
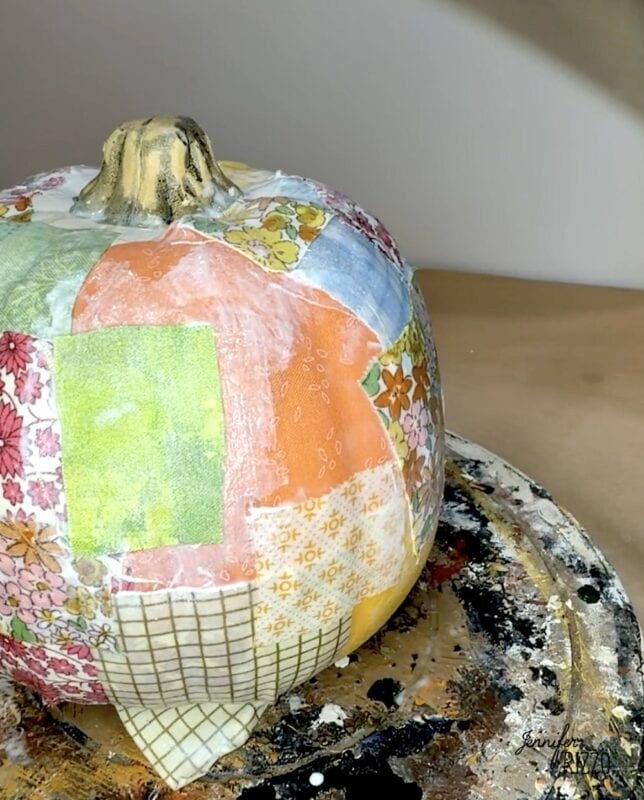
It helps to first lay out all of the fabric scraps and decide on somewhat of a pattern. I found putting larger pieces of fabric in the middle area of the pumpkin and then smaller pieces toward the top and the bottom follow the curve of the pumpkin more naturally and fit better
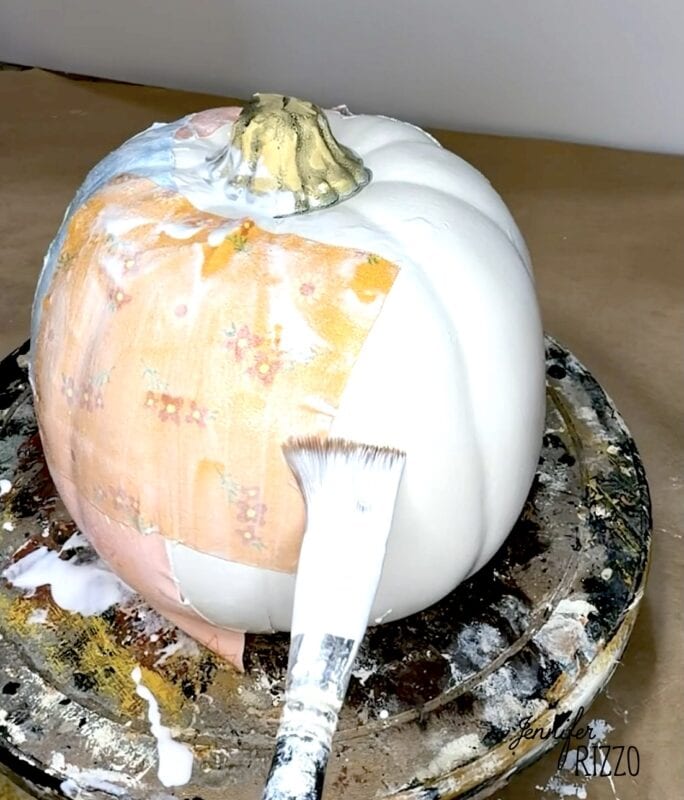
Decoupage in the Middle First
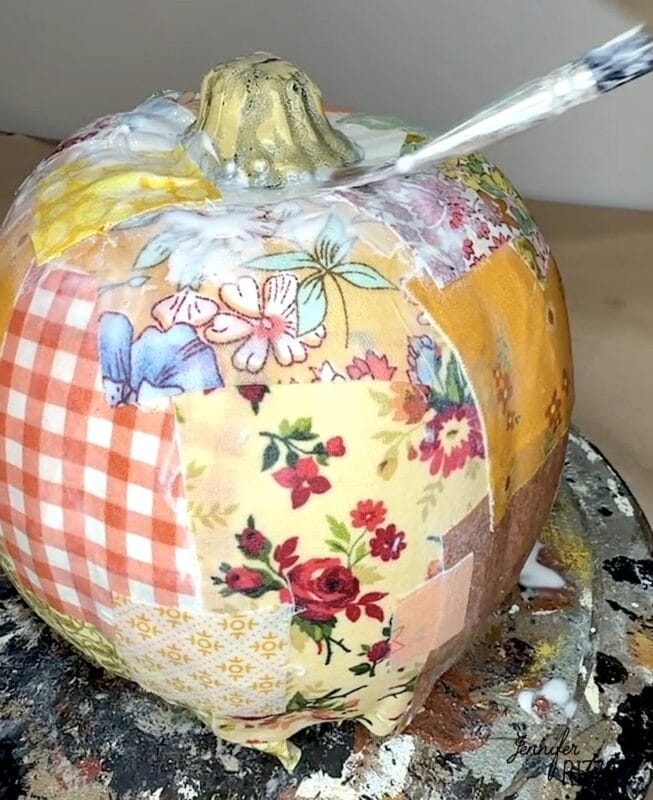
Start by adding a layer of decoupage medium to the outside area of the pumpkin for the first piece. Push the fabric onto the decoupage medium and then use more medium to brush over the top.
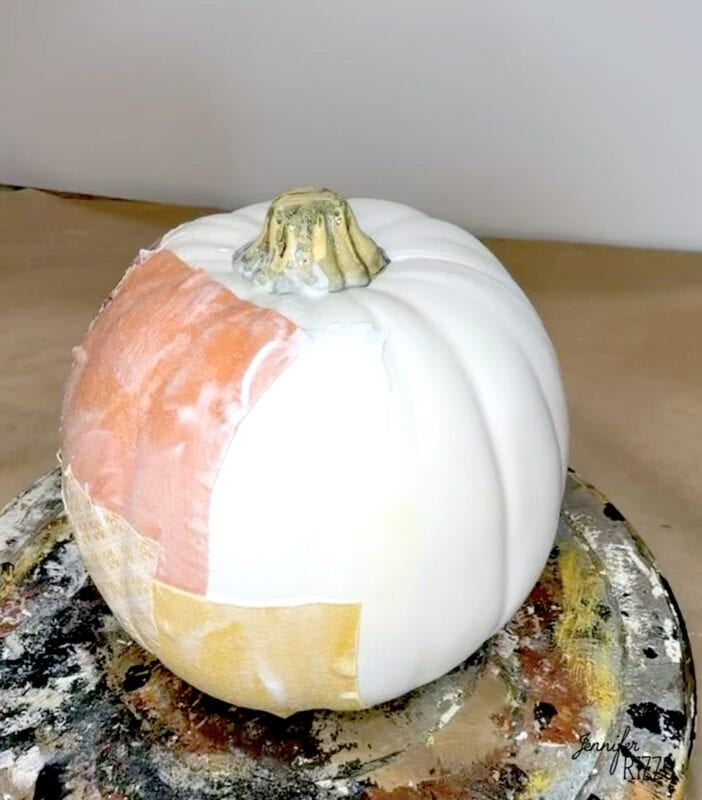
Layer another piece of fabric next to that. Once there is some base fabric glued down, then you can start overlaying fabric to create the patchwork look.
Continue Layering Fabric Scraps
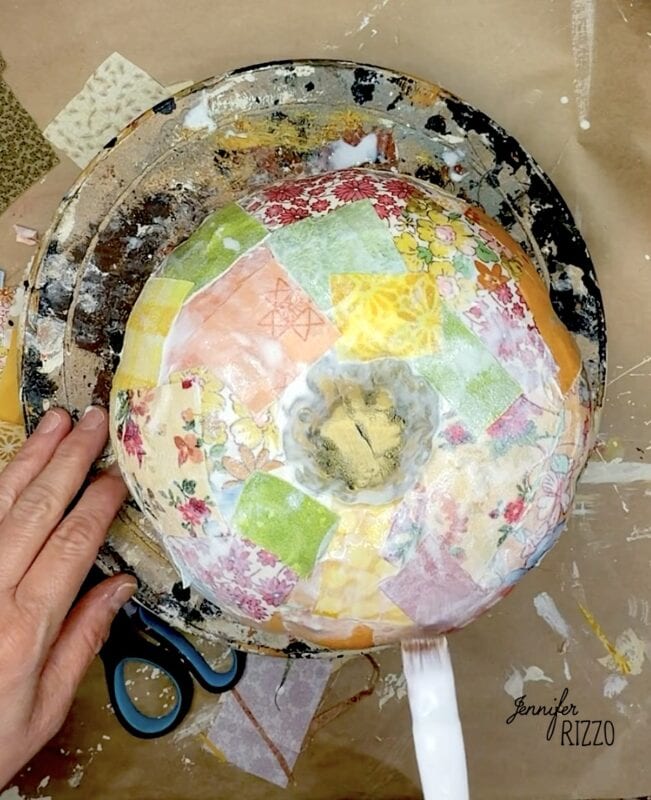
Continue layering fabric scraps smaller ones on top of bigger ones and placing smaller ones toward the top stem. Always brush a coat of decoupage medium over the top of the fabric just placed. Once all of the fabric is completely glued down with decoupage medium, let the pumpkin dry for 24-48 hours. The decoupage medium should look a little plasticky and create a coating. This will also help protect the outside of the pumpkin.
Paint the Stem
We decided to use craft paint to paint the stem but it’s entirely optional. Then you can also decide if you want to go back and add more layers of fabric, to the pumpkin once the medium has dried if there are any areas that have been missed,
This would be so fun in different pumpkin sizes or even in different colorways. Or mimic the patchwork ghost project and add a cute ghost or even monogram to the front.
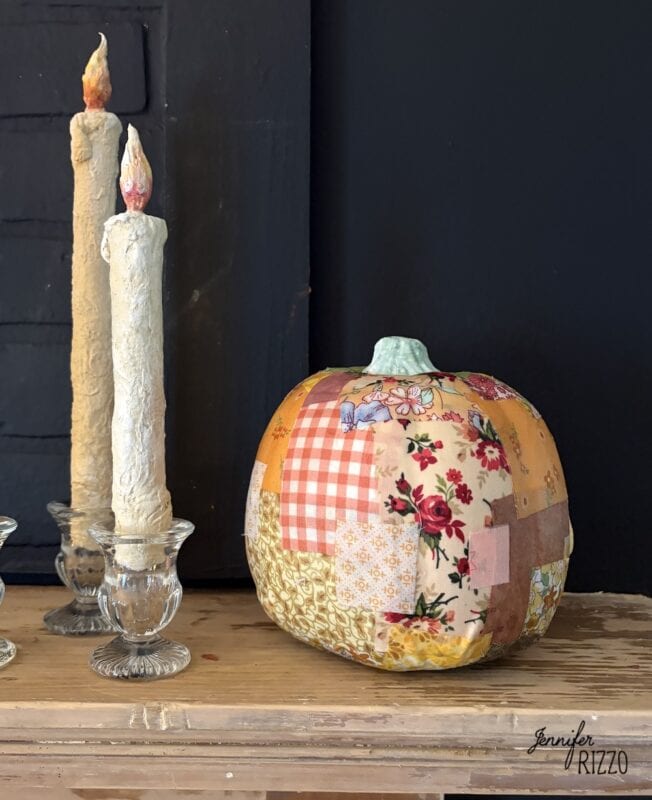
What I liked about this is that every single side is different, so depending on how you turn the pumpkin, it’s going to look different! If you loved this project, make sure you try the ghost patchwork quilt art project in this post (post opens in a new window).
