Scary Face Changing Halloween Portrait
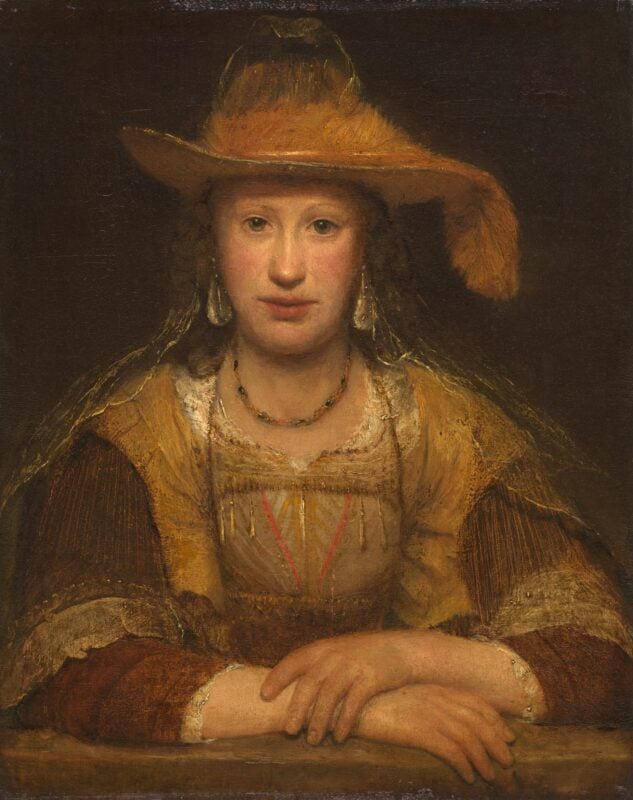
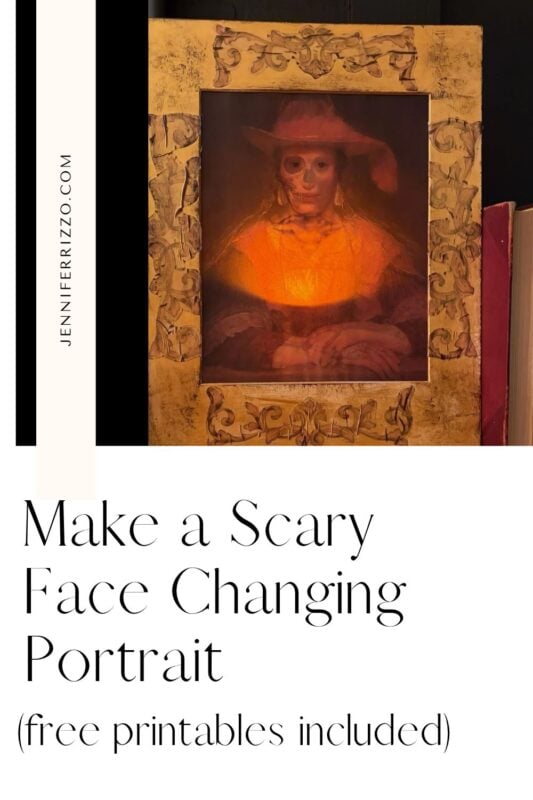
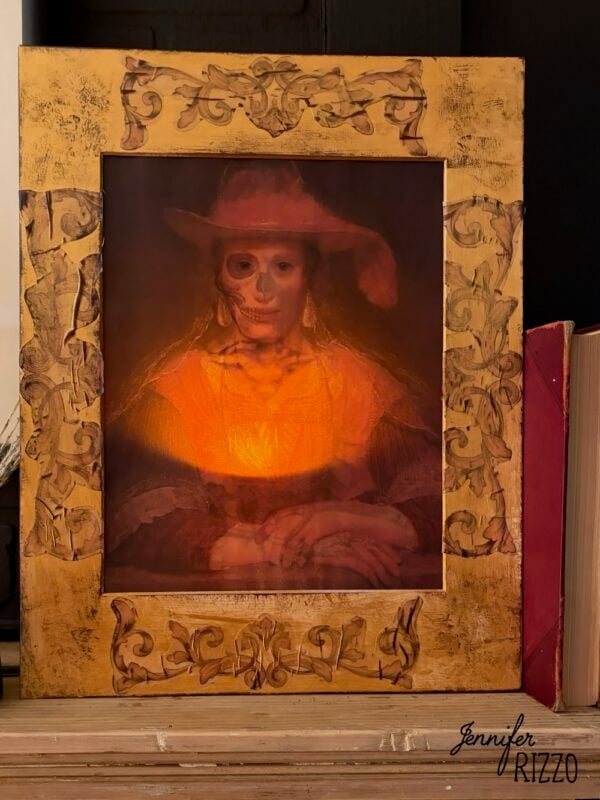
You know those wall hangings that when you walk one way they look like a regular face and then the another way they look like a scary face or an old face? They are called lenticular portraits. It has a 3-D effect as you walk by it the face changes. Or how about those scary changing face portraits or even mirrors for the Halloween store? They are so cool and spooky! What if you could make a low cost Scary Face Changing Halloween Portrait yourself with just a few materials? We are going to do just that with this fun and creepy project! You can use the printable images we have below, or find one you love over at an open source, royalty free art site such as The Art Institute or The Metropolitan Museum of Art.
Supplies You Will Need to Create a Spooky Changing Portrait
-A printer for the printables (ink jet or laser) or send the items to a print shop (printables below) printed as 8 x 11 images with a slight border
-3 sheets of vellum
-Clear tape
-2 photo mats 11 x14 with an 8×10 opening
-Double stick foam tape
-Gold craft paint
-Decoupage medium or white craft glue
-Scissors
-Brown stamp pad
Paint the Photo Mats
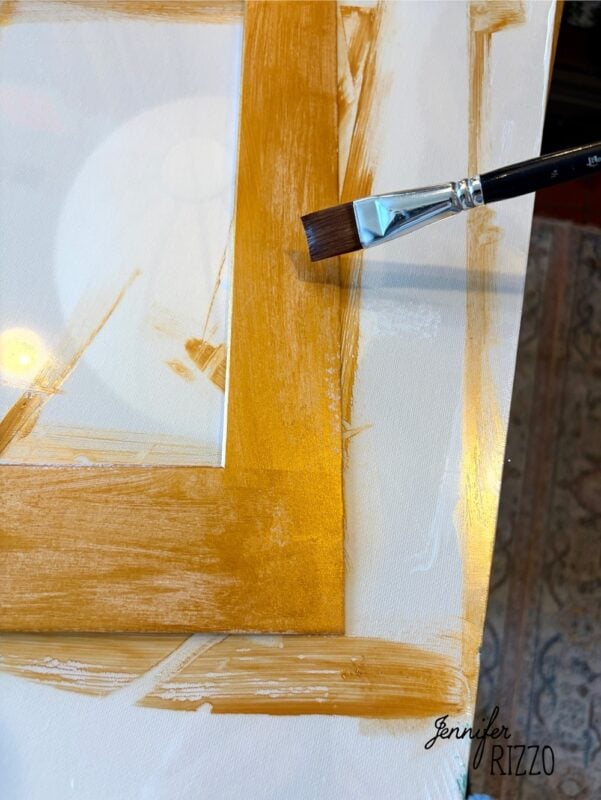
Paint the photo mats with gold paint and let dry (or customize with any color you prefer)..
Print the Images for Your Scary Face Changing Halloween Portrait
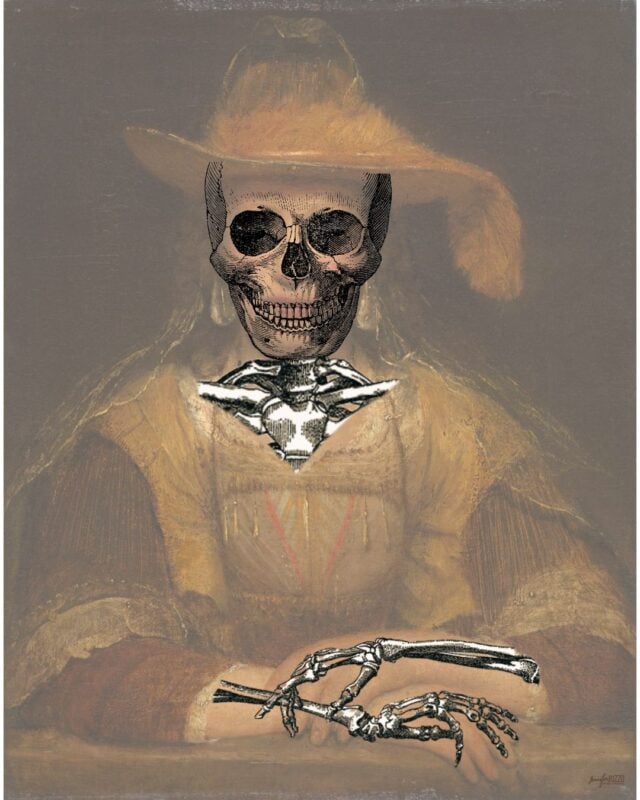
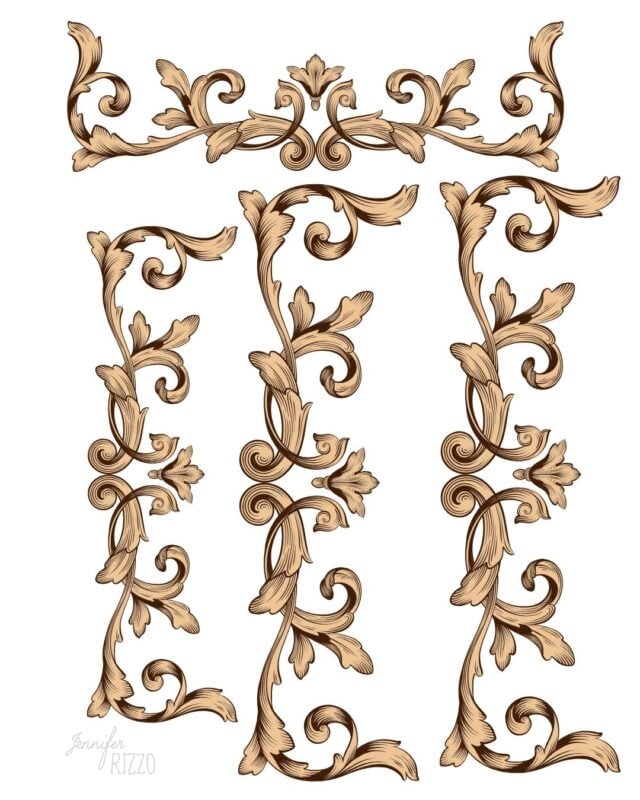
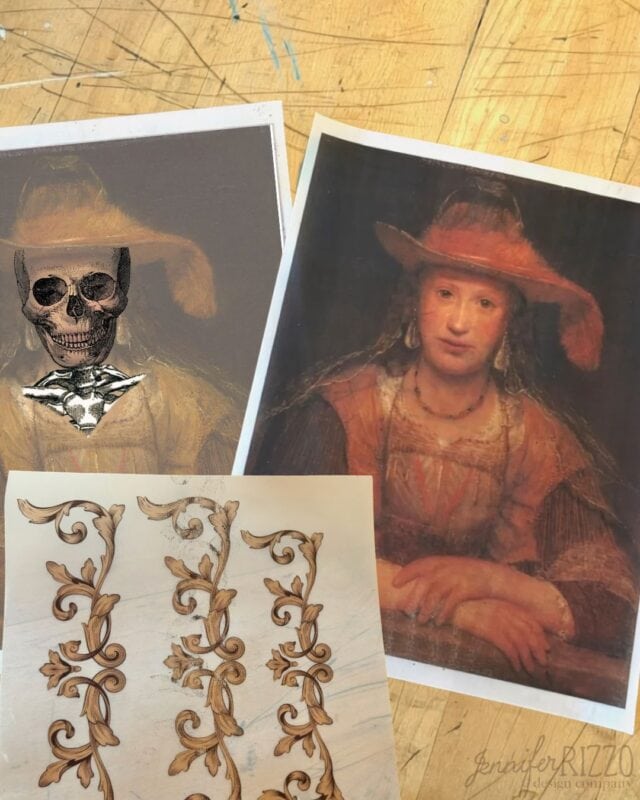
While the gold paint is drying, print out the 3 printables (just right click and save as an image on your computer) on the vellum and cut out the frame edges from the one sheet of vellum. If you don’t have a laser jet or ink jet printer, you can ask your local library or even UPS store to print them out for you. It’s important to make sure both images are printed at exactly the same size. We’ve designed them so they overlay in the right spots when printed the same size. If you don’t have vellum, you can use regular printer paper, the effect just won’t be as pronounced.
Apply the Vellum Frame Pieces
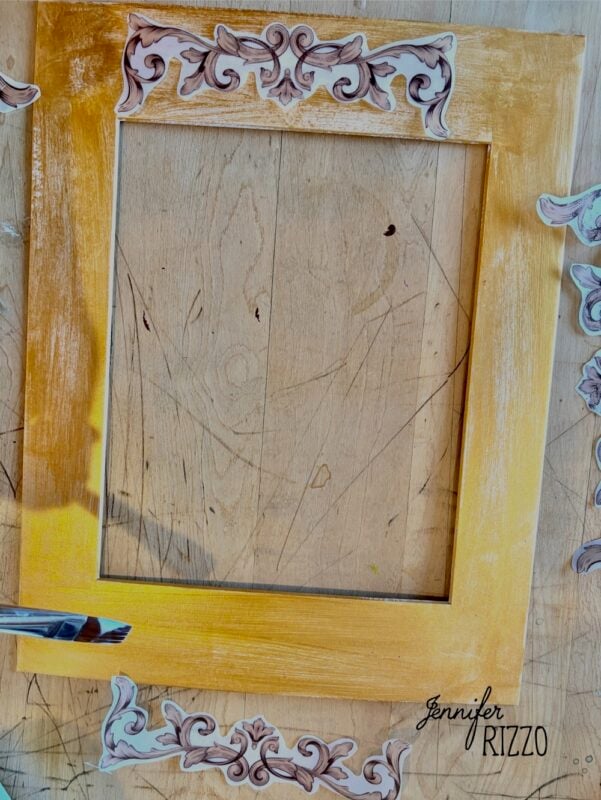
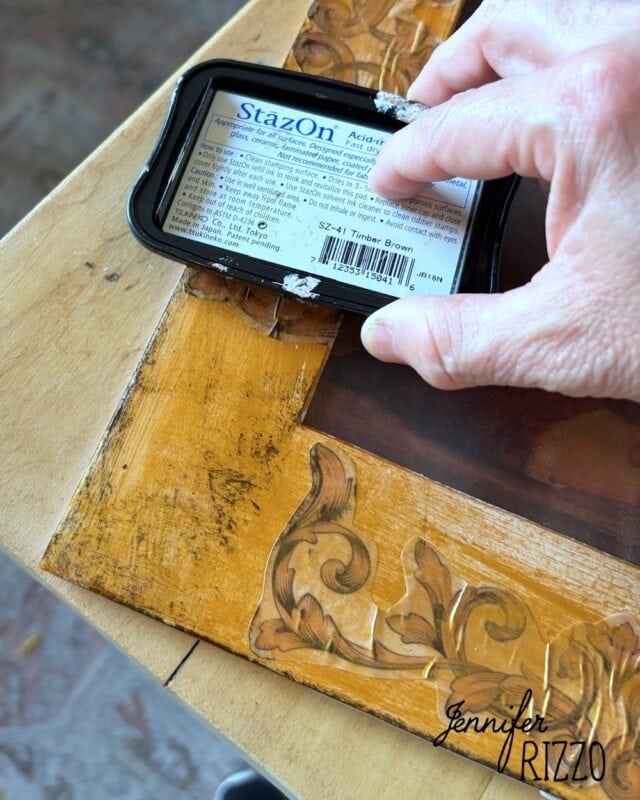
Once the images are printed, apply the vellum frame pieces to the edge of the top mat with white craft glue or decoupage medium. This is going to give it that “fancy frame” vintage look. Once the medium is dry, to make the frame fancier, paint over the pieces lightly with the gold paint. Enough to cover the color of the vellum, but not enough to cover the details on the images and let dry. Asdd some brown ink y rubbing and ink pad on the surface to add some age and patine. If you would rather have this be a little simpler, then you can leave the frame pieces off. The mat can also be covered with other paint colors, scrapbook paper, or even stamps.
Add The Skull Image to the Bottom Mat
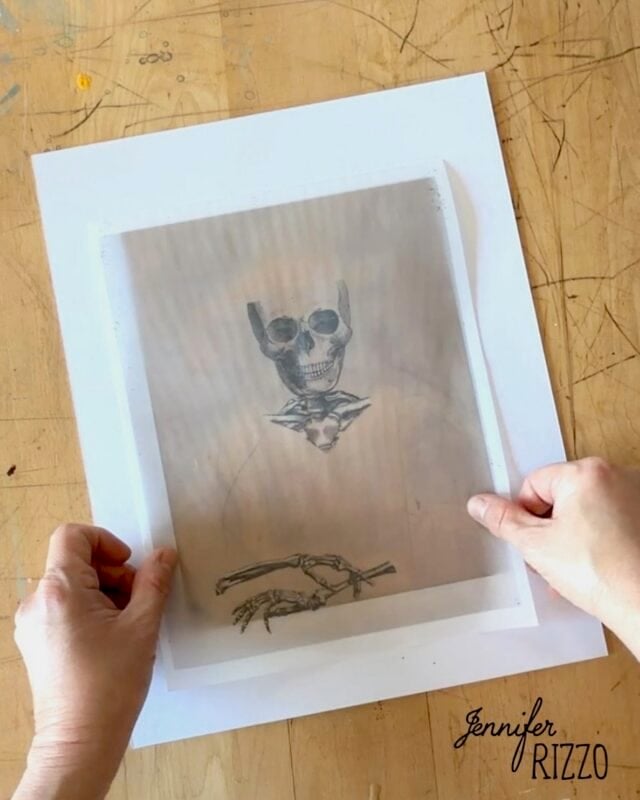
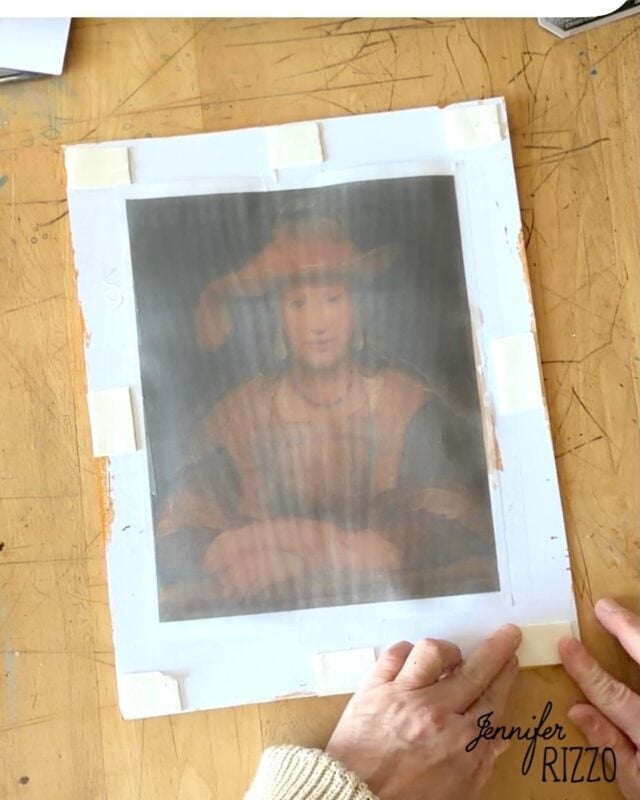
Take the printed out skeleton image and taping it to backside of the mat, centering the skeleton image.
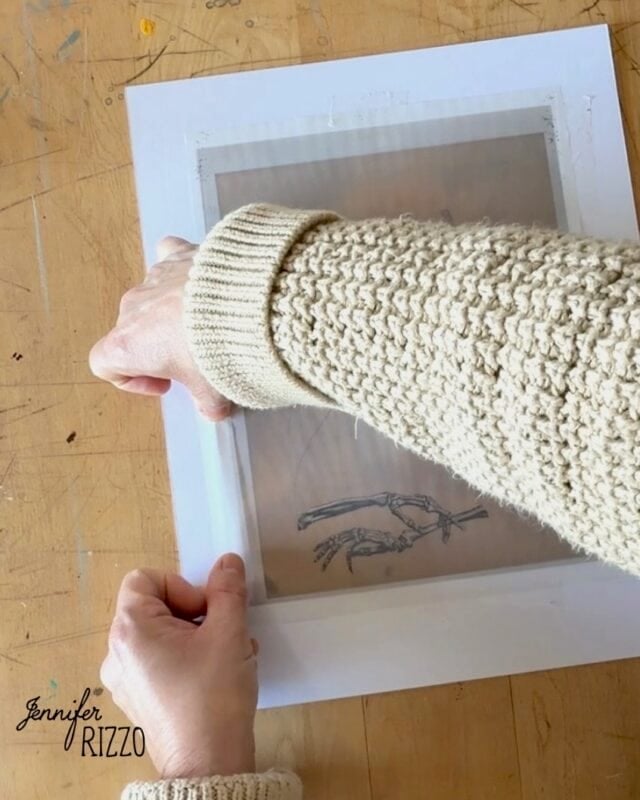
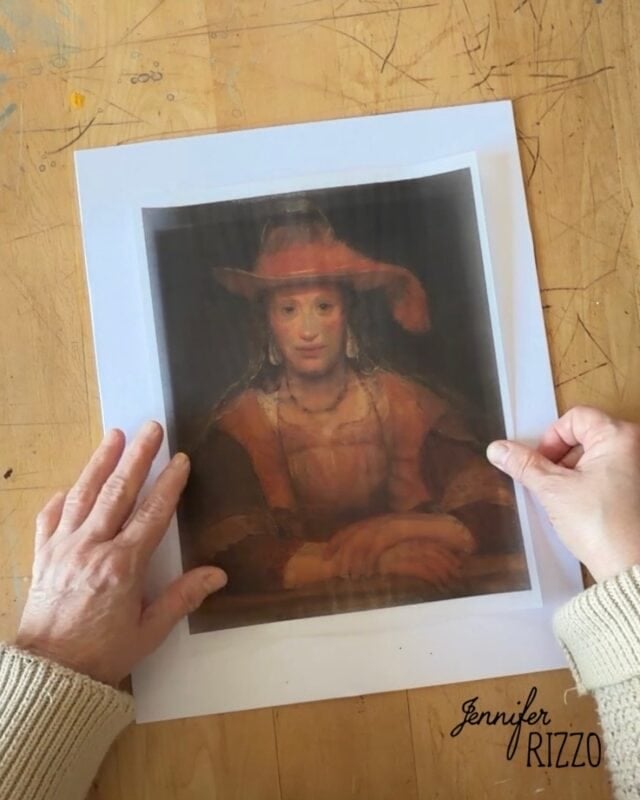
Line Up the Second Printed Image of the Woman
Apply a few strips of tape to the back of the portrait of the woman facing up, and lay it over the skeleton image, lining up the facial features (The easiest way to line it up is to hold it up to the light and make sure the hats match exactly.).
Place the second mat over the top of both images, lining it up with the square edge of the bottom mat, and press down on top of the tape that is facing up on the top print. Before taping, hold it up to the light and make sure it’s lined up. If it’s in the right spot, once the tape is adhered, flip the mat and vellum over and press firmly to make sure it’s stuck and add additional tape. This step is important to make sure the lady image pines up with the skull image and then that the top amt and bottom mat also line up so the effect works when illuminated. Add more tape to hold it in place, then remove the top mat.
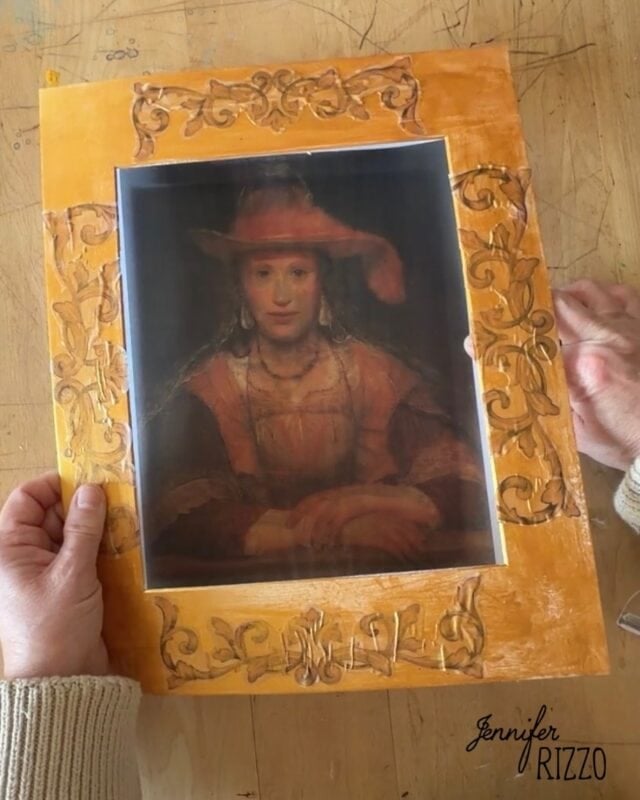
Secure the Two Mats Together
On back of the top mat, apply six strips of double stick tape. Once the tape is applied, press the two mats together, with the top of the skull mat applied to the bottom of the top lady portrait mat firmly.
Display Your Scary Changing Face Portrait!
These can be popped into a sturdier frame, or displayed as is. or in a photo stand. Add a battery operated candle (NOT a real one!) on a remote or twinkle lights behind it to illuminate the portrait for the skull to show through! A flickering battery operated candle makes it even spookier!
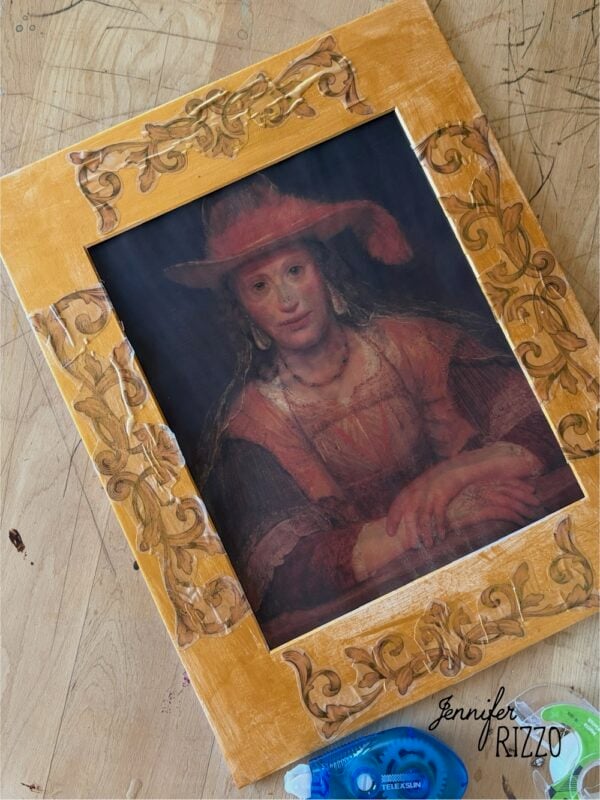
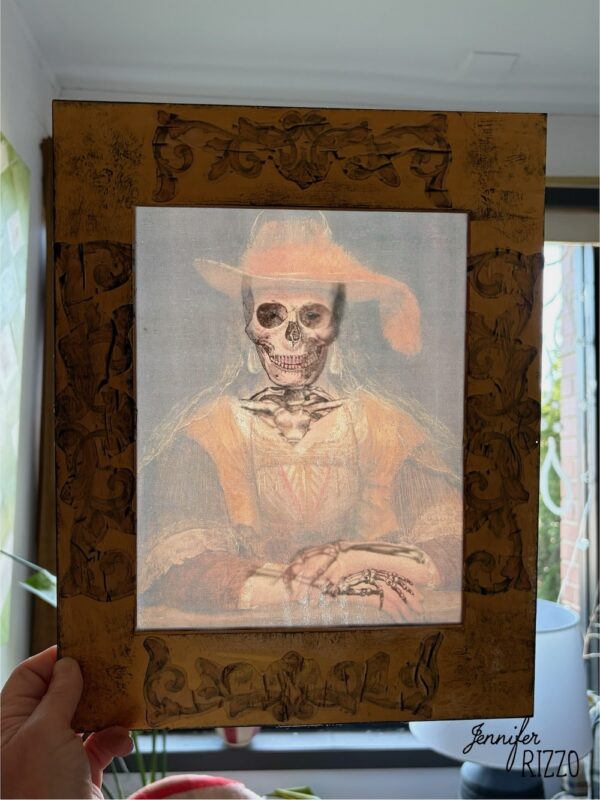
This is a fun and easy way to create a unique piece of Halloween decor with your printer! For more Halloween printable fun, make sure to check out our printable paper vintage bat garland .
If you have a hard time getting the printables from our page, you can also get them as a download on our email list here.
Grab the printables (Just right click to save as an image).: