Printable Vintage Bat Halloween Garland
This Halloween craft is easy to make and fun to enjoy. What’s more, this bat Halloween bat decor will give your living room or front porch a nicely spooky touch. If you love vintage Halloween decor or are going for a vintage Halloween aesthetic, you’ll love this project. This free bat printable vintage Halloween bat garland has a great vintage feel to it and assembles easily. You can grab the printable at the end of the post to make your own. If you’re having a Halloween party or autumn birthday party, you may want to decorate with not only a garland or use the bat printable to make a Halloween wreath. The following free printable vintage bat Halloween garland is at the end of the post that you can put together with a few craft supplies like paper and scissors!

this post contains affiliate links. See our sponsor and affiliate disclosure here.
To make your bat garland assemble your supplies.
First, grab the printable at the end of this post and print on card stock at home or send it to your local printer to print on card stock (use off-white card stock for a more vintage look). I used two sheets to make mine, but you can print as many as you like to make a garland as long as you like.To create this bat image, I altered a vintage image. If you want to add a bat with it’s wings out, you can find the original image and other bat clip art here.
Ribbon, twine or similar to create your garland base where the bats hang from. Make sure to keep this completed garland out of reach of children and pets as it could be a strangulation hazard.
Small hole punch. You can use a regular sized hole punch which is 1/4 inch, but an 1/8 inch was used on this project and works better.
Scissors
Black stamp pad
Find all of the supplies with the exception of the printable here.

Step 1: Cut out your bats
Start by cutting out your bats. Leave a small area of white around the edge of the bat image, especially around the feet where you will need to punch holes for hanging.
For a fun and spooky touch to your Halloween decor paint a ghost in a thrift store painting!

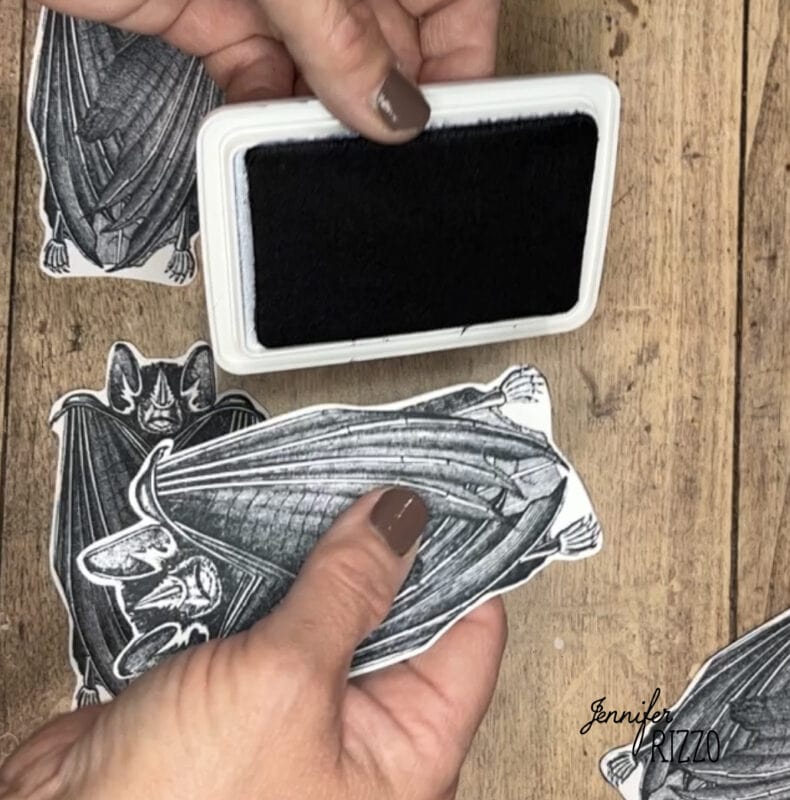
Step 2: Use a black stamp pad to darken the edges of the bat cut out
This will give a nice contrast to the image on the paper and give it a more aged look. TO make it even more vintage use a brown stamp pad or tea stain your paper and your image.

Step 3: Punch holes in your bats and assemble
Using the 1/8 inch hole punch, punch holes in the bottom near the bats feet. This will be how they hang upside down. Once all of the holes are punched, thread your ribbon or string thought the holes to create your banners.

Step 4: Tie a loop on each end and hang
To hang my garland, I tied a loop on each end, but this could also be taped up with a loose end as well. This would be so cute across a faux mantel or a great way to welcome trick or treaters at the front door with a spooky garland. Add a few spiders, cobwebs and ghosts and you have some fun and spooky halloween party inspiration!

This is such an easy project! If you love DIY halloween garlands, check out this fall sweater and orange pumpkins themed garland with art printables.

To grab the printable below just save to your computer and then print.


