Watercolor Painted Cool Gift Wrap and Painted Gift Tags
If you ever have to wrap a gift and realize you don’t have any wrapping paper, and you have plain paper and watercolor paints you can create some watercolor painted cool gift wrap and painted gift tags. I wanted to show you how easy it is to paint your own gift wrap and tags, even if you think you don’t have any painting skills! I used a roll of plain white craft paper from Ikea, but any plain white roll craft paper will do as long as it doesn’t have a shiny surface. It’s also a nice size for wrapping larger items.

You can also use watered-down acrylic paint like Americana Acrylic craft paints, and treat them almost like a watercolor paint, but for this project we used regular watercolors. I love the end result! I decided to stick with 3 colors for my palette. A soft green, calm blue and gold. I thought they would be pretty non-traditional holiday colors. All of these designs you can paint on both the paper and the tags to make them matching for coordinated wrapping!
Supplies For DIY Watercolor Gift Wrap And Gift Tags
-Plain white roll paper
-Watercolor paint
-Water
-Watercolor brushes, liners, angles and round brushes
-Shipping or white gift tags
-Paint palette

You can work with paints right out of the watercolor paint palette, or if you’re feeling adventurous, mix your colors to get the perfect shade of paint. To paint the tree paper, start by using a thin brush and brown paint to make lines if different sizes. You can see this pine tree watercolor painting tutorial here for more direction.

Use a thicker brush and some green paint to make trees. Each one will come out a little different, and how your paint will end up looking depends on how absorbent your paper is. Mine is pretty matte so it really sucks into the paper. I went over some spots to make it darker and kept some lighter. Some lines I did close together and other father a part. It’s nice to have some variation. I will tell you, I should have turned my trees the other way so they were running long ways on the paper instead of the short way. Just keep that in mind as you are planning out your design!
Create Texture With Gold Paint Splatter
After I painted my trees, I speckled my paper with gold paint and put random , messy dots of the blue on. I really liked the abstract look. It’s easy to speckle and splatter! Just load up the brush with the paint color of choice and lightly tap the top to spatter onto the paper. Let the paint soak in for the maximum effect.

Create An Abstract Gift Wrap Pattern With Brush Strokes
If painting something with structure makes you nervous, try this very simple abstract concept. Just use a fatter angle brush to make lines all over.

Use Random Short Brush Strokes To Create a Pattern
Finally, using a fat,square brush, you can create short, fat strokes in different colors to create an abstract pattern on your gift wrap. By repeating the colors it makes the wrapping paper look like it all goes together.

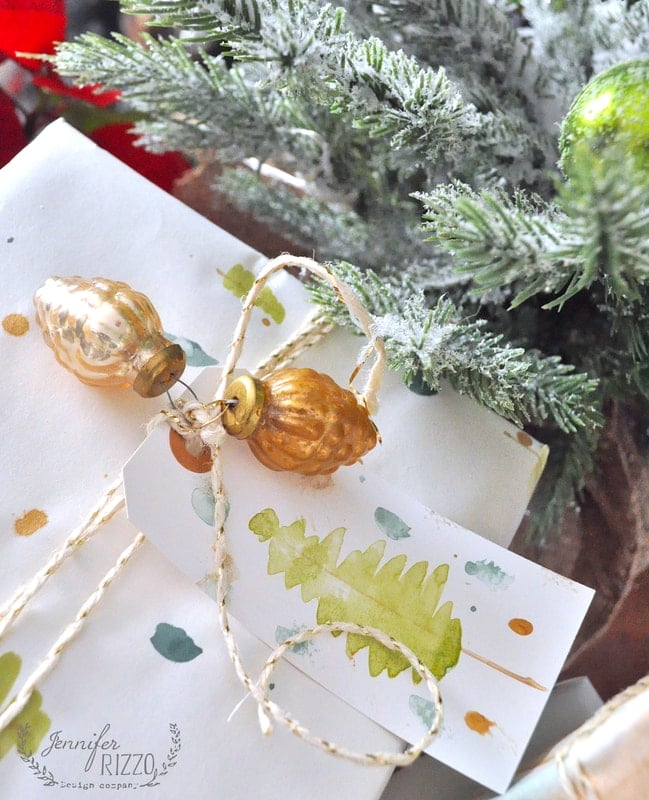
Make Matching Gift Tags With Paint
Just repeat the same ideas to make matching tags using smaller brushes. This really makes nice custom wrap.

Let the Painted Watercolors Dry Flat
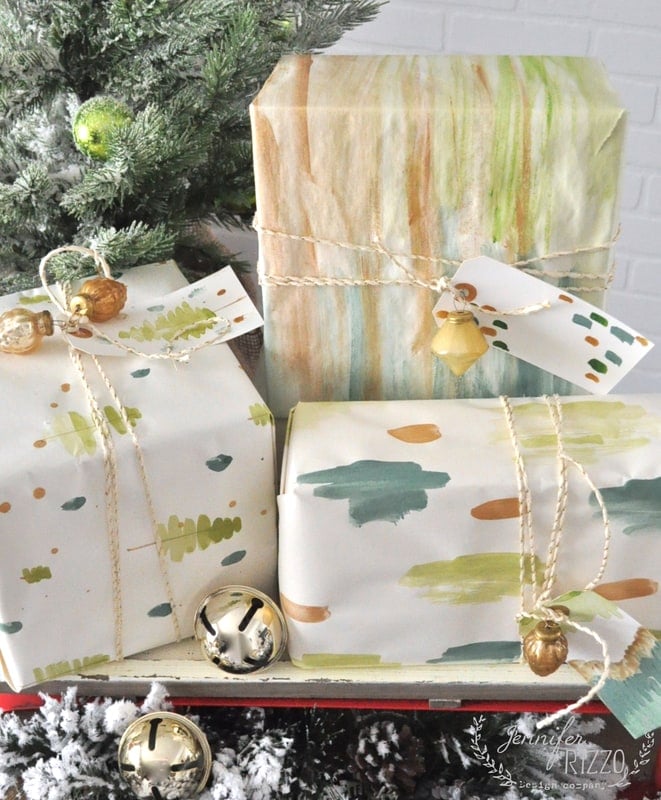
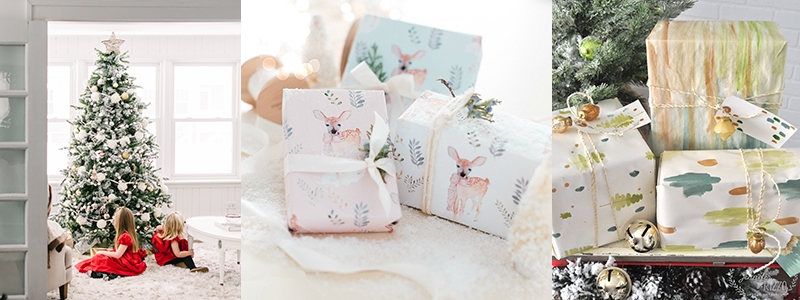
Even though this is for Christmas, buy using different colors this can be customized for any holiday or occasion and is a great way to make last minute wrapping paper if you run out. Just lay it our on the floor to dry it will ready to wrap in a few hours! I loved how the paper turned out with the matching tags!

I really love all three and this would be fun to let the kids do too.
The just top off with pretty string and bows.

If you like to paint, make sure you check out this how to paint a winter scene tutorial!

It’s a special and fun way to give a gift, and you and use any colors you choose to make it your own!


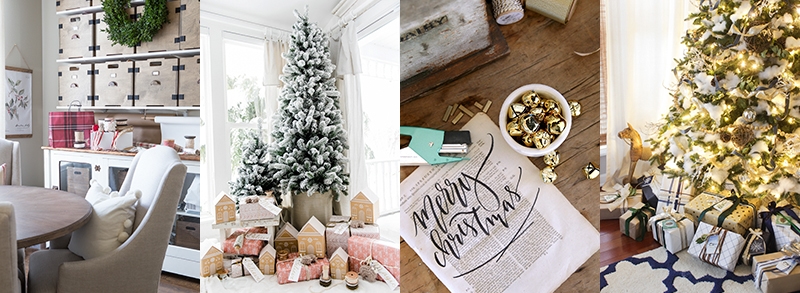
Ella Claire | Liz Marie Blog | Jeanne Oliver | Shades of Blue Interiors

French Country Cottage | City Farmhouse | Dear Lillie | My Sweet Savannah
Hi – i actually could not find a place to comment on ur wax vs poly article so i am here… my question is how to apply poly over wax- can i do this ? I revently did a dresser and bed and the bed was chaulk painted w poly finish- i love look but really hard to work with– so i did dresser caulk paint w wax finish/ compared to bed it lacks shine and im wishing i did it in the poly… do u have any tips to do this? Or to somehow add a depth of sheen to dresser to match the bed better . ? Thk u!!!
Hi Jill,
I don’t think you can put poly over wax. It’s too slick of a surface. You would have to remove or sand the wax off first and then put the poly on. I am not sure how to add sheen beyond that. Maybe contact the company that makes the wax and see if they have any suggestions?
Love this Jen!