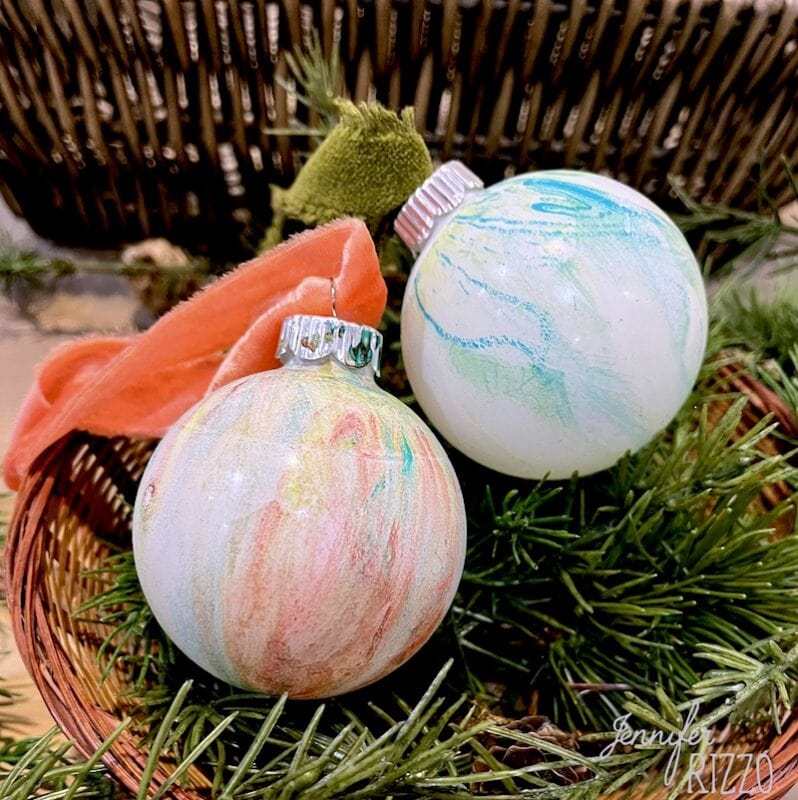
How To Make Marbled Paint Christmas Ornaments
DIY marbled Paint ornaments are beautiful and unique with their distinctive, colorful swirl pattern. Water marbling can be adapted to all kinds of surfaces to create a beautiful pattern to create an effect almost like hydro-dipping. While there are techniques for marbleized ornaments that use nail polish, oil based paint, craft paint and alcohol inks to make DIY marbled Christmas ornaments, this technique uses a much less toxic craft marbling paint, ball ornaments and a special medium to make the marble effect on the ornaments. Using this easy DIY technique you can make beautiful water marbled ornaments that have a watercolor look to make December Christmas decor, deck your Christmas tree or give as a gift.
 This post contains affiliate links including Amazon Associate links. See our sponsor and affiliate disclosure here.
Make DIY Marbled Ornaments With These Supplies:

Water Marbling paint and Water Marbling Magic Medium
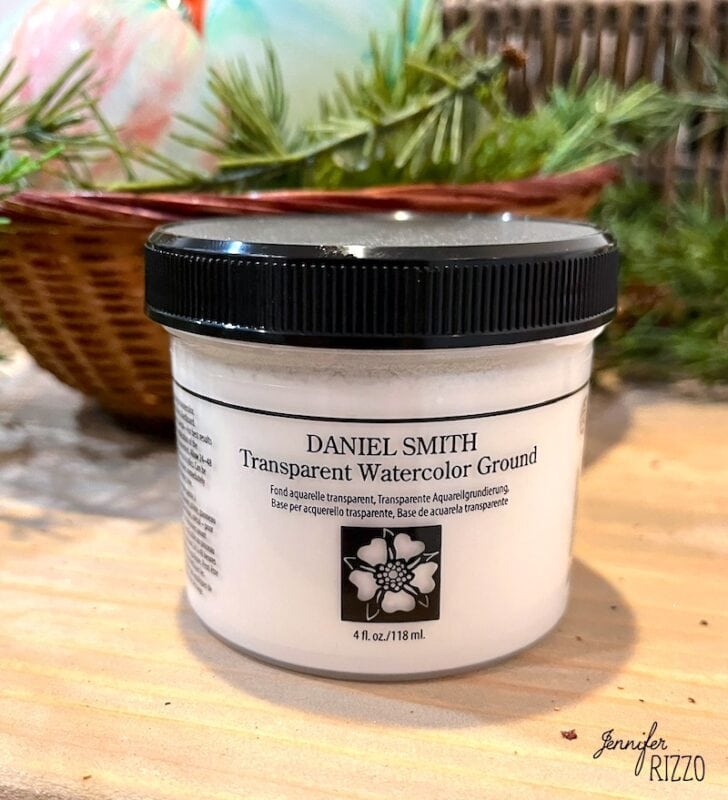
Daniel Smith Watercolor Ground
White or Clear plastic globe ornaments
Ribbon or twine
Metal Hook for hanging
Deep disposable plastic container with warm water
Clear sealer
Gloves
Paper towels
Swirl stick or tooth pick
Plain paper
A paper towel for the inside bottom of the container
Prep The Clear Plastic Ornaments
Round plain ornaments are too slippery for regular acrylic paint to adhere to so there needs to be just a little prep of the ornament. 24 hours before you marble your ornaments, paint your ornaments with Daniel Smith watercolor ground and let dry. This is a medium that turns other surfaces into a watercolor paint-ready surface. This also allows the marbling paint to stick to the shiny surface of the glass ornament. We are using clear glass ornaments from the local craft store, but you can also use dollar store ornaments or white ceramic ornaments.

Mix Your Water Marbling Medium In Water
When you are ready to marble your ornaments, prep your warm to room temperature water according to the instructions for marbling with the marbling medium. Once it’s ready it should have a slightly thick consistency so the marbling paint floats on top of the surface. You will want to pick a container to mix your medium and water in that allows your ornaments to be completely submerged when you dip them, containers like paper cups may be too small. Before you add you paint, submerge a folded paper towel or wash cloth in the bottom to cushion it in case an ornament is dropped. We recommend using plastic ornaments for this project, but If an ornament is dropped and breaks, don’t reach your hand in the water to retrieve it. Instead scoop out any broken pieces with a tool or craft strainer, discard the water safely and start over.
Choose Your Color Palette For Your DIY Christmas Ornaments
You can use as many colors as you like, but if your starting out and aren’t sure, start with 2-3 paint colors.

Create The Marbling Surface
For a large amount of color, drip a good amount of paint onto the surface of the water from about an inch away. Add smaller accent colors by pouring a small amount. You can drip your paint in a random pattern, or create circled by dripping different colors on the inside of each other. It may be hard to see some of the colors as they float on the surface, but they are there. I have to say it’s a little bit of relaxing bliss for me to watch the colors swirl together. Once you have your colors added and have covered the entire surface, use a toothpick to pop any air bubbles on the surface on the top of the water, use a stirring stick or toothpick to swirl the paint around the container. How the paint is swirled and drop will determine the pattern of the marbling. It’s fun to experiment and see the different patterns and colors mix together.

Marble The Ornaments
Add an ornament hook to the top of the cap loop and hold your ornaments firmly, and dip the ornament into the water just until the round top of the ornament is submerged, being careful to not submerse it so much that water goes in the ornament. Remove immediately and hang to dry on a drying rack with wax paper or parchment paper underneath to catch the drips.


Changing Marbling Paint Colors In The Tub: Remove The Excess Paint
When you’re ready to change paint colors, you don’t have to dump the entire tub out, you jsut need to clean the paint off the the surface of the water marbling medium. Removing the old paint off the top of the water is as easy as dragging a piece of paper across the surface to grab the extra paint. Once the extra paint is removed, just add new paint with new colors (You can also use this technique on faux Easter eggs in the spring too!) Lay the paper flat and let dry or discard. The marbled paper can be upcycled to create cards, scrapbook or made into other crafts. As the ornament dries and the excess water drips off the paint may lighten a bit.

Add A Ribbon To Hang
Once the marbled ornaments are completely dry, loop a piece of ribbon on twine through the loop and knot the top to make a pretty hanger. Cut the ribbon knowing you will double it to create a loop to hang the marbled Christmas ornament off of. Adding a bow also adds a sweet touch. Marbling can be very fun and it’s hard to stop once you start and you can create really fun color combinations! Once the ornaments are marbled, use card stock or blank card stock tags to create fun marbled Christmas cards or gift tags with the left over paint and water!

Love this project? See how to create more marbled and swirled art with paint pouring.
