How to Distress Furniture with Masking Tape
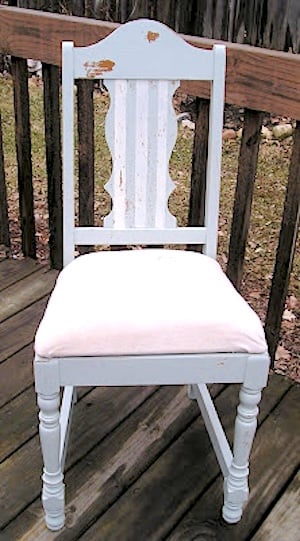
There are lots of fun techniques you can use to make furniture look old. This was how this chair was after it was freshly made-over and before any distressing. I wanted to share with you how to distress furniture with masking tape; it’s so easy using masking tape!

Adding some flair and distress to a chair is as easy as using masking tape. There are many ways to distress furniture. For instance, after using a candle to rub on the edges of the chair before painting, I decided it needed more distressing. Why rub a candle on the edges of a chair before painting? It acts as a wax resist and once the paint dries, with a little sandpaper, the paint easily comes off and reveals the wood underneath for a vert distressed look.

Use Sticky Masking Tape for Distressing
This technique does work the best on more freshly painted, and less well-prepped painted furniture, but can be used on older furniture as well with really sticky tape.
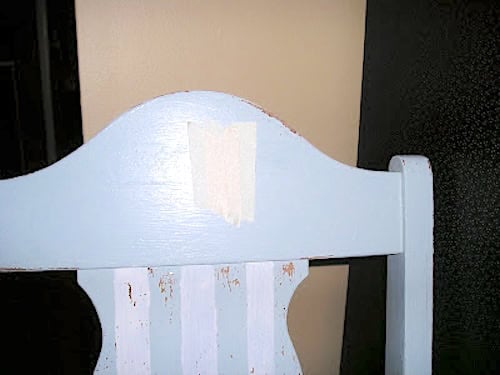
After your piece is painted, let it dry for a few hours and put masking tape over the area you would like to “distress.” For a more complete reveal , press really hard, for a light lifting, just touch the tape o the paint gently and remove right away. You can even burnish it with a popsicle stick or the back of a spoon for a deep “grab.” If you would like a color to show underneath, paint that color a few days before and let it cure. Also, it never hurts to apply a small bit of varnish to make sure the undercoating isn’t going to lift.

And then simply pull the tape away quickly. It’s that easy!

To cover the striped, painted areas, I pre-destuck my paint by sticking it to my clothing first a few times. This makes it slightly less sticky and I barely pressed down on the tape before pulling up.

The masking tape creates this amazing distressed look in all of the right places.
It’s so easy to do, low cost and looks old in a good way! For more furniture painting, see how I painted this table red in this post.
Jen
If you are reading this post at any other sites or blogs besides Jenniferrizzo.com, your rss feed,e-mail or in your reader this is stolen content.
*This was posted Via Jennifer Rizzo. com
Thank you a million times for this post! You have no idea how I’m so going to do this. I sat outside distressing a dresser, primed, painted gray, then a creme color. I wanted each color to come through. Sanding blocks were not working! So I grabbed the electric sander. Way…WAY…to much work! Tape is my new BFF.
Thank you for the tip,
Shanna