Make Nest-Inspired Flower Pot Containers
No winter lasts forever, no Spring skips it’s turn- Hal Borland. Oh Hal, while that is quite witty, it does not explain it’s pokiness.And, well, we just didn’t get enough snow this year… said no one in Chicago. Ever.To bring in a spring vibe, I thought I would play around with some clay flower pots I had laying around and make Make Nest-Inspired Flower Pot Containers. I thought it would be fun to somehow to turn them into some kind of container and with left over supplies from other projects. I came up with these cute clay pot treat boxes. They would be really cute for wedding favors, or shower favors. Or even just a cute place to keep special treats for yourself! I love using terra cotta pots for all kinds of projects!

Supplies to create your terra cotta clay pot containers
-New, clean, terracotta pots
-Acrylic craft paint(Cream,brown,black,grey,blue)
-Sisal Rope
-Darice 6-Piece Paper Mache Eggs, 2.5-Inch
-Mini-grape vine wreath
– Vintage earring
-Hot glue

First I painted the pot with acrylic craft paint and let dry.

Then I used my hot glue wood grain stamp to layer the colors to make the faux birch bark (You can also decoupage birch bark pattern tissue paper or napkins on the pot) I rolled first with brown, then grey and then black and then I blended them all with a brush while the paint was still wet.

If you don’t want to use a wood grain stamp,you can also use this technique shown below of painting on lines in the different colors and blending.

While you pot is drying, you can start on the lid.Paint a paper mache egg. I used blue and speckled it with brown.
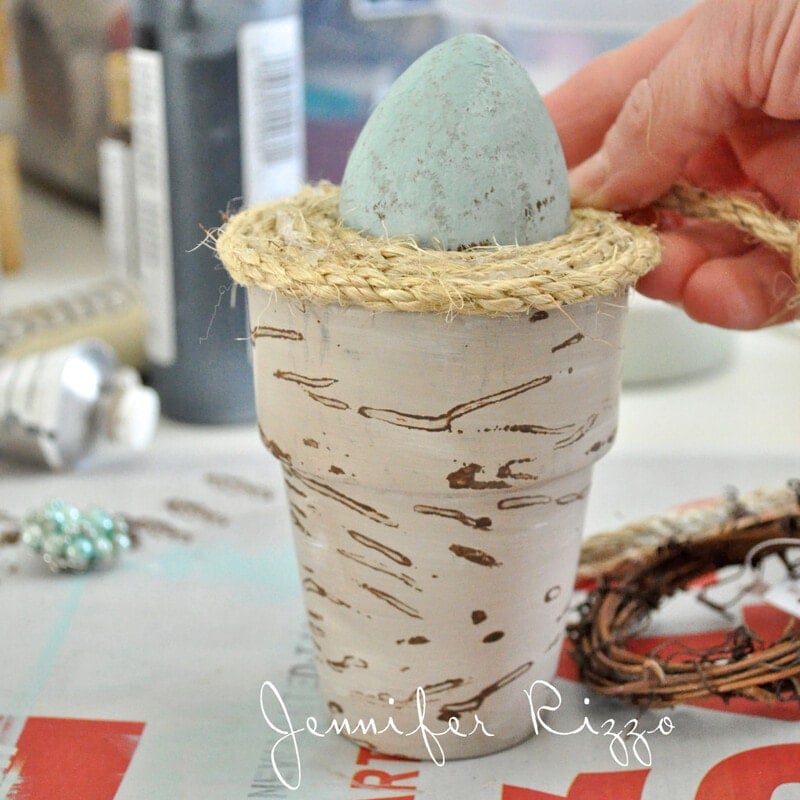
Once that is dry, use hot glue to slowly glue and wind the rope around the egg. Carefully to not burn yourself about 40 times like I did.

When you get to the size you need, start winding and gluing on the end rope a few turns to make a lip pf the lid.

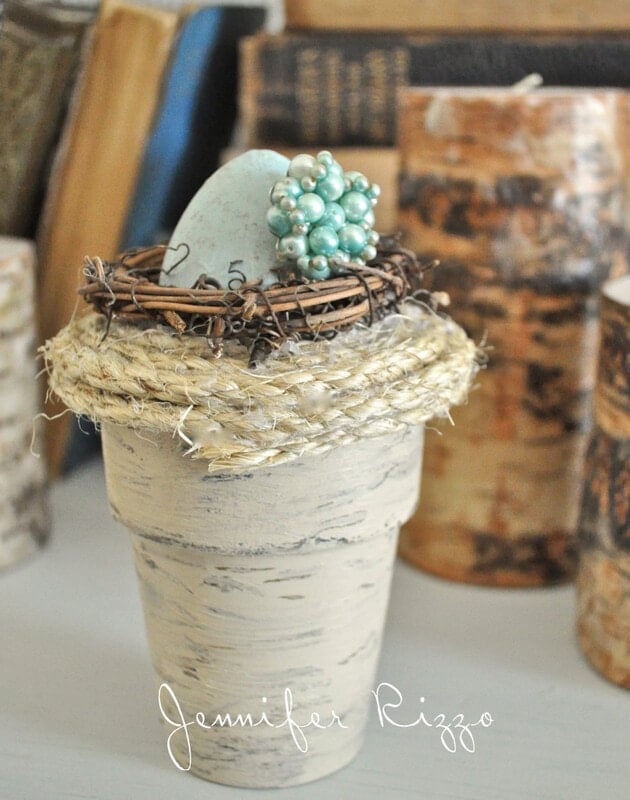
Once it’s dry and you have the right fit,glue our mini-grapevine wreath over the top of the egg to make it seem like it’s coming out of a nest.

And I glued on a cute vintage earring to give it a little bling. I didn’t have any moss on hand, but you could add that too!
And you’re ready to add your treats or any other wrapped items or trinket you would like to put inside!

I used tissue paper to fill the flower pot a little higher and keep the candy away from touching any painted areas, even though they are wrapped.I used some Rolos because I liked the gold wrapper.

Have fun with that special place to keep your secret treats 🙂
 I you liked this post, you might also like:


These are so cute & creative. I seriously needed this little glimmer of spring today! 😉
Angela @ Number Fifty-Three
Very pretty, Jen! I love how you did the nest look with the grapevine wreath. It looks like a great little container to hide your favorite chocolates in and no one will know they are there!
Jen,
This is really cute and perfect for spring. Hope we see Spring soon!
Kris
Jen, I love these! I work at an elementary school and I’m going to make these for all the teachers. We live in northeastern Indiana so we have had so many snow days and delays we’ve stopped keeping count. We are closed today also. I think these will be the perfect pick me up. Thanks for the great idea. Looking forward to seeing all the progress on your family room too.