How to Make Botanical Decoupage Art
We welcome Jennifer Zuri from Town and Country Living to share with us this fun botanical craft and decor project! Decoupaging botanical images on wood or an art canvas using old book pages for the background. If you don’t have old books, you can also use decoupage papers, wrapping paper, paper napkins or even tissue paper for backgrounds too. A botanical art print is a great way to create custom art for your home and is great for beginners! She uses a really pretty vintage artichoke botanical drawing to create this gorgeous decoupage artwork and I know you’ll love her step by step tutorial below!
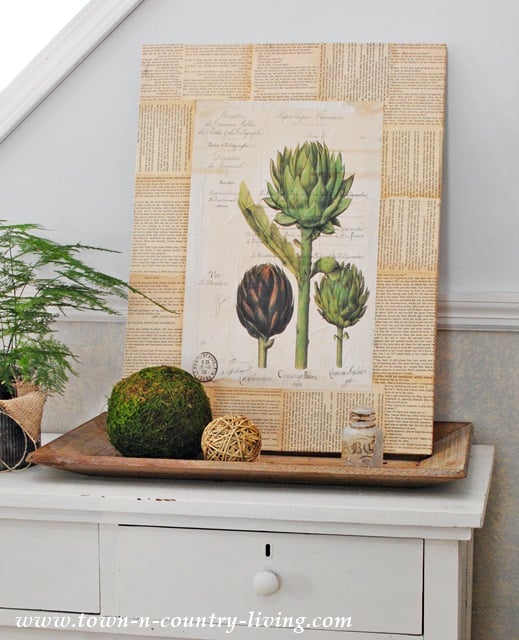
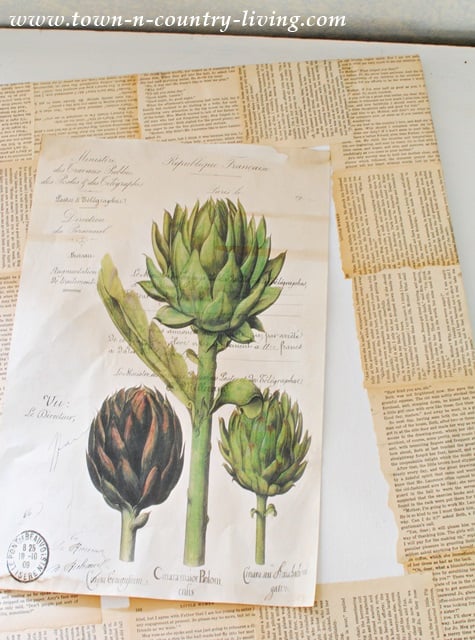
Jennifer: Hi Everyone! This is Jennifer Zuri from Town and Country Living. Today I’m sharing an easy DIY decoupage botanical art project. Earlier this month at our local flea market I ran across this beautiful botanic artichoke print and was inspired to turn it into an art project.Here’s my finished art project, a botanic print framed in book pages.I love botanic prints and I love artichokes!
Supplies for Creating the Decoupage Botanical Artwork
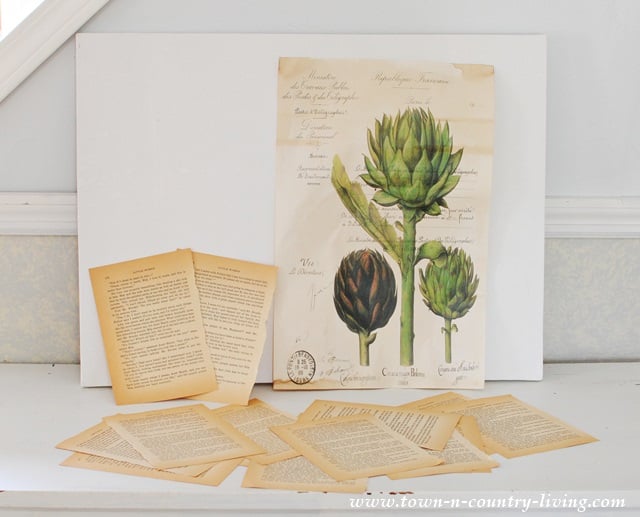
Only a few supplies are needed for this DIY botanical art project: An art canvas or wood board, a botanical artichoke print (florals work too!), a brush, book pages (new or vintage), and a sealer like Mod Podge decoupage medium (in matte not gloss). Optional: Distressed Ink in Tea Dye or Walnut for aging the edges. Find artwork similar to this at The Graphics Fairy.
Start by Decoupaging Old Book Pages on the Canvas or Wood Board
First, center your print on the canvas to determine space needed to fill with book pages. If you don’t have old book pages, you can tea dye new ones. See how to tea dye new books pages to look old here. It’s also ok to paint the background with acrylic paint instead.

Start ripping the edges off of the book pages so you have jagged edges. Brush a layer of Mod Podge onto canvas and apply pages, wrapping them around the edge of the canvas. You don’t need much Mod Podge. Use your fingers to carefully smooth the pages down. It doesn’t have to be perfect if it has wrinkles. Apply a layer of decoupage medium over the top of the pages.
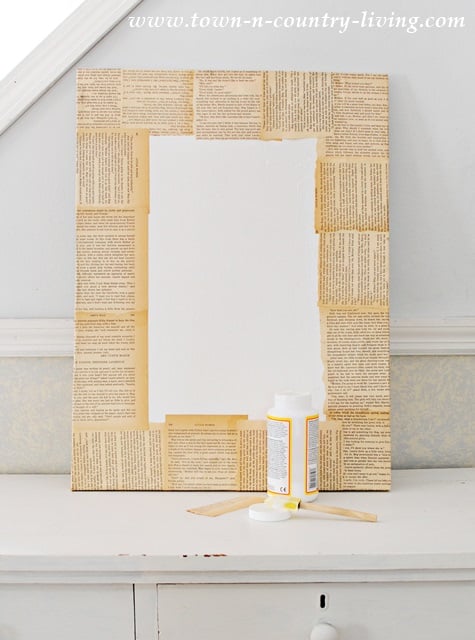
Apply the book pages around the perimeter of the canvas. As you work, wash your fingers off from time to time. You’ll get ink from the pages on your fingers and don’t want smudge marks.
Glue the Vintage Botanical Image onto the Canvas
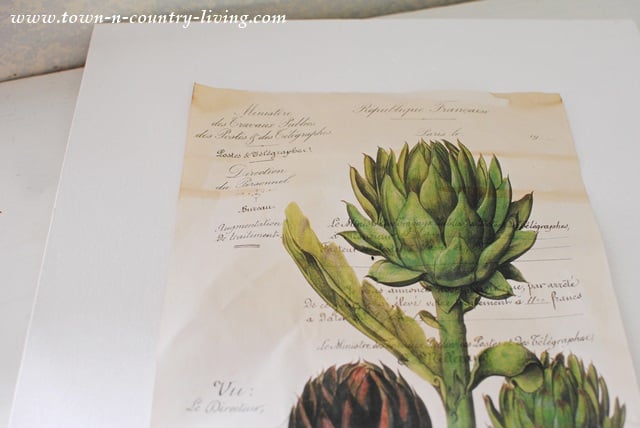
Next you’ll need to center the botanic print on the canvas. I measured from the edges and lightly marked the corner positions with pencil.
Tip: Make sure to print this on a printer with toner, or if using an ink jet printer, seal the image first so the ink doesn’t bleed.
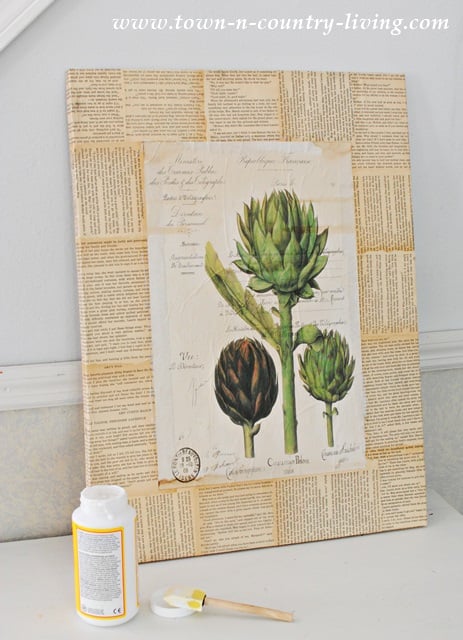
Working quickly, apply the decoupage medium to the canvas and atop the edges of the book pages.You’ll want to apply the glue in the area where you’re placing the botanic print. Carefully place your print and then smooth with your fingers to remove any air bubbles trapped underneath. Then apply a final thin coat of Mod Podge over the top and let dry.
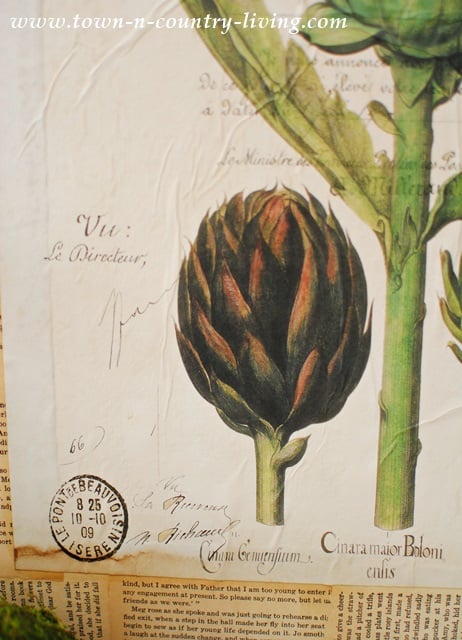
Creases May Occur When Adding Decoupage Medium
Add Distressed Edges if Desired with Ink
You may see some creases. Creases are okay! They will give your artwork more of an aged look. For an even more aged look, rub the edges of the canvas with Distress Ink in walnut or tea dye. Seal with a final protective coating of decoupage glue to seal.
Add a Hanger or Display Your Botanical Decoupage Artwork
Rather than hang my DIY botanic art print on the wall, I set it in a rustic wooden tray. A large moss ball, a twig ball, and an altered bottle finish the vignette. A saw tooth hanger can also be glued on the back to hang if desired.
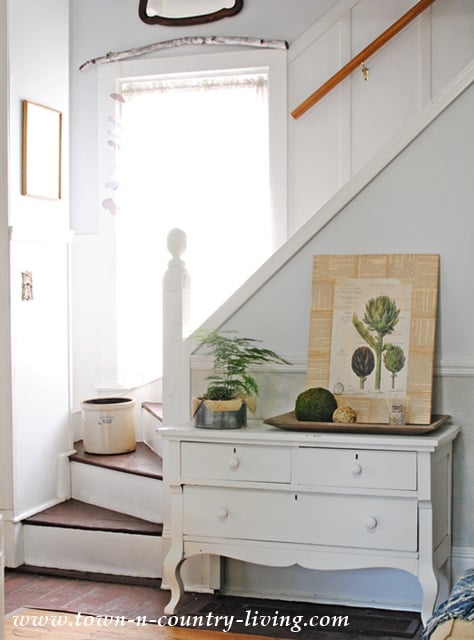
I like to rearrange artwork in the house to give it a fresh look.You could use any kind of print or poster to create your own DIY art project using canvas. Let your imagination run free and see what you can create!
-Jennifer Zuri, Town and Country Living
You Might Also Like …
Colorful Exterior Paint Colors
How to Create Pink Flower Vignette
It’s beautiful, Jennifer! I love the print; such a great find. I love the idea of using the book pages. I have some plaque pictures from the dollar store that would make a great base. I’ve used them with some vintage images from The Graphics Fairy and scrapbook paper in the past. I need to see what I’ve got in book pages now!
Great idea . . . I really liked!
Great art project! I love how you have displayed it!
Hi there! I just discovered this website. How can I access the class about making Santos? Exactly what I’ve been looking for. Thank you, Alana
HI Alana, you can find the Santos class on the JeanneOliver.ning site