Add A Bit of Glitz With Bleached And Glittered Pine Cones
Hi everyone! I’m Jennifer Z. from Town and Country Living and so happy to be here on Jennifer Rizzo’s blog today sharing a fun and rewarding Christmas project. You can make this on your own or get your kids involved in the fun with glittering! Today is all about adding a little glitz and glam to the humble pine cone by making bleached and glittered pine cones. You’ve seen them dipped in paint, glittered, and strung together on a garland. Pine cones make favorite Christmas ornaments due to their close relationship to the Christmas tree. This year, I put my own little twist on the proverbial pine cone ornament by first giving them a bleach bath before dressing them up with glitter and iridescent ribbon.
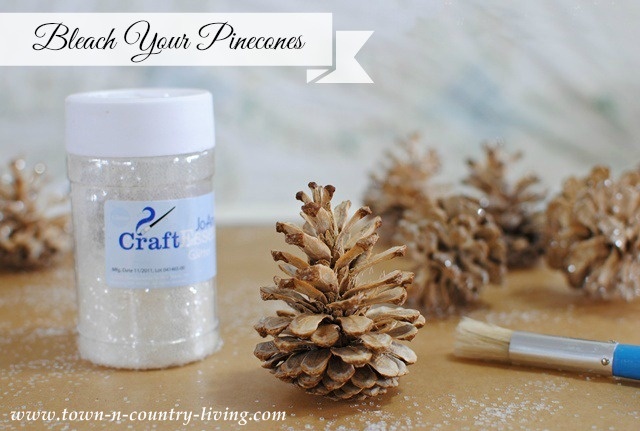
First thing you need to do is gather your pine cones.
Ed. note/disclaimer* When bleaching pine cones always take proper safety precautions and personal safety gear including eye protection and a proper air filter mask. Make sure to bleach the pine ones in a well-ventilated area . Never mix other chemicals with bleach as it can be harmful or deadly. Also, make sure other chemicals or oils haven’t been used on the pine cones before bleaching.
Soak the pine cones in a bleach solution for 24 hours using a ratio of 2 parts bleach and 1 part water. Don’t be surprised when the pine cones close up. After 24 hours, rinse the pine cones really well in water and rinse until all if the bleach is removed… they might still look dark at this point. Place them outside in the sun for 24 hours. The sunlight will cause the pine cones to open back up and lighten in color. They should be a very light brown or tan.
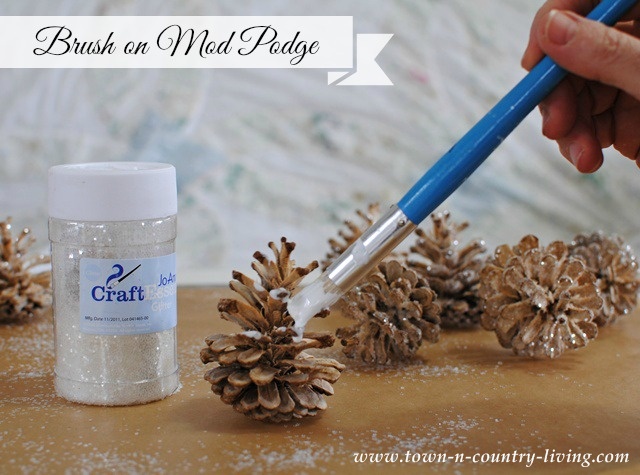
After the pine cones are dried, apply Mod Podge using an artist’s brush. If you want really glittery pine cone ornaments, make sure you brush Mod Podge on both the top and bottom of the cone scales.
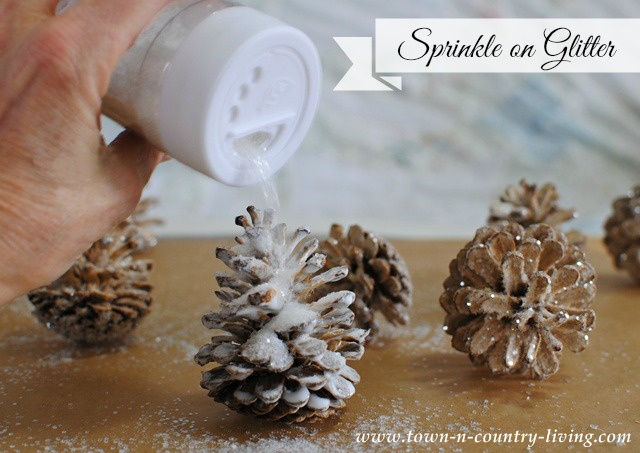
Next comes the fun part! Sprinkle glitter on the pine cone, turning it over to get the undersides of the scales. Gently shake off excess glitter. Be sure not to shake too hard because you want most of the glitter to stick. After the glue dries, you can shake them again and reuse any glitter that didn’t adhere to the pine cone.

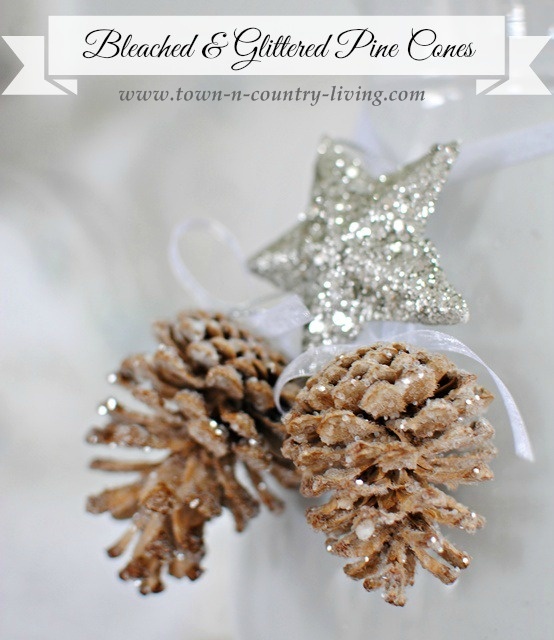
Tie some pretty bows, leaving a big loop to hang your pine cone ornaments. Use a hot glue gun to attach the bows to the base of the pine cones. I chose white iridescent ribbon but any color or type of ribbon will do.
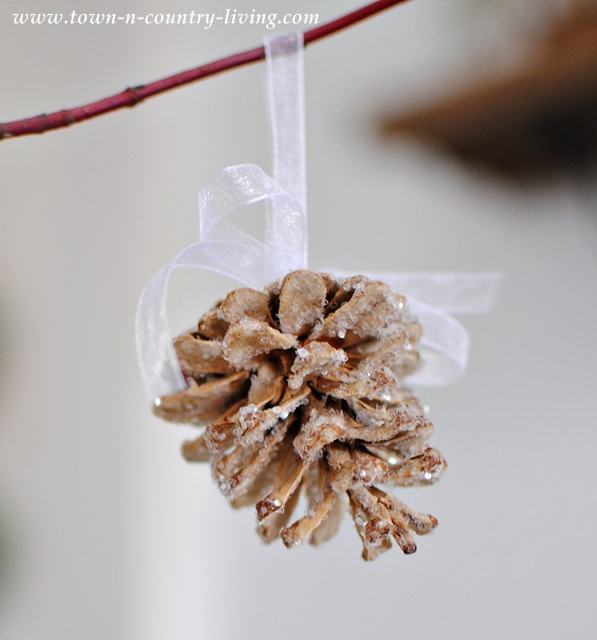
A paler shade of its former self, the rustic pine cone is now glamorous and all blinged out!
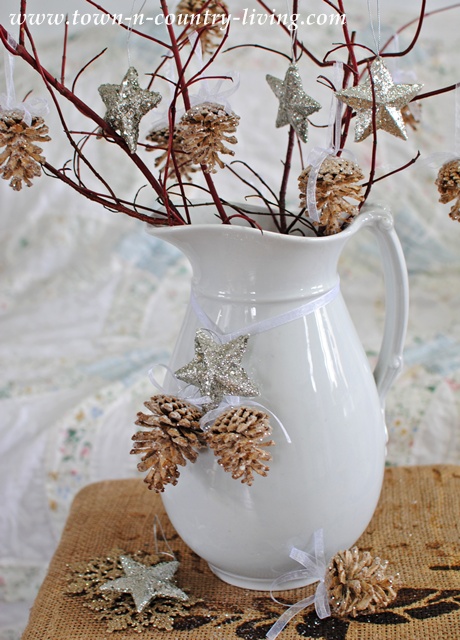
Since my Christmas tree isn’t up yet, I hung the bleached and glittered pine cones from dogwood branches.
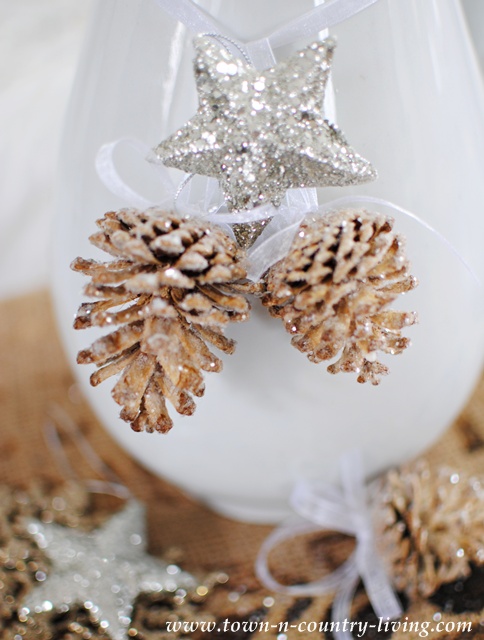
A few glittery stars help to amp up the glamour factor. This was a fun and budget friendly project!
Jen from Town and Country Living
![]()
If you liked this project, you might also like these …


I have the pine cones, mod podge, bleach, ribbon, dogwood branches and even the stars…but no glitter 🙂 I love this idea and as soon as I purchase the glitter I’m going to try it!
Hi Jennifer,
I love this idea. Love taking the natural outdoors and giving it a little bling for Christmas. I am going to make a few of these. Super cute.
Kris
These are so cute…looks like a fun project! Thanks for sharing!
Such a great project for Christmas! I love rustic & glam together!
Hugs,
Jamie @ somuchbetterwithage.com
Gorgeous! I also love the rustic/glam mix! Very French and Scandinavian.
Oh, these are just so pretty….I wish I had time to make some! I’ll pin them and maybe next year!!!
I love this idea of bleaching the pine cones!!! So cool