Make a Painted DIY Faux Bone Inlay Jewelry Box
What is it about the new year that makes organization seem so attractive, when the rest of the year it’s the last thing I want to do? I have a Painted DIY Faux Bone Inlay Jewelry Box project that is an organized, and pretty place to keep your earrings and small bits and pieces.

(This post is sponsored by DecoArt, opinions are entirely my own. The supplies are listed at the end of the post with shoppable affiliate links.)
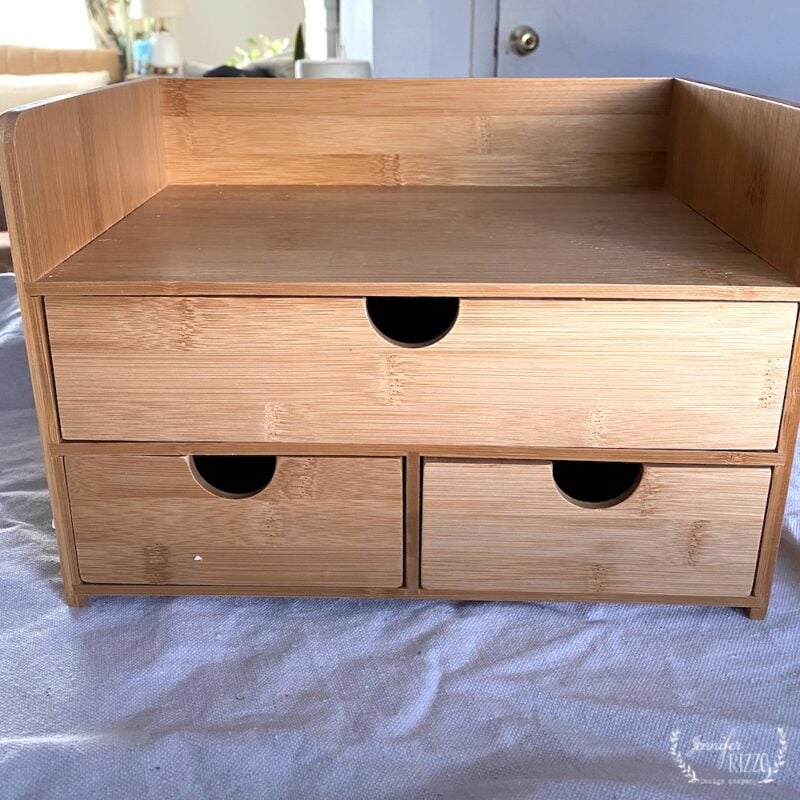
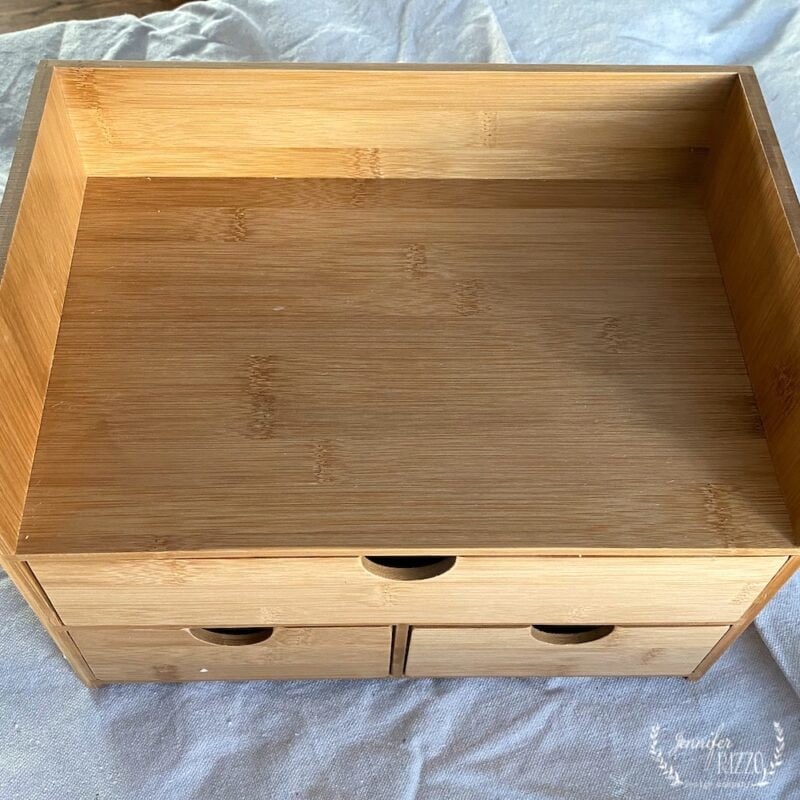
DecoArt sent each of their core bloggers the same plain wood organizer, and asked us each to put our own spin on it. I’ve been in love with the look of bone and shell inlay for a really long time. The intricate craftsmanship has always intrigued me, especially how Mother of Pearl inlay is made with the inner lining of shells.

To prep my piece I pulled the drawers out and gave it a quick, light sand with a sanding block, and used a lightly damp paper towel to remove the dust. After it was prepped, I realized the backs of the drawers were flat instead of having the little “scoop out” finger hold. I flipped them around, and tried it out, and they fit perfectly back in place. I decided to use those sides instead as my drawer fronts.

Since I flipped my drawer fronts, I knew I would need handles. I used 1″ mini-dowel rod ends, and Mother of Pearl beads from the craft store to create them. I painted the dowels in the same paint as the base unit (Classic Black) and set them aside. Once they dried, I glued the flat beads onto the tops using an all-purpose glue.

Using a soft brush, I painted the drawer fronts and outside of the wood organizer with Americana Decor Satin Enamels in Classic Black for the base, and Pure White for the stenciled part. It was perfect for this project!

After the paint was dry, I marked my center on the drawers for stencil placement using a light-colored pencil.

After marking the center, I used various parts of the DecoArt Kraft stencils listed below in the supply section to create the Faux Bone Inlay pattern.

Starting with the large flower on the stencil, I used a makeup sponge to stencil by pouncing it in the paint on a plate, off-loading some onto a paper towel, and then pouncing it on the stencil design. It works so much better than a brush!

Then, I “built out” my design by adding the leaf parts, and smaller flower parts as the faux inlay as each part dried. I added them in kind of a free-flowing pattern.

Even though I changing up the way I laid out the stencil, I made sure the pattern matched on the two smaller drawers. Then, I repeated the same technique for the top and sides.

Make sure to clean up any stray stencil bleed over tight away with a damp cotton swab and paper towel. You can also touch it up later with a little black paint on a cotton swab as well if it’s already dry.

Glue the knobs to the drawer fronts once the paint is dried.

After adding the pulls, I let my paint dry for a full 24 hours before using.

I love how much the piece was transformed by just a little paint and stencils.

It ended up so pretty, trendy, and the perfect way to organize my dresser top!

Want to learn to make your own Modern Bohemian jewelry to put in your jewelry box? Check out my on-line workshop here.
Shop this post: I’ve tried to find the same or similar items for your convenience to create this Painted DIY Faux Bone Inlay Jewelry Chest: Plain 3-drawer wood organizer, Grow Good Things kraft stencil, Let Love Bloom Kraft Stencil, Classic Black Satin Enamels, Pure White Satin Enamels,Makeup sponges,1 “Wood Dowel Caps, Mother of Pearl Beads, Jewelry Trinket Tray.

