How to Oven Dry Orange Slices and Citrus Fruits
I have to admit, I noticed a huge trend this winter in decorating with dried orange slices. When I searched How to Oven Dry Orange Slices, there were all kinds of different ways and techniques for drying citrus slices. I decided to take a few of the techniques and try them to find the best way to make dried orange slices.

(This post contains affiliate links)
Dried citrus slices can be to use in home decor and crafting applications like pot pourri, wreaths, ornaments, potpourri, garlands for your Christmas tree and dried oranges are perfect for garnishes for holiday drinks like mulled wine. Here are some things below I discovered with how to dry orange slices including some mistakes I made!
Make this: Mulled Wine Recipe with Red Wine and Orange Slices
This video below shows you how to create the garland. After watching, continue on to the post to see how to dry the orange slices, and some tips and troubleshooting.
Dried orange slices are not only pretty, but smell amazing! You can also use this oven-dried technique on any citrus fruit that is adhered directly to it’s peel (limes, lemons, kumquats, grapefruit, blood oranges …almost any type of citrus ). However, regular grocery store navel oranges are perfectly fine for this project. Make sure to pick oranges with a deep, orange uniform color. They will fade slightly after drying. If you don’t want to go through the trouble of making them, you can buy dried orange slices here for crafting.
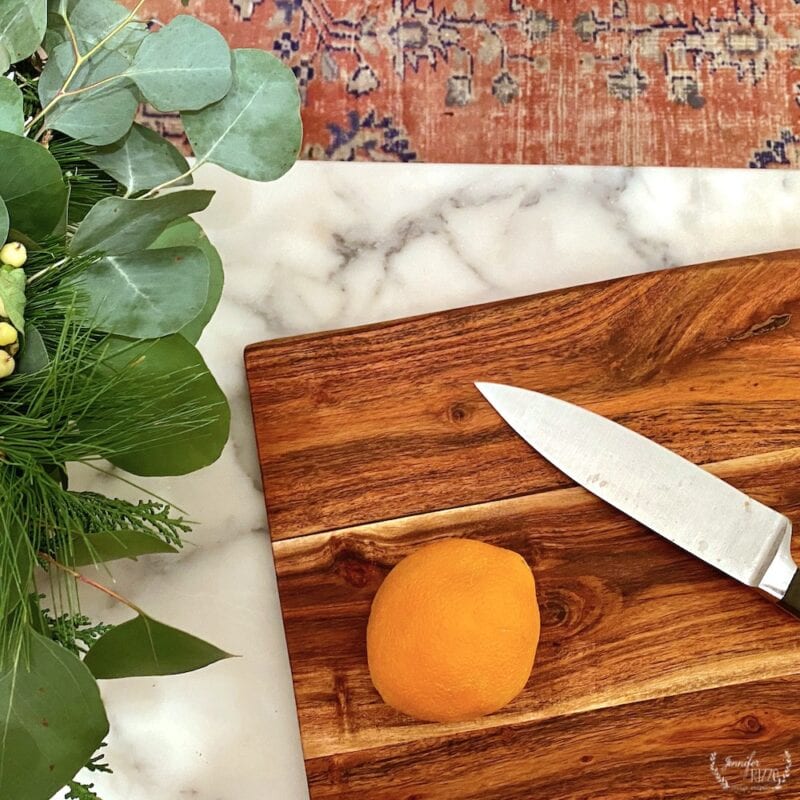
I decided to try two oven drying methods. One on a rack, and the other on parchment paper on a baking sheet. I selected larger oranges since I wanted bigger slices. The orange slices seemed like they shrunk about 10%-20% with drying. If you have a food dehydrator you can also use that.
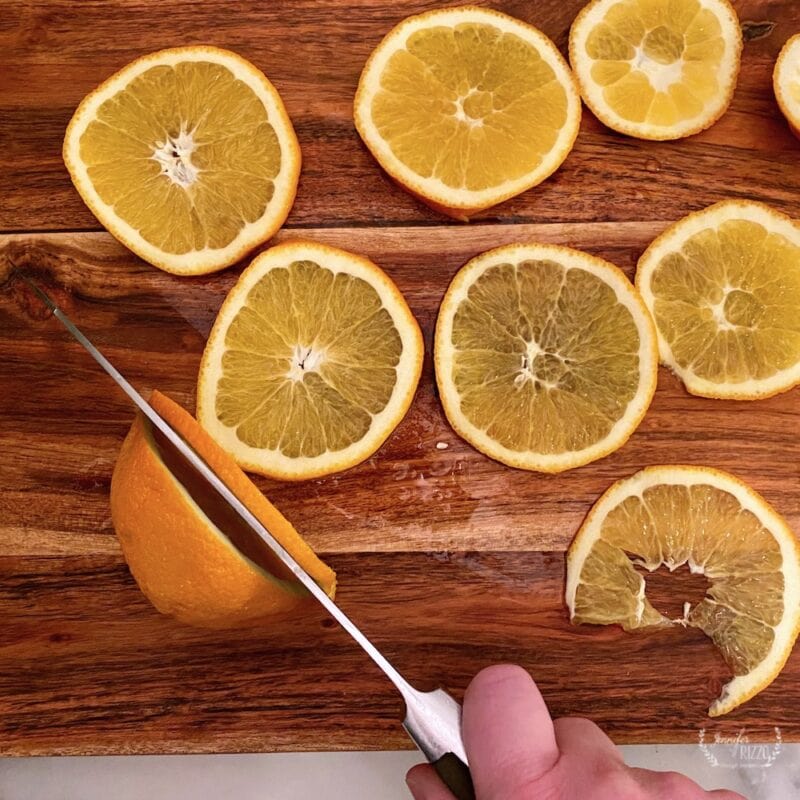
After washing the oranges, I sliced them into thin slices about 1/4″ -1/8″. To get that typical “orange slice pattern”, when cutting the orange, make sure so the ends are on each side of your slicing, not top to bottom. The most important part is to cut the oranges into evenly thick slices. Blot them on a paper towel to remove excess moisture, then place the smaller pieces on the trays in a single layer.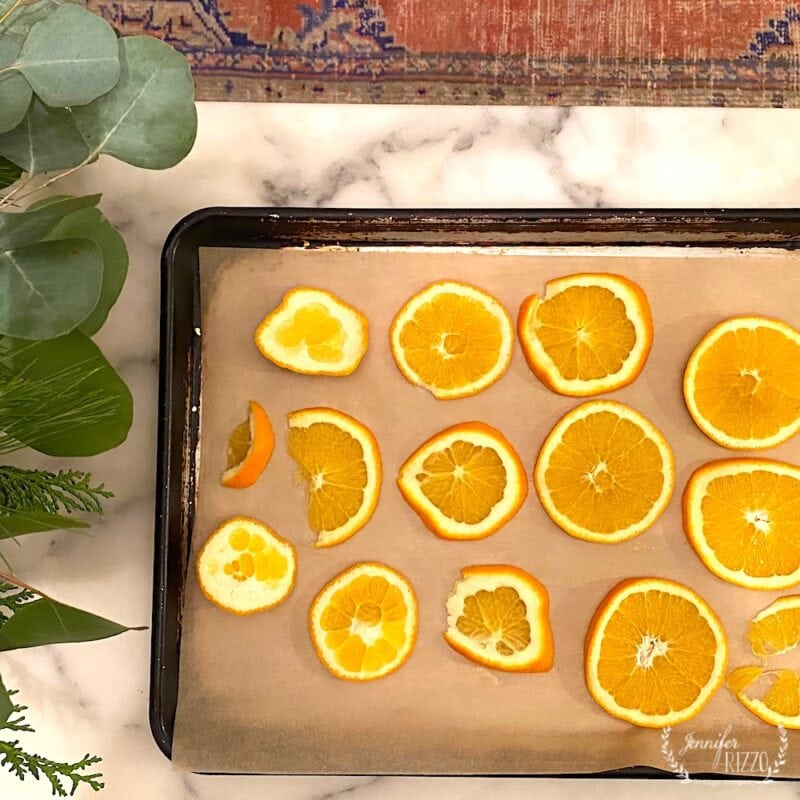
When figuring out how to dry orange slices I had read several temperatures ranging from 185˚ F to 250º F. I decided to split the difference at 200˚ F. I know some ovens won’t go that low in temperature settings ( my old one didn’t). If you have to use a higher temperature, just keep an eye on them, because they will go from dry to burned very quickly as you can see with the smaller pieces, and you may want to pull them out near the end to air dry the rest of the way.
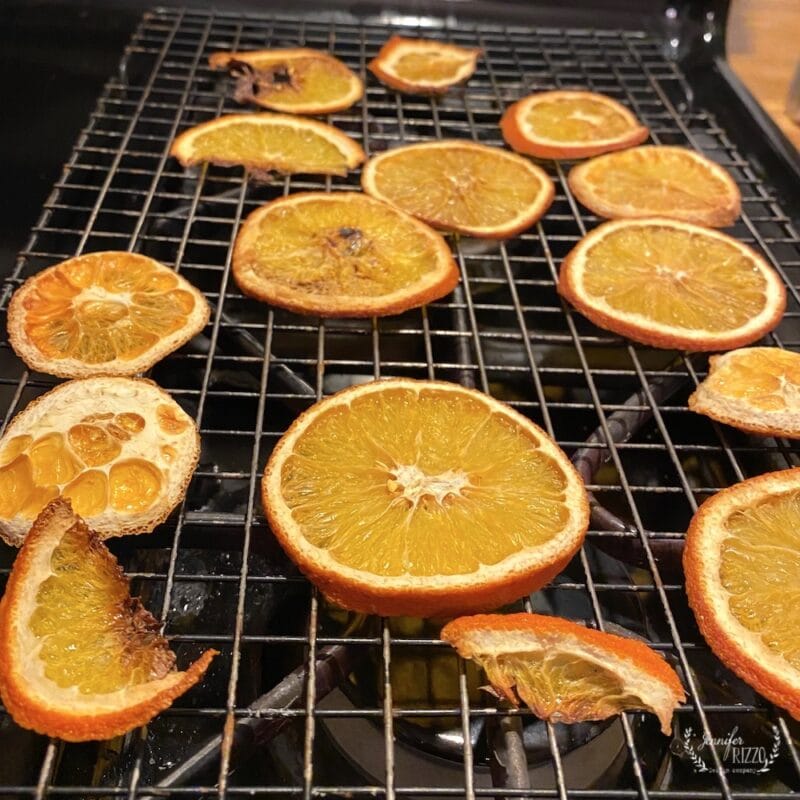
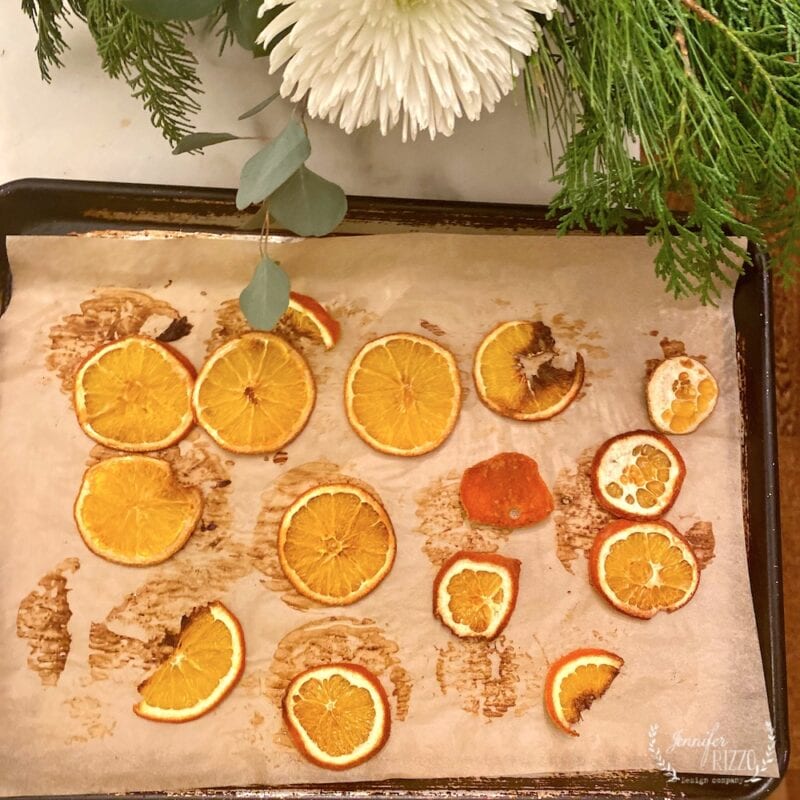
I placed one set on a cookie sheet with parchment, and the other on a cookie rack. The orange slices on the cookie rack dried almost too fast and burned. Next time, a lower temperature might be better with the cookie rack.

I liked how they dried better on parchment paper on sheet pans. However, I did find because of the moisture, I had to flip them half way through onto a fresh space on the parchment.

One of the other questions I had was how long to dry my orange slices in the oven for? Some sites said 6-8 hours, other 4 hours. I found 4 hours was plenty at 200 ˚ F, but it is winter and dry outside, so in a more humid environment, it could be a little longer. I did try drying some in the microwave on low and all they did was burn. I do not recommend that method.

The thicker slices did well, but anything thinner burned on the edges. My second time around, I paid more attention and pulled the thinner slices sooner.
Your dried fruit should be leathery, almost hard with plasticky feel. I let mine sit out overnight to continue to dry before using them to make a garland.
When drying Orange slices or crafts or making decor items, they will need to be dried out completely for year to year storage so they don’t mold. Throw them out if there is any sign at all, and never eat dried orange slices prepared for crafting.
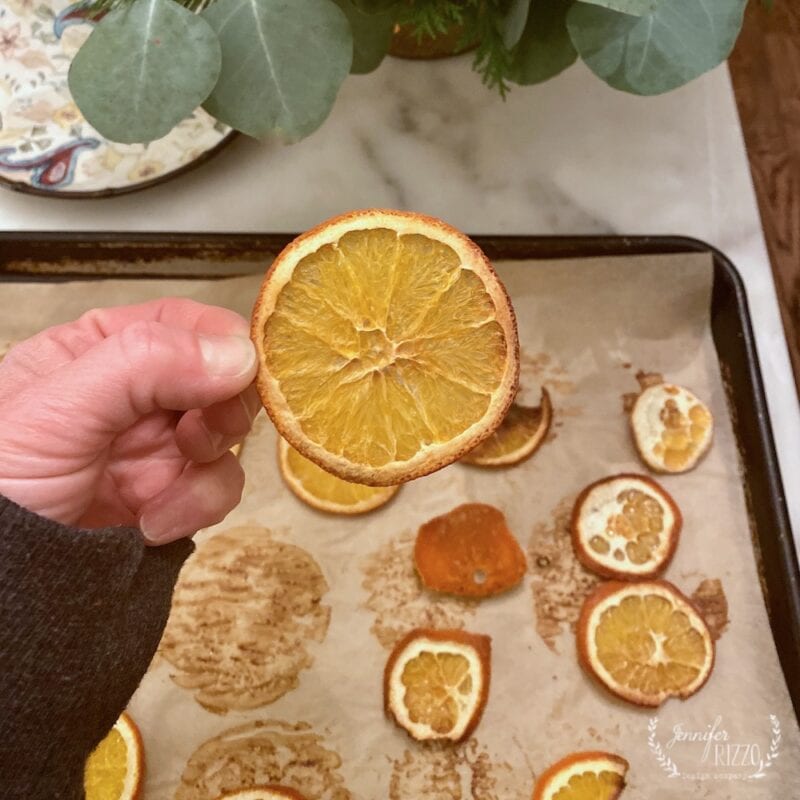
Some of them were slightly brown on the edges, but that doesn’t bother me at all. I had one piece I considered the perfect dried orange slice. I almost wanted to frame it. Orange slices can also be paired with cinnamon sticks or other spices such as cloves to create a wonderful pot pourri, Christmas ornaments or DIY hanging ornaments. What a sweet scented gift to receive!

I’ll pull them sooner next time before the edges get too brown. I am going to make a few more batches, so I can make another Christmas decoration and create a garland over my window sill for winter time. Have you ever dried orange slices before? Let us know how it worked for you!

If you liked this post, you might also like: Growing and Drying Lavender , How to Make a DIY Twig Mirror, How to Make Faux Oranges , How to Make Inexpensive Botanical Art Prints , How to Create a Cut Paper Still Life.

Thank you for this! So glad you posted the real deal, not just a beautiful bowl of potpourri you magically dried in the oven and it came out looking like Pottery Barn’s.
Last Christmas I tried my hand at making potpourri, and it was a complete fail. December isn’t the best time for trial runs…I may have had one framer orange, no apples though, and they were rubbery (could be Florida). Seeing this, I wonder if the copper basket I use for oven fries – I mean – baked vegetables, could do the trick (??). I didn’t think of using parchment either ~
You’re welcome! It was a learning curve for me too. I think the humidity has a lot to do with it. I did find the parchment helped control the moisture a little bit more. I think flipping them is important too.
I gave up! Maybe next year, although I agree I should probably just eat them instead.
I may just buy mine on Amazon next year… ha ha