How to Create a Gallery Wall Collage with Frames
I think creating a gallery wall collage can seem intimidating if you don’t know the tricks. You can make fun, eclectic wall statement with lots of visual interest just by mixing wall art and pictures. Even if your frame styles and items are all completely different sizes that’s ok! Gallery walls are so fun to make because you can really personalize your space. Here is a tutorial on how to create a gallery wall collage with frames and other items!

Gallery art walls are the perfect way to create a large accent wall in a family room, dining room, living room, home office, or even a hallway. They really have an impact when they take up the entire wall.
I’m going to share how-to create your own gallery wall, using a few very simple tricks and tips! Gallery walls are a great way to build a beautiful wall display. Whether you want to curate an art collection or family photos, the perfect gallery wall is as easy as creating a grid in a box, and you don’t have to be an interior designer.

Start building a gallery wall by laying out the frames you want to use. You don’t have to just stick to pictures either, you can think outside of the box and add things like fun wall planters, decorative plates or art objects. It does help if they are in a similar color palette. To personalize it, I pulled some of the frames and added in some of my own artwork and items. To make it easy, use painter’s tape on the wall to create a grid or “magic square” to get an idea of the parameters you’re working in and then repeat the same size square on the floor with either painter’s table or even strips of paper.
When choosing framed an items, different colors. vintage items and art styles will have a more eclectic mix such as this gallery wall made by Alice W. If you are going for more cohesion or sleeker look, pick frames, subject matter and art pieces that are more similar.
Need inexpensive frames? Thrift stores and flea markets can be a great resource for inspiration. Old art prints, postcards, antique photographs, vintage wallpaper, textiles,baskets and more that can be mixed into your gallery wall to create a focal point.

When beginning play with the arrangement on the floor first. Even with clients, I always work it out where my pieces of art will go before any nail, screw, hanger,hook or sticky tape goes up.
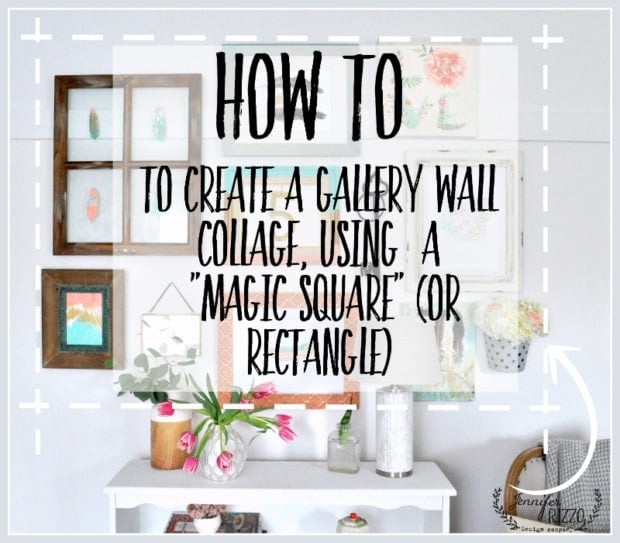
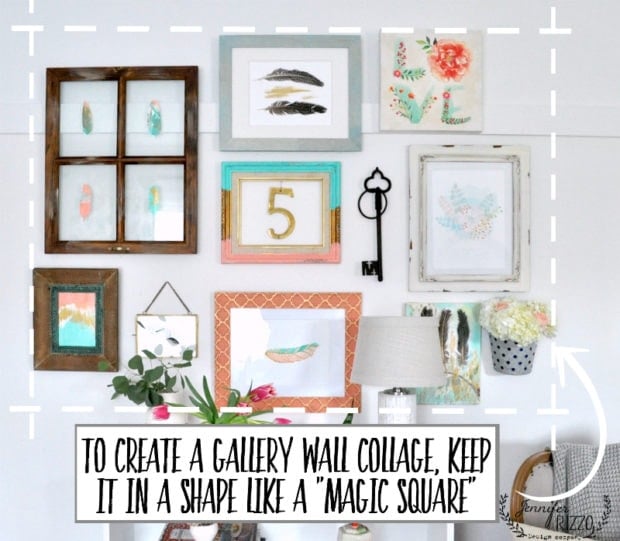
I like to use what I call the “magic square” (or rectangle) technique to create a gallery wall. Imagine all of your items have to fit in the inside of a certain size square or rectangle. Use a tape measure and level to mark out your box with painter’s tape. For placement, start by putting your focus piece (largest pieces) at eye-level in the middle and arrange the rest of the photos. art and decor from there as I explained earlier. Keeping it a grid gallery wall, it helps to make even different mediums look cohesive.

It really helps figure out the bigger puzzle, because really, that’s what a gallery wall layout is… A big puzzle. So grab some floor space and puzzle away until you get a layout that you love. It’s better to figure it out on the floor before you pick up a hammer.

I changed it a few times until I decided on my focus piece and then built around that, and worked out my pattern. I actually broke my own rule and put the biggest item in the upper left-hand corner. You can see from my first two layouts, they were quite different. A gallery wall can also include a ledge or shelf that you lean pictures or other items on. Have fun with styling the display!
For my focus piece, I added an empty frame of my own, and a vintage brass 5 in the center and built around that. Gallery walls can contain artwork, personal photos, or even a combination of the two. I used my own artwork (with the exception of the Peony Love canvas print), photo frames, real feathers from the craft store, and prints in my gallery wall collage. For even spacing, it’s important to pick one size. I kept about 2 inches of space around all of my items no matter their size or shape.
If you are feeling really nervous about how the floor translates to the wall, you can cut out paper templates of each item by tracing them with a pencil on paper, and then tape them to the front of the wall and arrange them that way.
I am pretty happy with how it turned out! When hanging items like baskets or decorative objects, cup hooks are easy to use. You can even paint them the wall color so they blend in.

I went with a kind of boho feather and color theme. To create the top picture in a blue frame, I took real feathers and glued them on paper with hot glue and a swish of gold paint. Super easy and cute!

Thinking out side of the box when creating your own personal gallery wall can be a fun way to really be expressive using different works of art, memorabilia, and favorite photos too.

I had a galvanized pail that’s actually for office supplies, and loved the idea of having real flowers in my collage gallery wall. They didn’t last more than a few days, even in a hidden cup of water, but they looked pretty while they lasted.

I loved bringing in the collage wall theme of “feathers and flowers”. It was so much fun to bring it in when I needed some color. I can always replace some of the items later with photos or frames of the same size if I want to change it out.

I used a bookcase as my anchor under the gallery wall, and had fun styling that too. This would also look great under my couch if I ever decide to move it there again.

It was fun to add in color and mix in natural elements. I really love the natural, boho feel. Adding a few faux plants and some natural elements like rocks and crystals really spoke to me.

These are some of my favorite books, and I love the colors for this project!
The New Bohemians: Cool and Collected Homes
The Inspired Room: Simple Ideas to Love the Home You Have
Foraged Flora: A Year of Gathering and Arranging Wild Plants and Flowers

You can make your own easy as 1-2-3 and create a gallery wall collage using the “magic square” system. I hope you are ready to tackle your own wall of collaged items!!

You can learn more about the display rules of 1-2-3 here , or how to use the tools that stores use of merchandising and display in your own home!

Love your gallery wall. The colors are GORGEOUS!!
xo Michael
I love your tips and all the little creative elements you use to personalize everything so beautifully, Jen!
When I create wall art, I always think of all those hours of putting together my high school yearbook. (Fun memories!) Anyway… back then we did layouts on paper grids (not digitally). There was always a grid pattern to follow with vertical and horizontal lines and it works to give a good flow to my wall collages with those simple/strong internal lines. (If that makes any sense! LOL)