
Button Crafts-Vintage Button Ball
We have Kerryanne from Shabby Art Boutique today sharing how to make a super cute project with buttons! If you’ve ever wondered what to do with those containers of extra buttons and make button crafts, this is a fun project for that! This cute button ball can be used as a fun piece of decor or even make mini versions as ornaments! Welcome Kerryanne!
*********
Hi there,
I’m Kerryanne from Shabby Art Boutique in Australia. I’m very excited to be popping in to say ‘hi’ to you all, while Jen is recuperating from her recent surgery.I’m an artist who loves all things ‘shabbilicious’…. whether that be chippy paint, time worn pieces, discarded doilies or vintage buttons.I really do have a ‘thing’ for buttons… my collection started with my grandmothers button tin. Then I discovered jam jars full of buttons at the thrift stores. Soon my friends knew of my growing collection and they too looked out for them.Recently I created a project that other button collectors may consider. . . unthinkable.I delved into my vintage button collection. . . and used about 100 of them to make a vintage button craft ball.But before anyone has heart flutters, think of it this way. . .Instead of storing them in a bottle, they are now on a hanging ball and I can still see them every day.

Button Balls-A Fun Vintage Button Craft

Supplies Needed To Make A Vintage Button Ball
-I used some pretty crinkled, tea stained ribbon for a vintage look hanger.
-Low temperature hot glue gun
-Vintage buttons – the amount required will depend on how big your ball is.
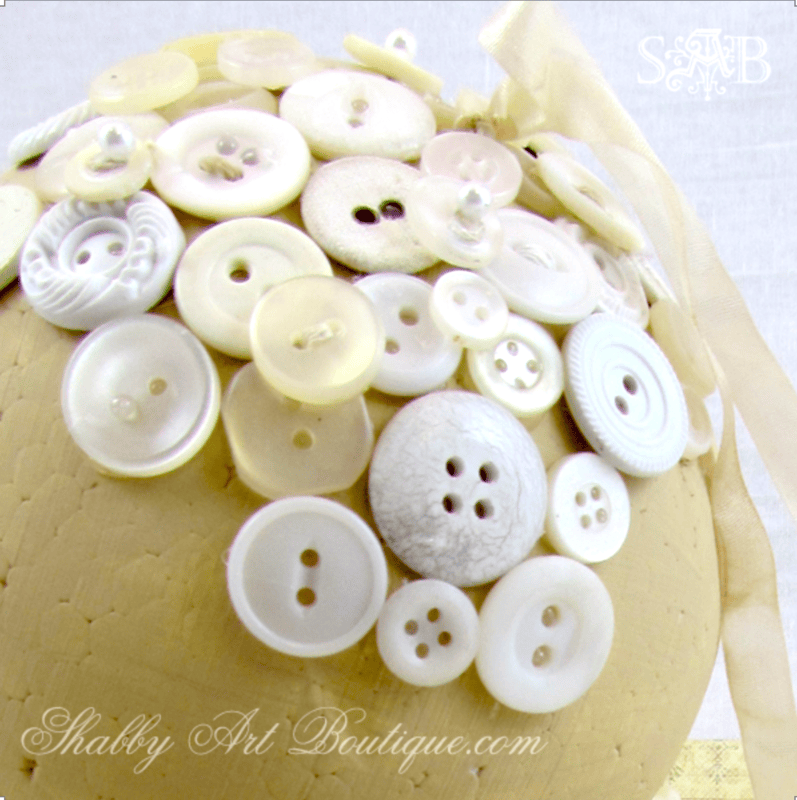
Attach The Ribbon Hanger
Using a hot glue gun, attach your ribbon hanger by tying it around the ball, creating a loop and then gluing it into place with the low temp hot glue. Tacky glue can also be used but it needs more drying time.
Glue the Buttons On
Start adding buttons side-by-side. Fill any gaps by layering smaller buttons. I also added a few highlight buttons using pretty pearl sewing pins. Turn the ball as buttons are added.
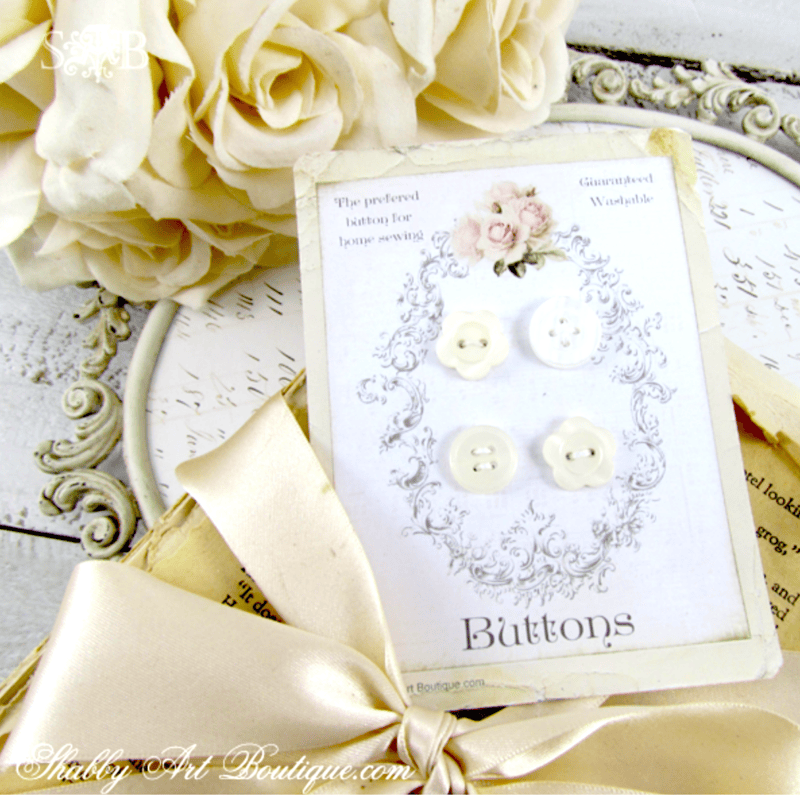
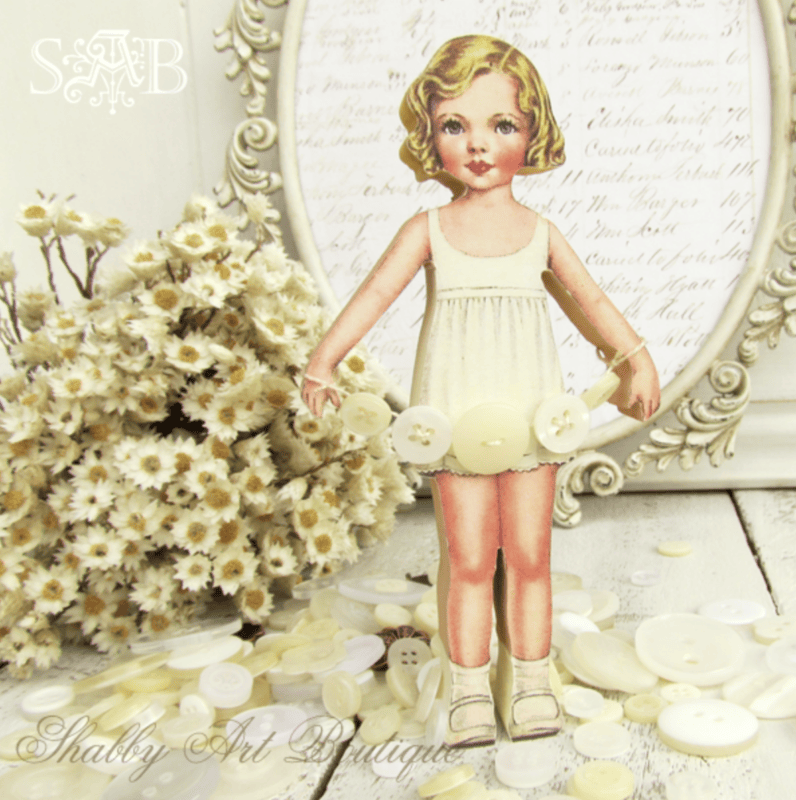
Over at Shabby Art Boutique you’ll see all kinds of vintage and shabby projects… and even more vintage buttons. Like my printable vintage button cards, and my sweet little Pearl, the ‘Keeper of the buttons’ paper doll.
Hang Your Button Ball
Once the glue is dry, you can hang and display your sweet button ball! Thanks for letting me hang out here today Jen!
See more posts like this at Shabby Art Boutique !
Love this Kerryanne, might as well use those buttons and enjoy them! Now I’m off to your blog for a visit. Hope you are doing well Jen.
I am thinking of you and sending happy thoughts your way.