How to make botanical glass ball ornaments
‘Tis the season for glitter, glue, shopping, and decorating! I’m talking about Christmas, of course.

Hi Everyone! It’s Jennifer Zuri here from Town and Country Living with a quick and easy Christmas ornament project for you. I like to get my handmade Christmas ornaments made early so everything is ready to go when it’s time to trim the tree.
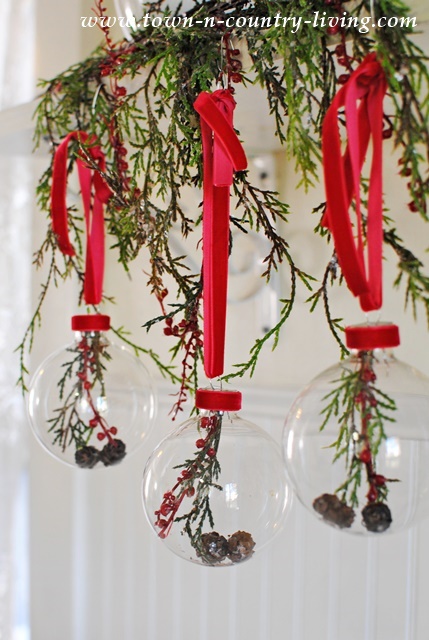
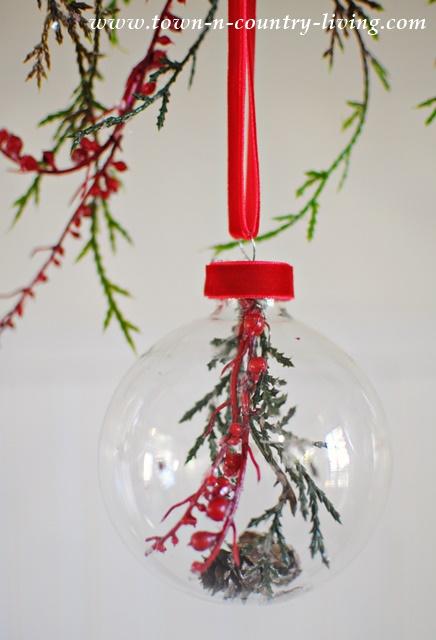 I was inspired by a photo I saw on a decorating magazine’s website where they had tucked holly and berries inside a glass ball ornament. I couldn’t find any holly, but I did find some faux greenery that I thought would work just as well.
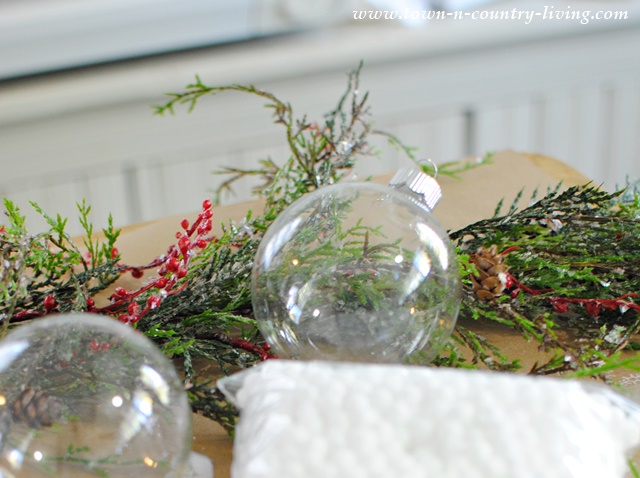 These are so easy to make. You’ll need plain glass ball ornaments, faux greenery, red velvet ribbon, and a hot glue gun. Snip bits of greenery short enough to fit inside the glass ball, and hot glue the ends of the greenery onto the inside of the metal cap of the ornament. Allow it to cool for a bit, then carefully guide the greenery into the glass ball and place the metal cap back on.
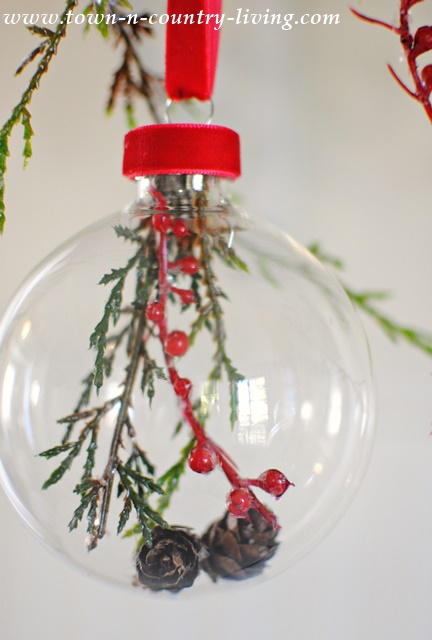 You can then hot glue a strip of red velvet ribbon around the outside of the metal cap. I also added a couple mini pine cones into the glass ball. Just be sure that whatever you purchase for the inside of the glass balls will fit through the opening. Loop another piece of red velvet ribbon through the hoop at the top of the ornament and hang.
 Be creative! You can fill glass ball Christmas ornaments with a variety of items, as long as they’re small enough to fit!
 I love quick and easy Christmas projects, don’t you? Plus I love anything handmade for the holidays. These would make great teacher gifts too!
Visit me at Town and Country Living for more crafts and decorating inspiration!
You can also follow me at Facebook | Pinterest | Instagram | Twitter
You Might Also Enjoy …


