Make an Upholstery Webbing Rug
I have been upholstering a chair and I thought “this webbing would be really cool woven into something.” I thought a rug would be cool, so I took what I had left and started playing… I was pretty impressed with myself when it was done too… It made me start searching the web to see if there were other colors of upholstery webbing I could buy for other projects.

Supplies to Make an Upholstery Webbing Rug
-Upholstery webbing of choice.Amount will depend on how big the rug is.
-Scissors
-Hot Glue
-Tape Measure
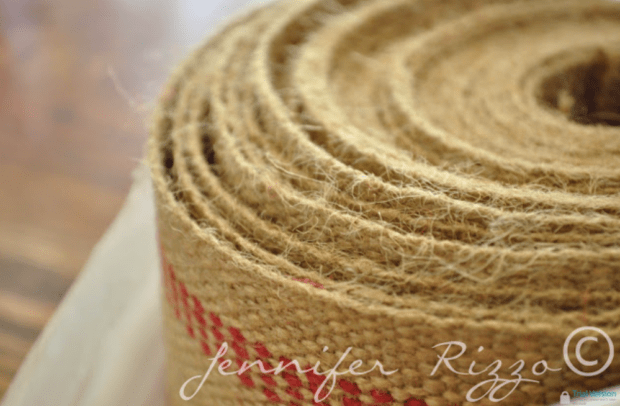
Cut Your Upholstery Webbing to Desired Rug Size
Begin my measuring the rug size you would like and cut your strips the size desired depending on the shape of the rug. I recommend starting small with a 2 x 3 rug or even create a small place mat size to begin practicing. Or you could even just make a cute tabletop accent as a placemat! You’ll also want to cut top and bottom strips to glue the edges to. Cut these the shorted width of the rug or place mat. You’ll cut shorter strips for the width and longer strips for the length. The amount will depend on how big the rug is and how wide the upholstery webbing is.
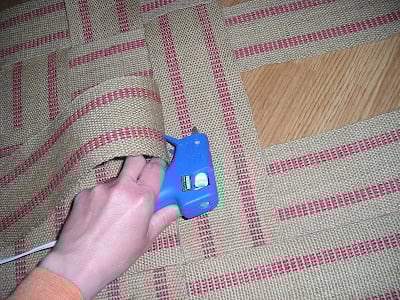
Start Weaving the Strip of Upholstery Webbing
Once the strips are cut, start weaving your strips. Place hot glue the long strips next to each other on the shorter end strip.Put a dot of hot glue on the corner strips to keep them in place while your weaving. Then, start weaving the first strip of upholstery fabric closest to the bottom strip. Place it over and under the long strips. Hot glue them down as you go onto one another and continue until all the strips are done, making sure they are tight against each other before gluing. Once the glue is on, they are really hard to get apart.
Finish the Upholstery Webbing Project
Once the entire rug is woven, hot glue the ends under and use one long strip folded over on each side to finish the edges , gluing on the top and bottom.
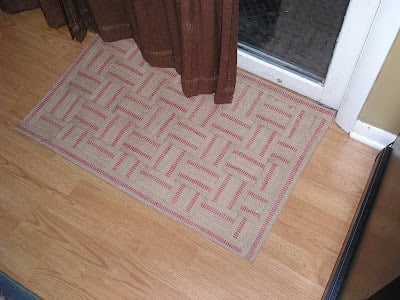
Add a Non-Slip Backing
If you are using this item as a rug make sure to add a non-slip backing. Safety first! And as always keep away from heat or flame and kids or pets! Have fun!

If you are reading this post at any other sites or blogs besides Jenniferrizzo.com, your rss feed,e-mail or in your reader this is stolen content.
*This was posted Via Jennifer Rizzo. com