Easy DIY Glitter Ornaments and a Rustic Wintery Mantelscape
The best thing about the holiday season is the making, and the personal touches you can bring to your holiday. I want to share with you an easy DIY glitter ornaments that you can make for your Christmas decor or your Christmas tree! It’s easy to make something with a big impact, even if you don’t think you have any creative skills. I love adding a little extra sparkle to the holidays and December is the perfect time for holiday crafting.

(This post contains some affiliate links. see our affiliate and sponsor disclosure here.)
I wanted to share with you a way to make easy DIY glitter ornaments and add a modern touch to a rustic mantel! I used copper glitter and with the glass it adds such a pretty, sparkly touch. It’s easy to do and you can use either clear plastic ornaments or clear glass ornaments for this holiday craft.
To make these glittery Christmas ornaments, you’ll need clear ornaments, extra fine glitter, an adhesive such as decoupage medium like mod podge or white craft glue like Elmer’s glue or Aileen’s, and painter’s tape, copper/gold craft paint or multi-surface paint.

To begin your DIY glitter Christmas ornaments, gently tape around the outside of the ornaments with painter’s tape. Use extra caution and place them on a towel especially if you are using glass so you don’t break them, they are really fragile. Plastic ornaments are much easier to use. I would recommend using plastic ones if the kids are helping out. Hold it at the cap to paint the base of the ornament with a coat of multi-surface gold paint and then go over the top of that with multi-surface copper paint. It give the inside of the ornament nice dimension. I decided to leave the top of the ornament as clear, but you could also paint it for a two-tone effect, or put paint inside of the ornament for even more interest.
Want more holiday crafting? Check out my online Christmas crafting workshop!

Once the paint on the outside is dry, use a brush to paint the base all over with white craft glue and then white the glue is still wet, sprinkle heavily with copper glitter. Sprinkle the glitter over something like a plate or piece of paper to catch the excess glitter. The extra glitter can be reused again. Just pour it into a cup for the next ornament.

Once you’ve sprinkled a generous amount of glitter, remove the tape right away while it’s still wet for a clean edge on your glitter ornament.

If you have any spots that didn’t take, use a small brush to paint some white craft glue on and add some more glitter. It’s easier to do this with the ornament upside down.

I have a handy glitter funnel tray for saving my glitter. It has a small funnel opening and I love how much glitter I can save this way to use again!

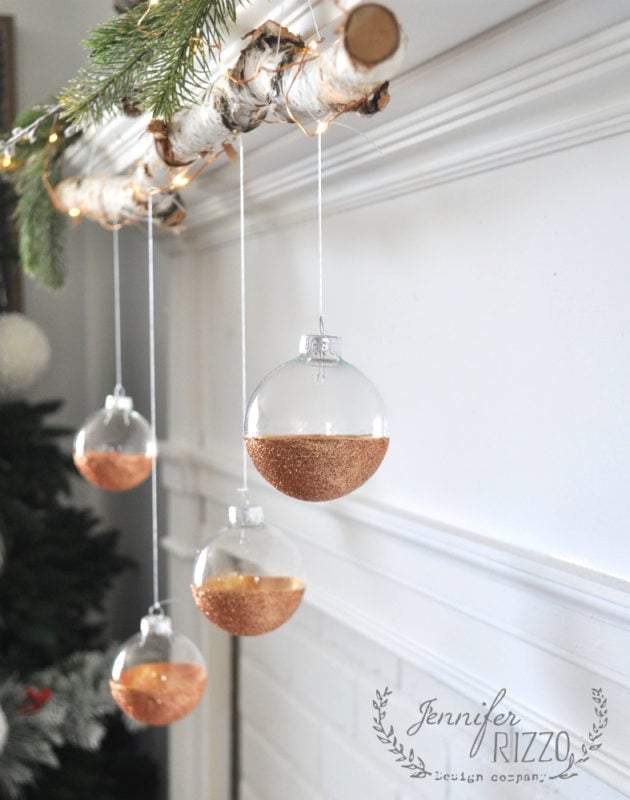
Once it they were dry, I used fishing line to hang them from a birch log on the mantel edge.

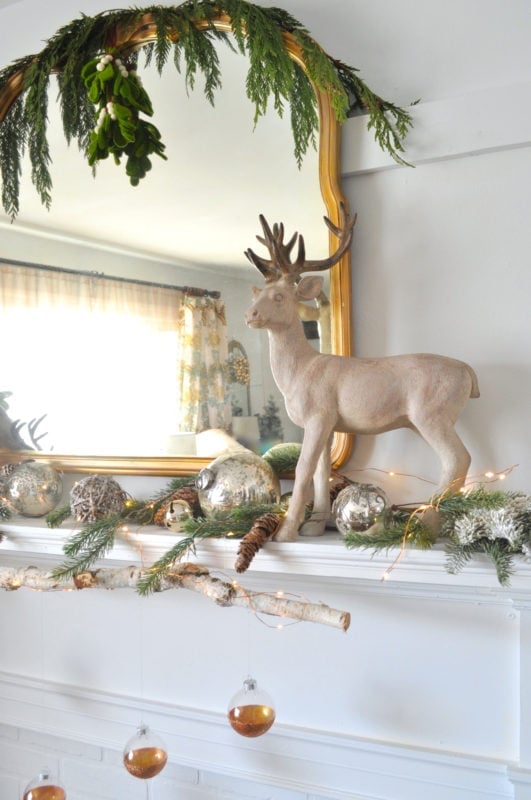
I also added some copper fairy lights to the mantelscape with my glitter ornaments.

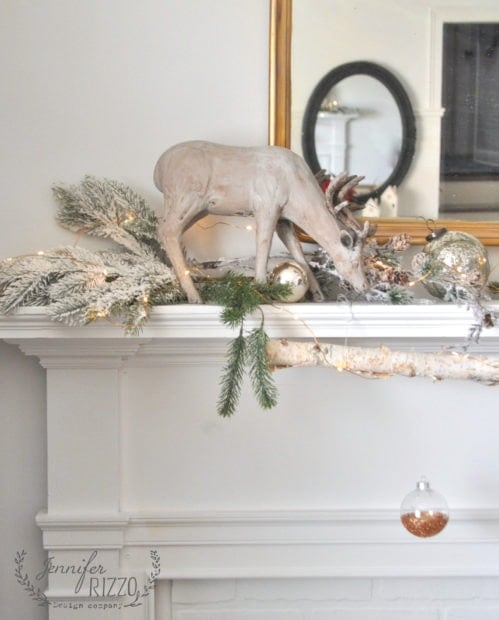
The entire mantel looks really pretty! I love how the mercury glass looks with the reindeer.

They add such a nice touch.

I added some flocked branches and reindeer on my mantel top.


I love the gold on the inside and the glittery copper on the outside. They really have a nice modern touch!


I love how these easy DIY glitter ornaments were!


These are so so pretty!