Open kitchen shelving in our home
Well, it only took us a whole bunch of years, but we finally have open kitchen shelving!
(this post may contain affiliate links)
Once we moved the hutch over to our dining area, I knew I wanted to do some rustic open shelving, it was just finding the time. When we redid the hallway floors recently (coming soon!), we picked up 2-8 x 12 untreated,unfinished pine boards, some stain (old walnut)and 6- 8 x 10 inch metal brackets. The entire project was right around $100 or less.
We stained, and then sealed the boards with polyacrylic, and then they sat in the garage a while until the stain smell went away. It actually took a few weeks, they stunk! Once the odor was gone, and we had some free time, it took about 2 hours to install them. Then of course another few hours to play with styling them (the fun part!)
Here is what our kitchen looked like beforehand with the large cabinet. While I loved it, it felt heavy and I wanted to be able to move my Gram’s buffet into the kitchen, so we had more counter space. Our kitchen has come a long way since the first remodel.
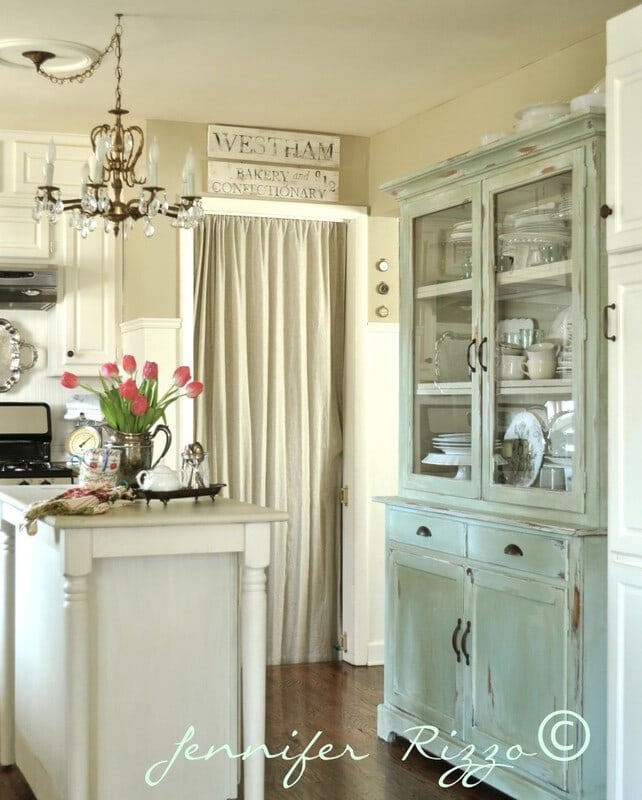
Once we moved the buffet in, I had a vintage mirror over it for a while. This was when my diabolical plans for open shelving started. Think of all the storage and display space!!

I loved having it in there,it was the perfect size,but it needed to be painted.

Once it was painted, knew I was almost there!

And finally! Though I did have to get a smaller mug rack. The other one was too tall.

It was actually really easy to put up the brackets an install . The three biggest things were to try to find a stud with keeping a good bracket spacing, to work around the pre-exisiting electrical in the wall, and get the heights correct and level for shorty like myself.

I can reach the first shelf without a problem, but I need a stool for the second. I measured the second shelf at 17 inches above the first for our open kitchen shelving. I’ll keep the things I don’t use as much up there.
It seemed like a good height to fit everything, without being too high.

Once they were up, it was fun to be able to put out all of my fall accents and decor, and finally have a place to put my favorite cookbooks.
I found the copper cloche and Moscow mule mugs from Homegoods, and I love how their brightness adds a nice touch of shimmer, with my gold stemless wine glasses I used in this post.

I added a vintage painting and some fresh sage on the other end. My Sage bushes are going wild this year, and I like the woodsy smell when you bring them inside.

It’s always nice to have an extra place to add pretty goodies. And I really intend to keep my mixing bowls on there to free up my cabinet space. I use them so much it will be nice to be able to just grab them as I’m cooking.

I love how for under $100 open kitchen shelving makes such a big impact in my with both function and form. In small spaces, every inch counts!

It’s that time again! Make sure you pick up my holiday book!
Creatively Christmas: Inspired Yuletide Décor

Try General Finishes gel stain. JC Licht sells it. I stain indoors all of the time for my business and I do it in my craft room.
I love it, Jen! Great job. Its so fun to arrange and rearrange open shelves. I find having them keeps my counters clean as that’s where I’d always have a little decor. Its neat that you were able to do these yourselves, too. Love the stain.
Jane