
Simple Embroidery for Beginners
We welcome Angela from Number Fifty-Three! She is going to share some simple embroidery for beginners. Embroidery can seem intimidating, but once you have some basic skills down, it can be fun and very artistic to create handmade and custom embroidery. You just need a few supplies to begin! An embroidery hoop, material, embroidery thread, an embroidery needle and a pattern with basic stitches.
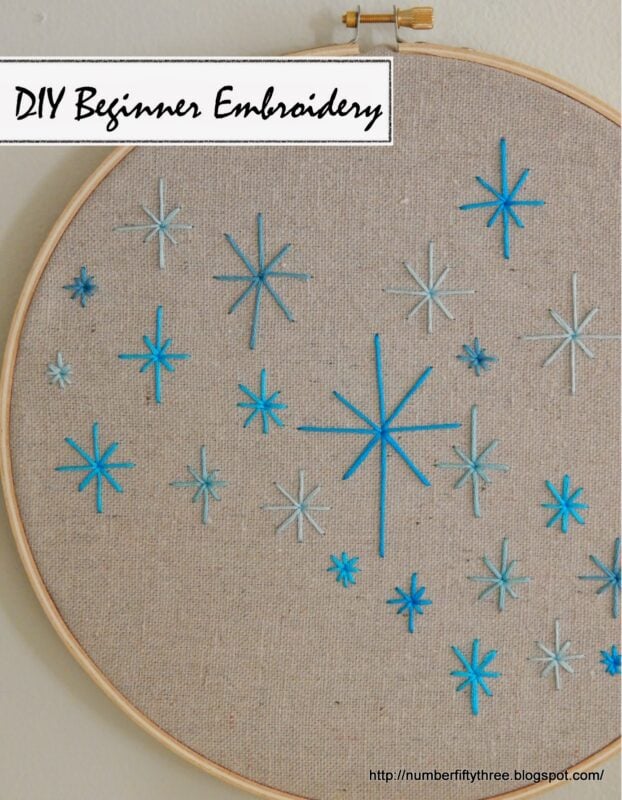
Hey everyone! It’s Angela from Number Fifty-Three and I am thrilled to be back sharing another crafty project with you all. Today’s project is with this easy DIY beginner embroidery project. The simple star embroidery pattern like I made is so simple and easy and a great Easy DIY beginner embroidery project!
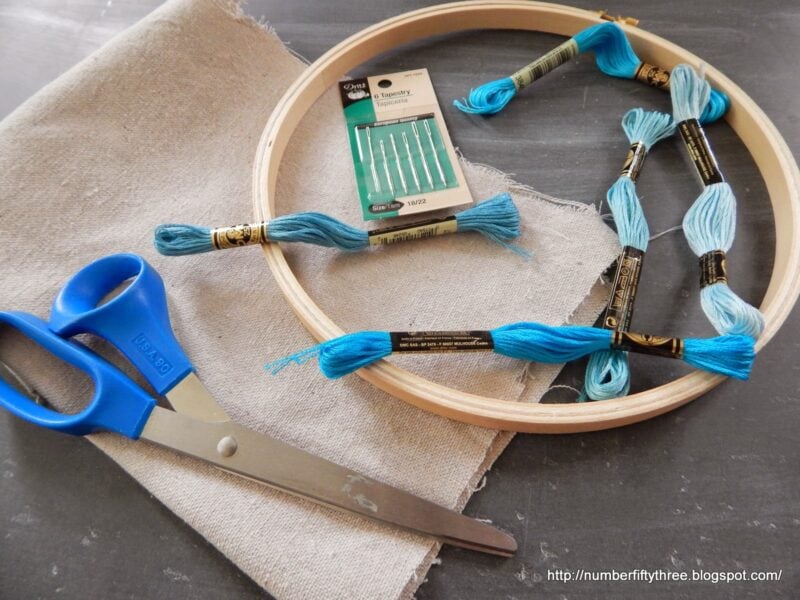
Supplies for Simple Embroidery for Beginners
-Pack of embroidery needles
-Embroidery floss (different shades of blue for this project)
-An embroidery hoop from the craft store
-Fabric ( I just used some remnant drop cloth I had on hand) without creases
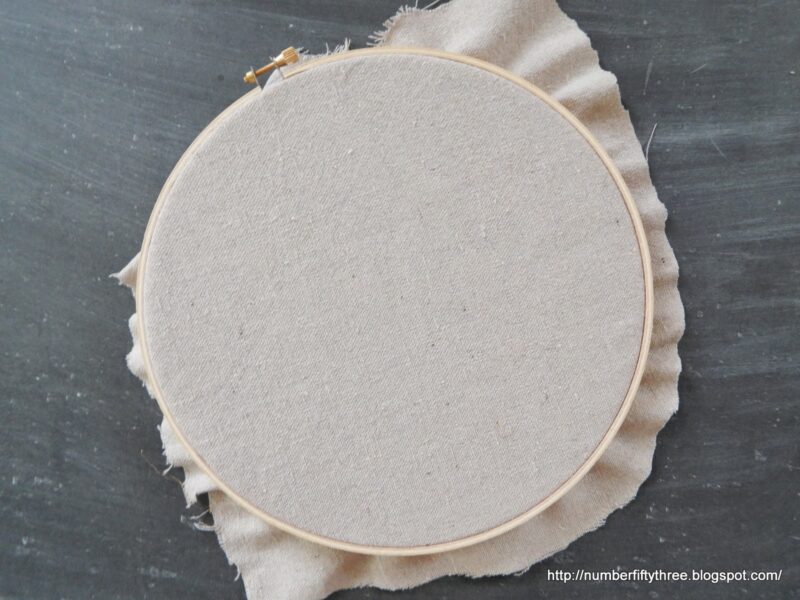
Cut the Fabric and Add to the Embroidery Hoop
I started out by cutting a piece of the fabric and fitting it snugly in the embroidery hoop. This can be any fabric you choose to use. Choose a plain one without a pattern to begin such as a muslin or cotton.
If you love a fun embroidery hoop project, see how to make these felt vintage ornament inspired wall hangings
Sew a Straight Stitch
The first tip I learned with embroidery is do not double up your thread on the needle. Yes, it will make for a thicker overall shape, but I found keeping it single as individual strands got tangled easily and created a messy finished piece. Since, I wanted to give the finished piece a modern appearance. I choose to use thread colors in shades of aqua (the accent color for my home). This way you don’t need a lot of different stitches.
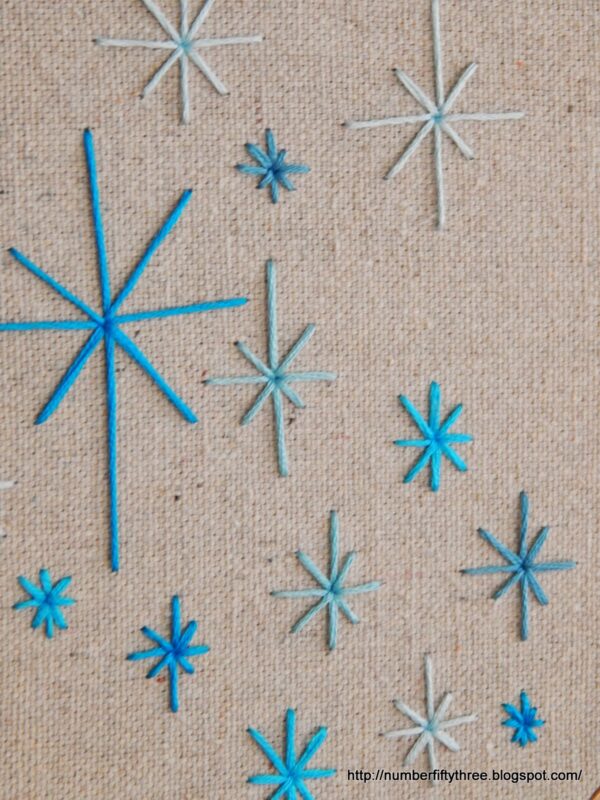
Straight Stitch Through the Center Hole
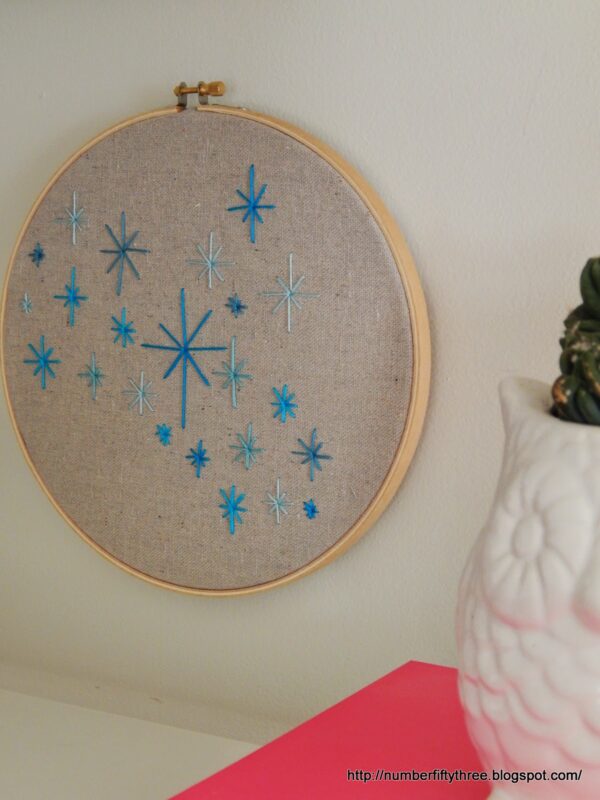
Place the straight stitch through the center hole. It was easier for me to do this from the top (whether that be right or wrong.) Also, a couple of times I finished my star and wasn’t happy with the size/placement/straightness of it so I just simply cut the floss with my scissors, removed it and started over. To create the star, stitch a cross shape with the horizontal line shorter then the vertical line. and then add 4 angle stitches into the center.
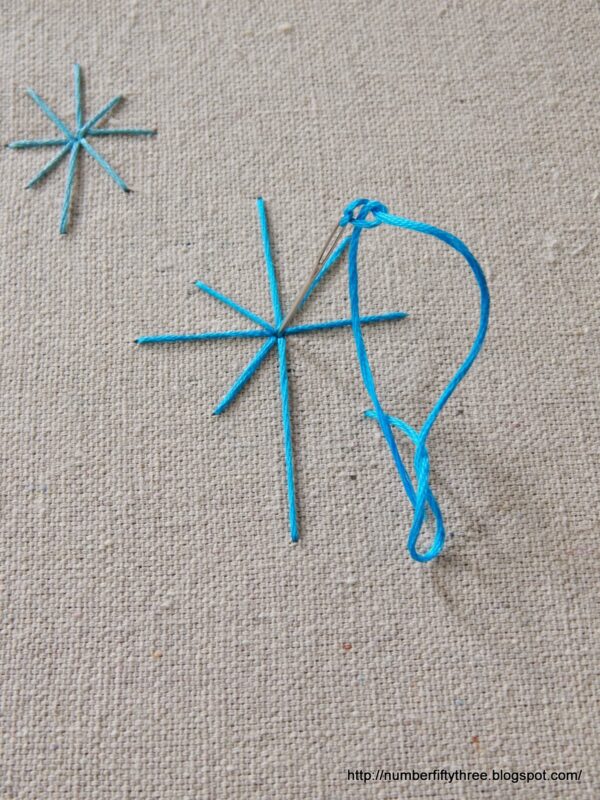
Place Stars on the Fabric
Rather than fill up the entire piece of fabric with stars I created a more organic, free flowing feel, placing them where it felt “right.” Mixing in smaller and larger stitched stars for the entire design.
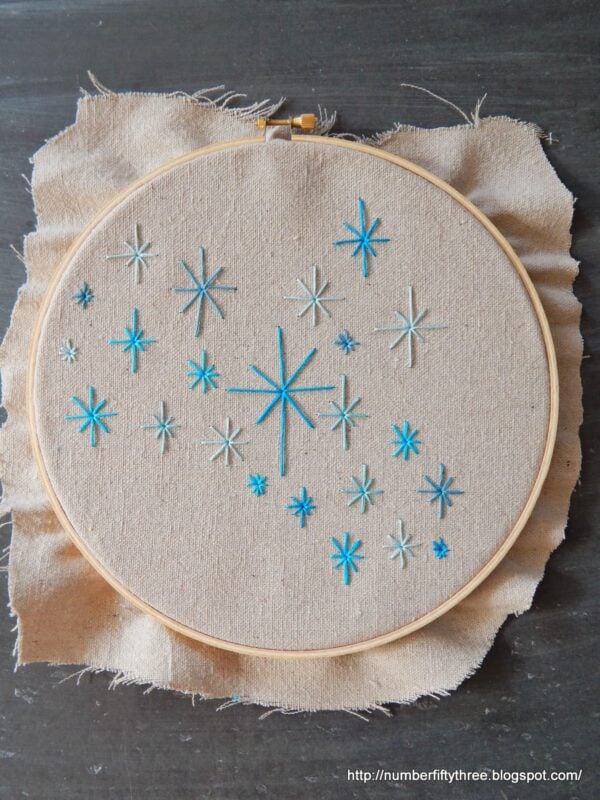
Hand embroidery can be so relaxing and a great way to stay off the phone and more analog with different embroidery designs.
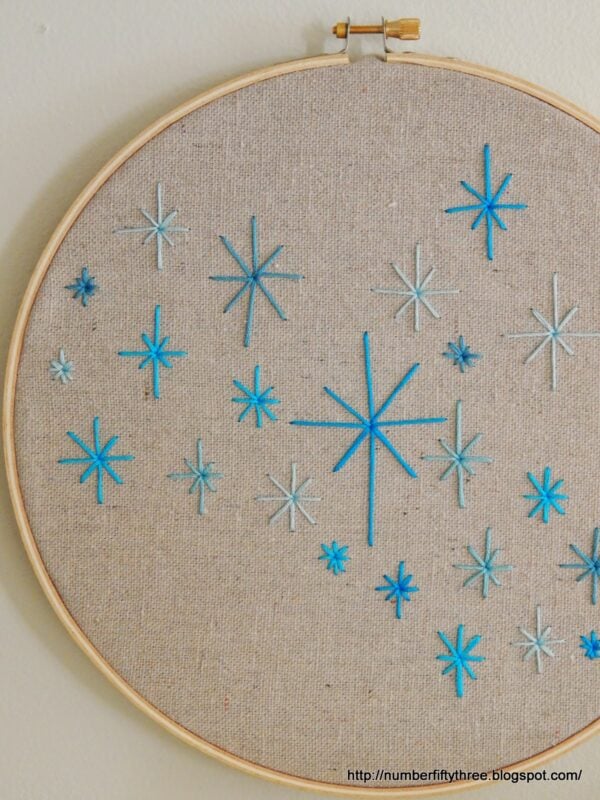
I did this by not using a pattern and just randomly placing the stars with my needle and thread, one at a time, holding the hoop up in between each addition to check placement. Once you feel like you’ve mastered a straight stitch, try ones that are a little more complicated like a french knots.
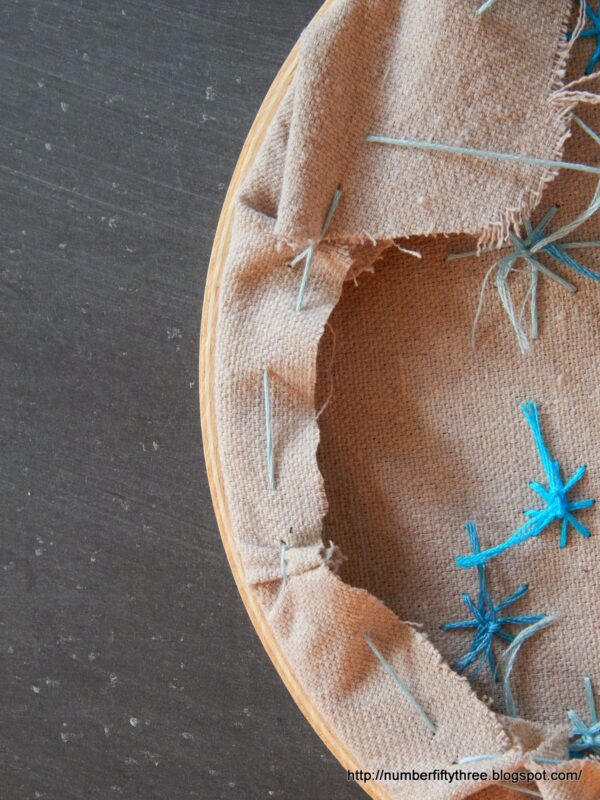
Finish the Back of the Embroidery Hoop
I’m sure there are better ways to do this, but I finished the back, by folding over the extra fabric and crudely sewing it down in the back.
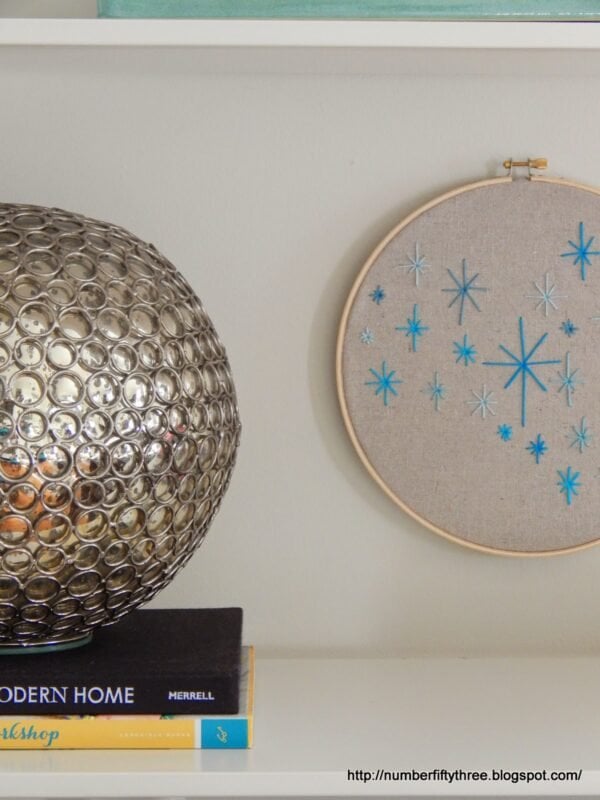
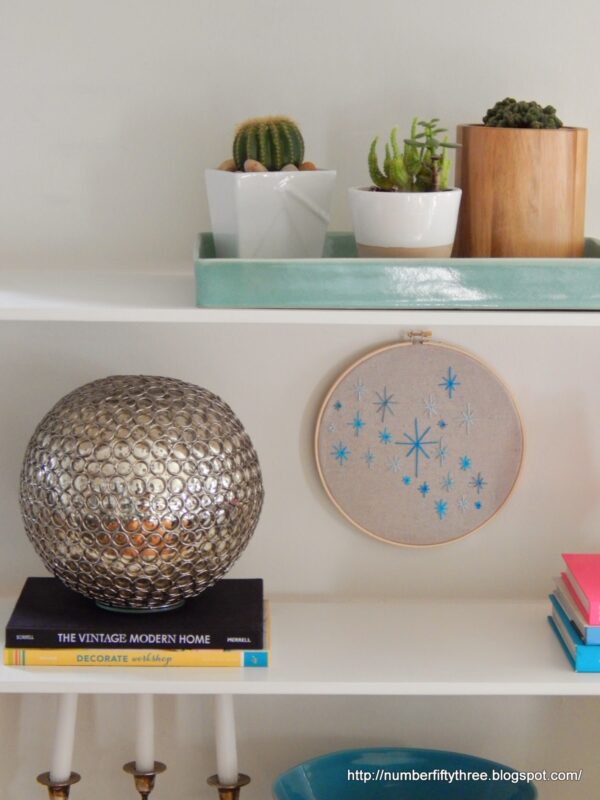
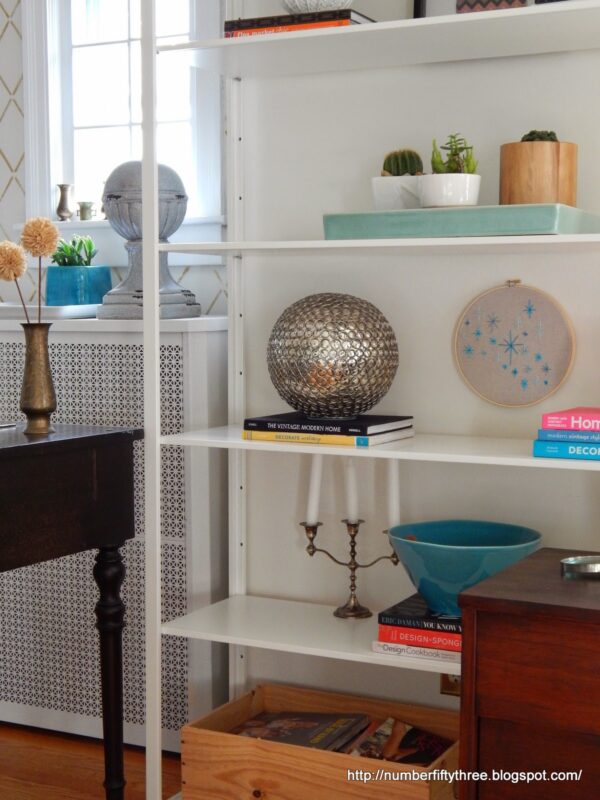
If you don’t want to create your own patterns, there are many kits with basic embroidery stitches for beginners to try. I hung my embroidery hoop on the wall behind our living room bookcase for a handmade vibe with a touch of color.
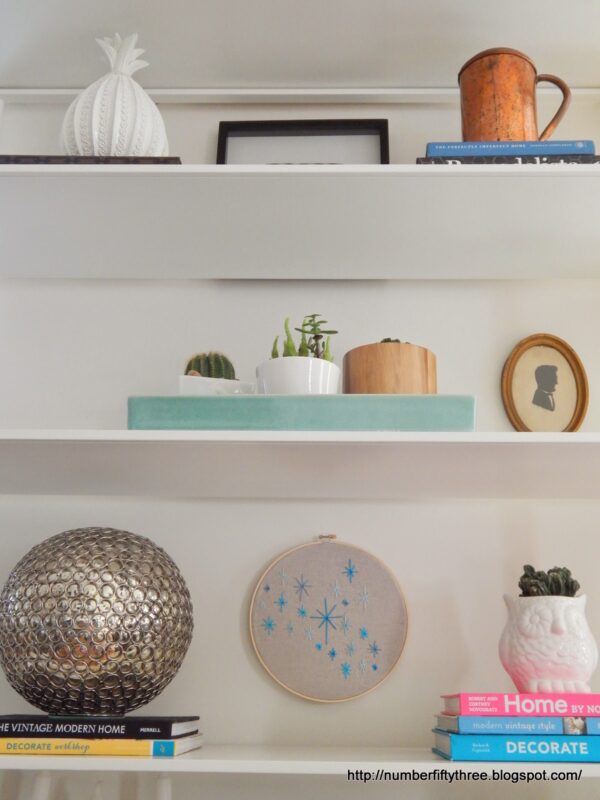
I have been seeing this trend of more modern embroidery lately and I am completely in love. My next project will for sure involve more complex stitches and then I will move on to incorporating patterns, as well. Thank you for letting me share this new passion of mine with you all! If anyone has tips or advice I would love for you to share!
Lastly, I welcome you all to stop by Number Fifty-Three and say hello! Also visit my IG account!
All the best, Angela
Framing a piece with the actual hoop has been around for sure since my kids were young – like 30+ years ago. I liked it then; I like it know. I guess when something is right it never goes out of style. I’m going to have my grandkids make a couple of these for Christmas.
This is cute. I learned how to hand embroider since I was a kid, my mom taught me and I taught my two daughters. I’ve made many things specially tablecloths. Just gave my embroidered C’mas tablecloth to my daughter Sofia. I have others. I love to hand embroidered, it’s relaxing and it gives you piece….this reminds me, I think I’m buying material to start me a project soon!
Hugs,
FABBY