Easy DIY Floating Frame for Artwork
Floating frame art is beautiful and really trendy, but can be so expensive. I have a super easy trick for you to frame your artwork in an easy DIY floating frame for artwork with no cutting wood or sawing, and hardly any measuring! The best part is that it will cost less than $10 to frame your artwork and it can be personalized or made to look custom! You can watch a video with this post showing the entire (easy)process! This is probably the easiest DIY frame tutorial there is!

This post contains affiliate links. See our sponsor and affiliate disclosure here.
I recently painted several pieces of artwork on wood cradle panel (which is basically a wood poplar or birch canvas) and flat canvases. While painting on the wood panel I noticed that the cradle board has an open back and didn’t have any corner braces and resembled the inside of a floating frame when it was flipped over on it’s backside.

Placing an 8 x 10 cradeled panel on it’s back, I realized a 5 x 7 wood cradle panel fits right inside! It was an awesome AHA moment and an easy floating frame! Find wood cradle boards here.
The size of your canvas determines what size panel board to pick
I recommend picking one size up for your project. If you have 5 x 7 art, use an 8 x 10. For an 8 x 10 use and 11 x 14, 11 x 14 a 16 x 20 and so on. This works best for smaller artwork as wood cradelboards can be cost prohibitive when they get larger. You can try this technique for framing really large artwork with pieces of wood.

I painted the inside of back of the canvas black, leaving the “frame pieces” of the outside frame natural wood to make the artwork pop but the frame edges can also be stained any color desired as well. Once the painted back was dry, it was time to add the artwork!

A flat panel canvas will give a more inset framed look to your artwork
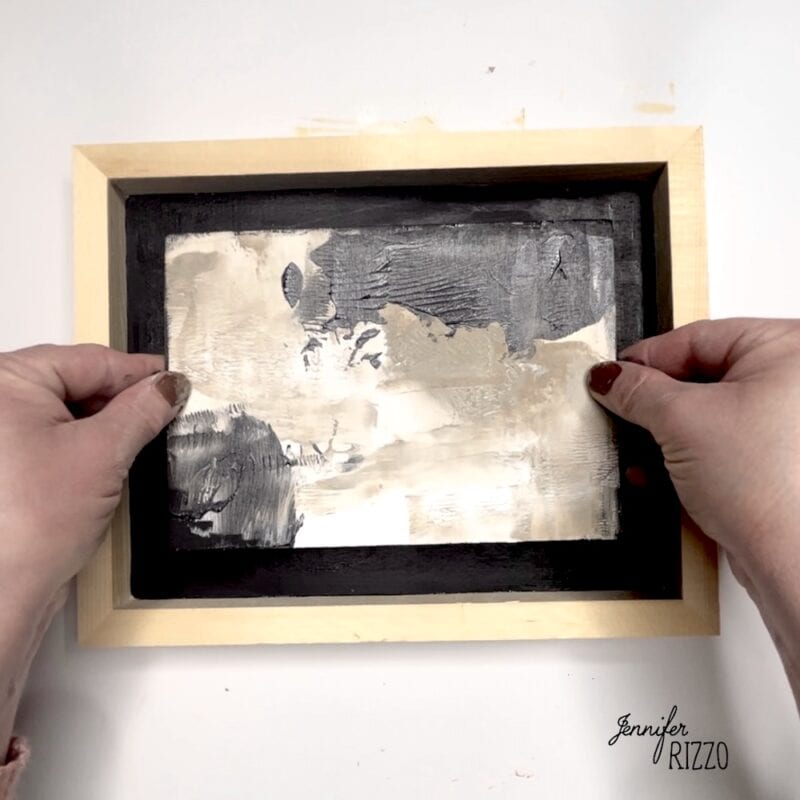
To frame my canvas panel, I added glue to the back of my flat panel canvas and pressed it into place and let it dry.


To create a raised look to the artwork instead of an flat panel, you can use a regular canvas or another, smaller cradle board canvas.
If using a raised canvas, paint (or stain)the side of the canvas the same color as the back of the frame. Glue the canvas into place


The final step is to add glue to the back of the artwork on the wood pieces and press the canvas art onto the inside of the panel and leave flat until completely dry.

Add hanging hardware to the back (the former front) of the cradle board and display! You end up with a super modern and custom look with your DIY wood frame!


