DIY Crate Side Table for Easy Storage
This DIY crate side table is easy to make, is great for tight spaces and costs under $40 to make. It’s perfect for low cost end tables in a living room or dorm room decor. Especially if you need something with storage to fit in a tight space that can’t be more than 17 inches wide. When you are living in a smaller space and need storage solutions, this crate end table is a great answer. I needed something this size and when I looked around for the perfect size of width and height we needed for the perfect space, and I couldn’t find anything for under $60-$80. Even Ikea was expensive, so I decided to make one for less than $30 using new wooden crates and here is a basic tutorial.

Wood crates are perfect for making all kinds of DIY furniture including benches, toy boxes, and even a crate coffee table.
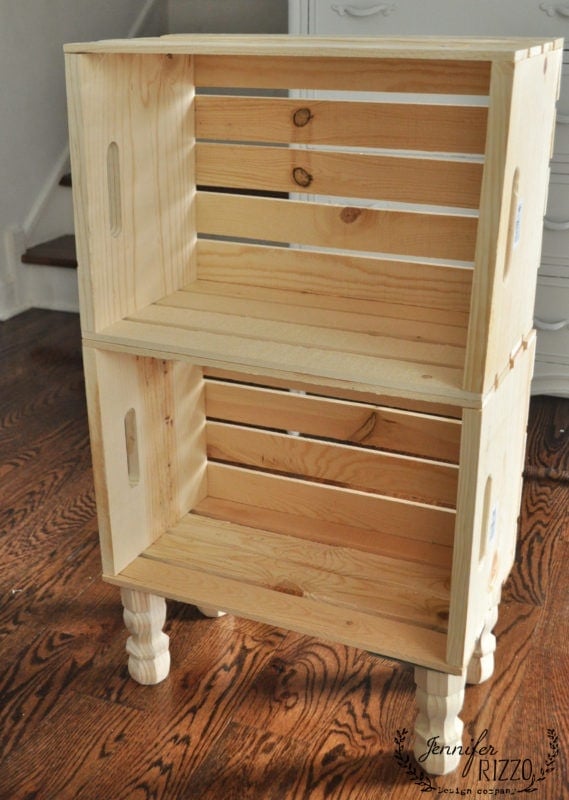
I found the crates at the craft store for $12 each. I’ve also seen similar wood crates at Menards and Home Depot . I picked up 4 legs at $2.78 each, and 4 leg plates to screw them into for about $3.00 each at the home improvement store. I wouldn’t plan on this holding a lot of weight, but it’s perfect for a simple storage option for smaller things. I would also consider, depending on how tall it is, putting an anti-tip device on it in case there are little ones around.The best part is, it only took me about 20 minutes to actually put together.

The biggest issue I had was having to drill slowly enough, I started to split the wood when I added the plates in a few places. Pre-drilling with a pilot hole with a smaller drill bit might have been a good idea.

After my plates were in, I added the feet. The plates are nice, because the feet screw right in! If you don’t have screws that come with the plates, make sure to use wood screws. Also, use a screwdriver instead of a drill.

I then used some short screws and wood glue to attach the each side of the crate together for the crate side table, after that, it was ready for a few coats of paint. You can also spray paint or wood stain this project for an aged look! Adding a coat of polyurethane will also help the paint last a little longer.

We used a regular latex paint to brush on because it was what we had on hand. I didn’t need a table top, but If you want a perfectly flat top, adhere a piece off wood to the top. A pine board or even plywood sheet cut to size will work.

I did notice the top crate is not a “square” as the bottom one, so make sure the ones you pick are not wonky, like I didn’t do. Mine has a little lean to it, but that’s ok. While vintage crates would look cool for this project, make sure to check them for their “levelness” first.

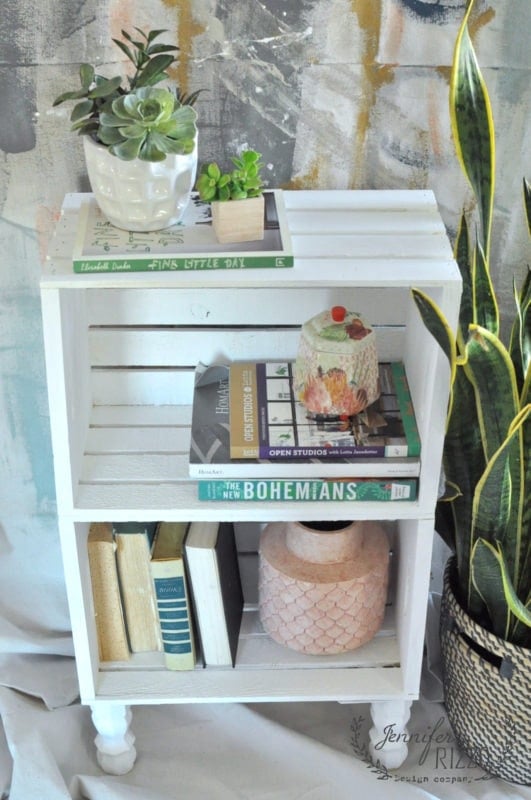
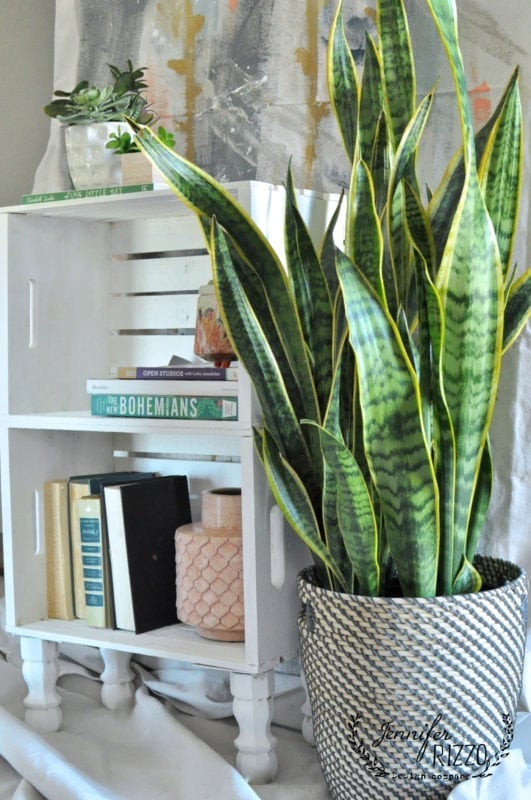
It’s a great little side table even as a mini-bookshelf.

If you needs some extra storage by the front door, this DIY crate side table might be a good option.


Do you love the new dark green paint trend? Check out how I used it on my kitchen hutch.
Or, use acrylic paint to make a fun agate-inspired piece of abstract artwork.

Wow, I love , love, love this idea. Thank you so much fr sharing.