Two Different Ways to Monogram Ornaments
This post is sponsored by DecoArt, opinions are entirely my own.
I know it seems early for a Christmas post, but when DecoArt sent me their new Holographic Illusions Glitter Paint to try out, I knew I wanted to use it to make some fun sparkly decor. I love me some glitter at the holidays! Painted ornaments are so fun to do, and they make great gifts and package toppers. I wanted to share with you two different ways to monogram Christmas ornaments. Monogramming and personalizing an ornament makes it even more special, and of course when you add glittery holographic paint, it makes it even more amazing. I’ve painted with lots of glittery paints before, but this new paint by DecoArt (currently found at Joann’s) has an extra glittery, rainbow-y, sparkly effect that is going to take holiday decor up an entire notch!

This post contains Amazon and other affiliate links. Please see our disclosure here.
Supplies: Holographic Illusions Paint in Crystal Ball and Dazzling Teal, Americana Acrylics in Calypso Blue, a flat brush,
flat plastic ornaments, DecoArt Glass Paint Marker in gold, and black , Matte Metallics paint in Soft Silver.

For the first ornament which I added a fancy monogrammed letter to, I painted a few coats of the holographic glitter paint on the back side of the ornament so the monogram would seem like it floating in the front. It’s important to use a flat brush to get a thin, smooth coat of glitter paint and layer when each coat dries for a dramatic effect. Once the Dazzling Teal dried, I painted over the top of it with two coats of Americana Acrylics in a coordinating color (Calypso Blue).

Once it was dry, I flipped it over and added a cursive style monogram and some fun painted details with a DecoArt glass paint pen in gold. It give the ornaments an almost “shadowbox” like effect. I also like how painting it with a coordinating acrylic paint intensifies the color.

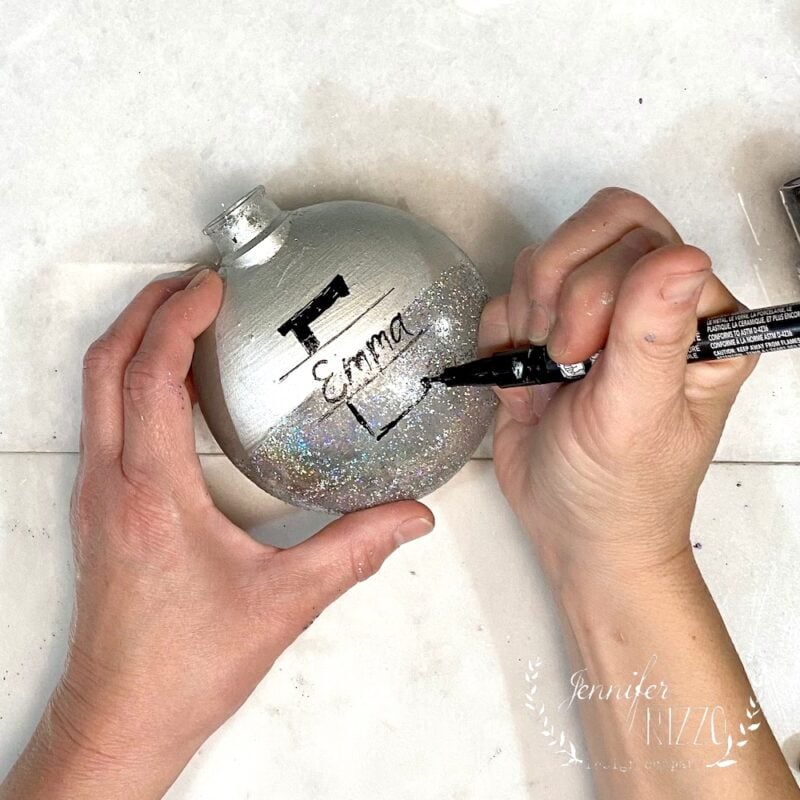
To make another ornament with a color blocked look, I taped the bottom half off and painted the top with matte acrylics paint in soft silver. After two coats, I removed the tape and let it dry completely. Remove any paint that may have bled under the tape right away with a damp cotton swab.

The bottom of the ornament is where I painted multiple coats of silver holographic glitter paint. It really gave it the wow factor and that cool color-blocked look. I ended up doing three coats in total for a really sparkly, glittery look. When the ornament hits the light, you can really see that holographic effect! I tried painting it on up and down and then across. I actually found it didn’t matter as long as they were thin coats.

When that dried completely, I used a black paint pen to add a personalized name with a broken monogram and mixed a script name and “split letter font”.

There is a printable of split letters at the end of this post that you can grab if you want to make your own monogram ornaments. I love this next image below, because you can really see the holographic quality of the paint.

There are a lots of different ways to transfer a monogram if you aren’t someone who wants to give free form, hand lettering a go. You can see this post here on how to transfer a monogram. If you can’t find a stencil to use, To give you the easiest version, print out the letter or name (correct side up) you want to monogram, place it over some graphite and trace the image, pressing through the graphite onto your painted surface. When using the split letter alphabet template, you can also choose how big to make the gap to fit the name but cutting it in the middle and taping the top and bottom farther a part.


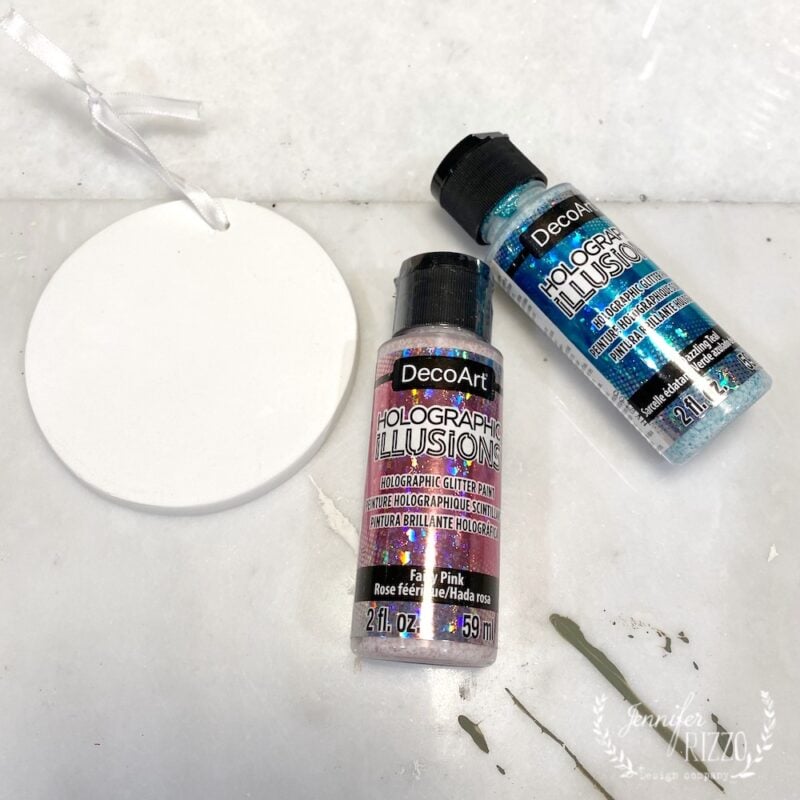
You can also do this on a flat plaster ornament with Holographic Illusions and painter’s tape.

It’s as easy as placing some painter’s tape a little bit off-center on a flat plaster ornament from the craft store. Paint the one side with multiple coats of Holographic Illusions. I used Dazzling Teal and Fairy Pink.

Remove the tape before it dries so it doesn’t remove any of the paint with it.

Do the same with the second color.

Once dry, use a pencil or a stencil to add a letter.

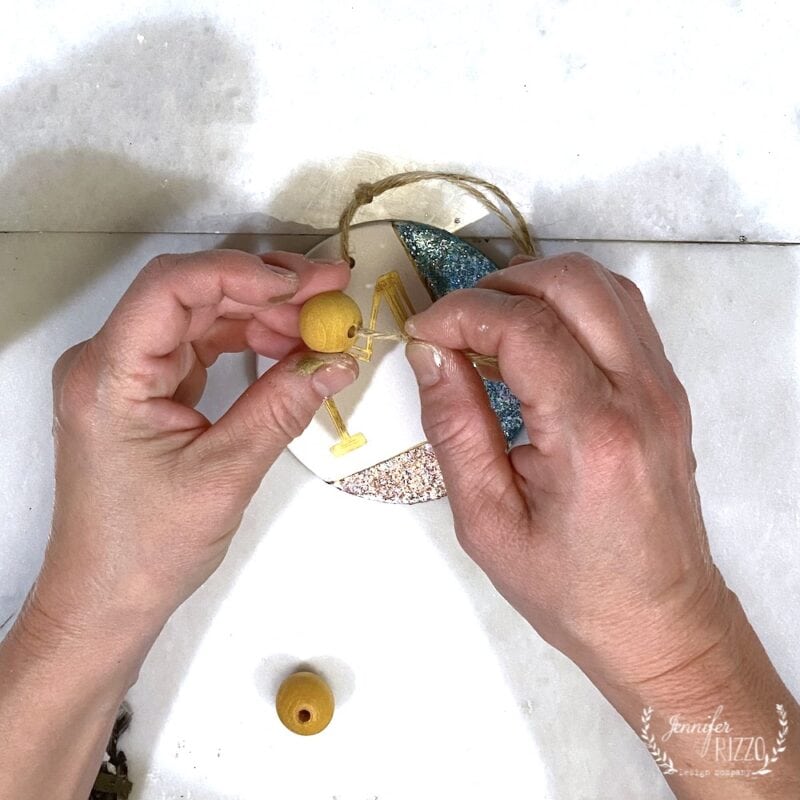
Finalized your monogram on the ornament using a gold paint pen. I replaced the ribbon hanger for one with twine and a bead for a more custom feel.

The nice thing about the flat plaster ornament, is it makes it easy to add personalization.

Such a great gift or a way to make custom ornaments!

I hope you try one of the two different ways to monogram ornaments for a fun holiday project. I really want to give this holographic glitter paint a try on a few other projects. I think with the holidays, this is going to be a really fun product to have around!
If you liked this idea, you will love how to paint a galaxy ornament, and how to gold leaf ornaments.


